Managing YubiKeys
Yubico Authenticator provides all management capabilities for YubiKeys and Security Keys by Yubico. With the the YubiKey Bio in particular, you can use other methods of enrolling fingerprints and setting PINs, but only the Yubico Authenticator enables you to label your fingerprint templates and delete individual templates.
You can, of course, delete fingerprint templates by resetting the key, but that resets the key back to factory defaults, removing everything from it: all fingerprints, all credentials. To reset using a GUI, see Resetting FIDO2 Function in the YubiKey Manager CLI and GUI Guide. To reset using the CLI, see FIDO Commands in the same guide.
Note
Do not click the Clear button visible on the main page of the Authenticator unless you mean to delete all your saved passwords.
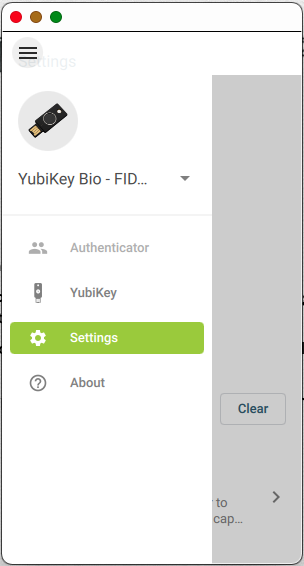
Clear Button
Configuring WebAuthn/FIDO2 Capabilities
The WebAuthn/FIDO2 screen enables you to control the way the YubiKey handles or behaves with certain aspects of this protocol and websites that implement WebAuthn.
FIDO2 PIN
The FIDO2 PIN is the prerequisite for configuration: without a PIN, there is no management at all. For example, if a YubiKey Bio cannot read a fingerprint, entering the PIN is an easy workaround. It should be noted that PINs in general, and the FIDO2 PIN in particular are a topic unto themselves, and understanding some PIN basics will save you a lot of troubleshooting. For more details, see Yubico’s knowledge base article Understanding YubiKey PINs.
Deleting credentials can be important to ensure personal safety.
To set and manage the PIN, enroll fingerprints and manage stored credentials,
| Step 1: | Launch the Yubico Authenticator, and select the YubiKey menu option. The Information window appears. 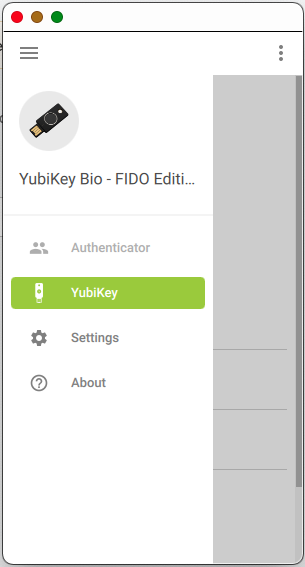
If the YubiKey menu option is already selected, click the three dots or the X on the upper right. The Information window appears. 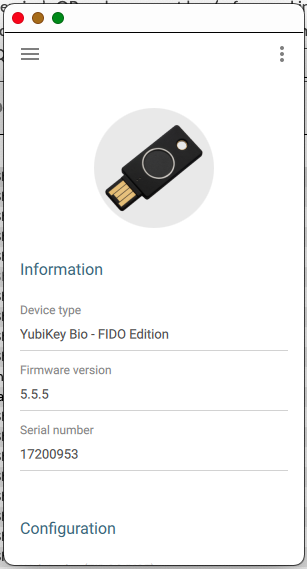
|
|---|---|
| Step 2: | Scroll down past the word Configuration to reveal the WebAuthn (FIDO2/U2F) option: 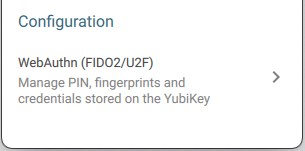
|
| Step 3: | Click the little caret to the right. The WebAuthn (FIDO2/U2F) screen appears. 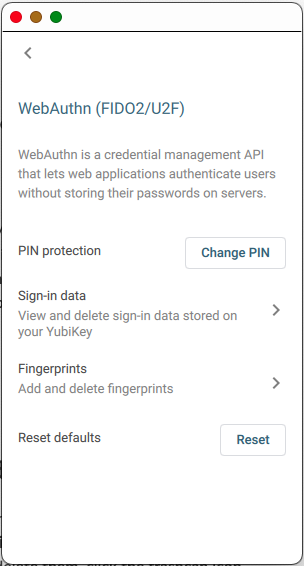
|
PIN Protection
Managing the FIDO2 PIN
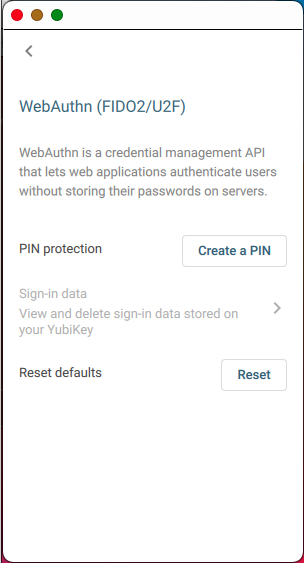
Because the PIN is the principal credential, it must be set at the start of configuration. The PIN protection menu option on the WebAuthn (FIDO2/U2F) screen enables you to set or change the PIN.
If you have previously set a PIN that you cannot remember, you have eight tries before the key locks up. Once the key is locked, your only option is to reset it. Use the YubiKey Manager to reset the PIN.
Note
For all the details on YubiKey PINs in general (not just FIDO2 PINs), see our comprehensive knowledge-base article, Understanding YubiKey PINs.
Setting the PIN
Select YubiKey, then the > to the right of Configuration, and finally, on the WebAuthn (FIDO2/U2F) screen, Create a PIN. You are prompted to enter and confirm a PIN with four alphanumeric characters at minimum.
Changing the PIN
Select YubiKey, then the > to the right of Configuration, and finally, on the WebAuthn (FIDO2/U2F) screen, Change PIN. You are prompted to enter the current PIN. If you do not know it, you must reset the YubiKey before you can change it.

Sign-in Data
Viewing, Labeling, and Deleting Individual Credentials
Credentials include the sites with which the key is registered. Deleting the evidence that you have used sites or services can be essential in some situations.
To view any credentials stored on the key, to label fingerprint templates, and to delete individual credentials (including templates),
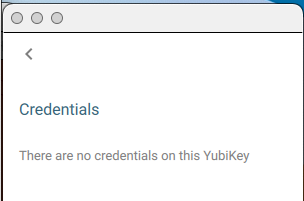
Select YubiKey, then the > to the right of Configuration, and finally, on the WebAuthn (FIDO2/U2F) screen, the > to the right of Sign-in data. On the Credentials screen,
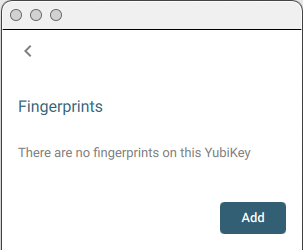
If it is a new YubiKey, there will be no credentials listed.
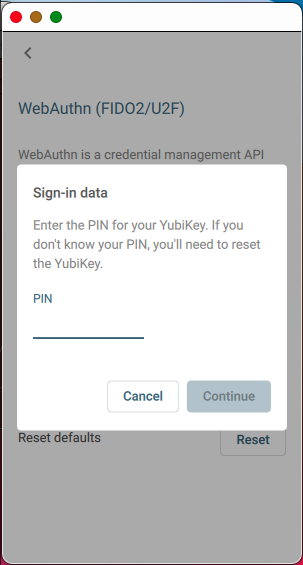
If there are credentials of any sort stored on the key, you are prompted to enter the PIN before you can view them:
If it is a YubiKey Bio with fingerprints enrolled, the templates will be listed.
To label a fingerprint template, click the Edit icon.
Fingerprints
Managing Fingerprint Templates
This section is relevant only to the YubiKey Bio. Before fingerprints can be used to authenticate to any site or service, they must be enrolled on the key, which records them as templates (for details, see the Technical Manual for the YubiKey Bio).
Enrolling Fingerprints
To enroll a fingerprint on the YubiKey Bio, select YubiKey, then the > to the right of Configuration, and finally, on the WebAuthn (FIDO2/U2F) screen, the > to the right of Fingerprints. The Fingerprints screen appears. Click Add.
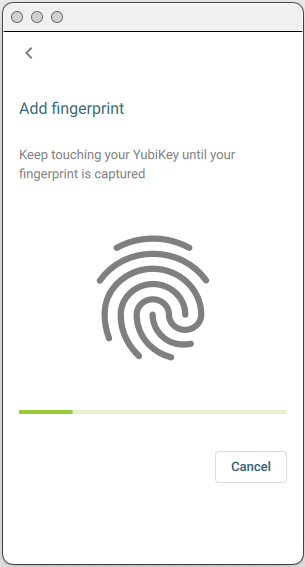
When the Add Fingerprint screen appears, apply your fingerprint to the sensor, touching the bezel ring as well. Lift and repeat, changing the angle of pressure slightly each time so that the key can read the full print. The progress bar below the fingerprint icon shows how much of your print has been read.
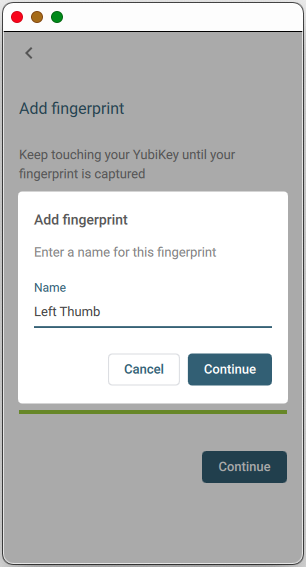
When the key has captured the full print, click Continue. You are prompted to label the template. It will not be saved unless you label it.
Add more fingerprint templates up to a total of five (5).
Labelling Templates
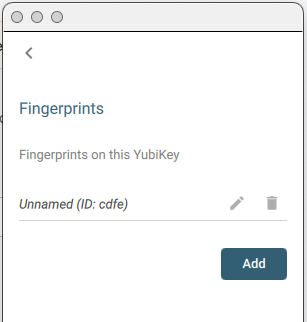
If you use the Yubico Authenticator to enroll fingerprints, you are obliged to label them. However, if you use other means, such as Yubico’s YubiKey Bio start page, the templates have automatically assigned IDs that are seldom intuitive:
To label such a template, on the Fingerprints screen, click the edit icon next to the unnamed template.
Reset Defaults
Completing this procedure involves several steps.
To return your YubiKey to its factory default condition, with no FIDO2/U2F sign-in data (credentials), no PIN and no fingerprints (if applicable), click Reset.
You are prompted to unplug your YubiKey.
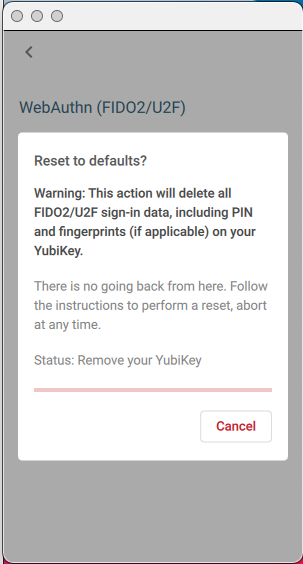
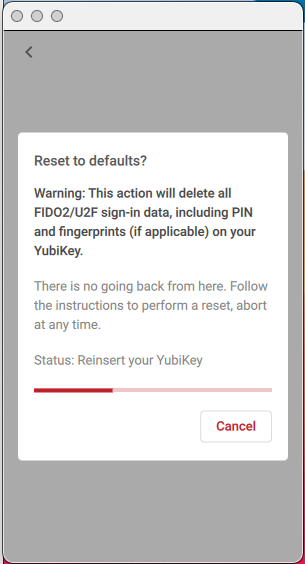
The status bar above the Cancel button shows the progress of the operation. The reset is not complete until the bar is entirely red, and the Cancel button turns into a Continue button.
When prompted, reinsert your YubiKey.
When prompted, touch the YubiKey (on a YubiKey Bio, touch the sensor) to finish the reset.
Note
To authenticate with sites and services to which you have previously registered using this key, you will need to register the key again, because it will not be recognizable as the same key.
To file a support ticket with Yubico, click Support.