Using the YubiKey Manager GUI
Important
YubiKey Manager GUI is end of life, as of February 19, 2026. it is no longer supported. For more details, see Yubico’s End-of-Life policy and the End-of-Life Products page.
For an alternative to the YubiKey Manager GUI, see the Yubico Authenticator application. Yubico Authenticator supports the latest YubiKey features and is available for desktop and mobile devices.
The YubiKey Manager (ykman) CLI remains available for command line tasks.
Using Windows GUI Install YubiKey Manager GUI
Note
YubiKey Manager GUI will be EOL Feb 19, 2026.
When installing from the .exe package (see below), installation can be made to run silently (i.e., without user interaction) by adding /S to the install command.
Download the installer. See Download YubiKey Manager (ykman) Installer.
Open a command terminal and change to your downloads directory.
C:\Users\<user_name> > cd Downloads
C:\Users\<user_name>\Downloads >
Confirm the installer is downloaded. Enter directory command,
dir. View the response for the installer. For example,yubikey-manager-qt-1.2.6-win32.exe.Enter the installation command. The example includes designating the installation path using the
/Doption.C:\Users\<user_name>\Downloads >.\yubikey-manager-qt-1.2.6-win32.exe /D "C:\Program Files\Yubico\YubiKey Manager
Complete the YubiKey Manager Setup wizard.
- In the Welcome screen, click Next.
- In the Choose Install Location screen, click Next to select the default. Optionally, click Browse to select a different location, then click Next.
- In the Choose Start Menu Folder screen, click Install. Optionally, select a different folder and choose to create shortcuts, then click Install.
- If a pop-up asks, Do you want to allow this app to make changes to your device?, click Yes.
- Wait while the YubiKey Manager GUI is installed. In the Installing screen, a progress bar shows the status.
- In the Completing YubiKey Manager Setup screen, click Finish. Optionally, deselect the Run YubiKey Manager.
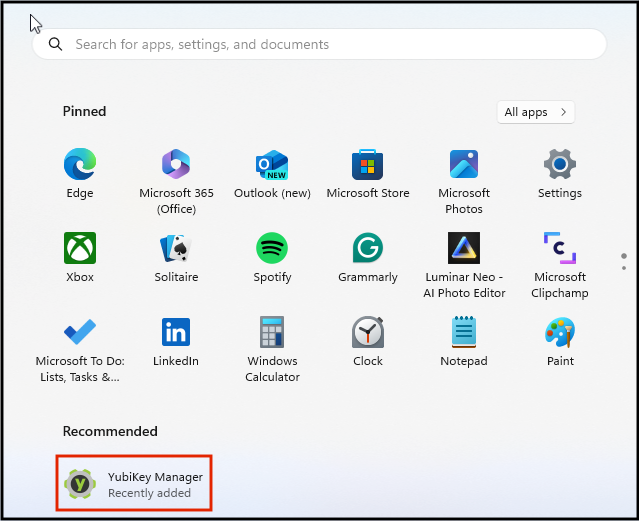
The YubiKey Manager icon is added to the Start menu panel.
Optionally, right-click the YubiKey Manager icon in the Start menu panel and select, Pin to Start or Pin to taskbar.
Install YubiKey Manager GUI on macOS
Note
YubiKey Manager GUI will be EOL Feb 19, 2026.
Download the installer. See Download YubiKey Manager (ykman) Installer.
Open a Finder and browse to the Downloads folder.
Double-click the installer. For example,
yubikey-manager-qt-1.2.5-mac.pkg.Note the
-qtindicates it is the YubiKey Manager GUI installer.Complete the YubiKey Manager installer wizard.
In the Introduction screen, click Continue.
The Destination Select screen is skipped and defaults are applied.
In the Installation Type screen, click Install.
If a pop-up ask to allow the installation, enter your password or use Touch ID and click Install Software.
Wait while the YubiKey Manager is installed. In the Installation screen, a progress bar shows the status.
In the Summary screen, click Close.
Optionally, open Launchpad and locate the YubiKey Manager icon.
Launch YubiKey Manager GUI on Windows
Windows Launch using Graphical Interface
Open the Start menu panel, locate and click the YubiKey Manager GUI app.
Optionally, right-click the YubiKey Manager GUI icon and select, Pin to Start or Pin to taskbar.

Windows Launch using Windows Command Line
To launch from the command line 64 bit system:
C:\>"C:\Program Files\Yubico\YubiKey Manager\ykman-gui.exe"
To launch from the command line 32 bit system:
C:\>"C:\Program Files (x86)\Yubico\YubiKey Manager\ykman-gui.exe"
Debug Logging Mode
To launch ykman with debug logging enabled, add the following to the execution command:
--log-level DEBUG --log-file %USERPROFILE%\Desktop\ykman-log.txt
For example:
C:\>"C:\Program Files (x86)\Yubico\YubiKey Manager\ykman-gui.exe"
   --log-level DEBUG --log-file %USERPROFILE%\Desktop\
   ykman-log.txt
Launch YubiKey Manager GUI on MacOS
Open Launchpad, locate and click the YubiKey Manager GUI icon.
Optionally, right-click the YubiKey Manager GUI icon in the task bar and select Options > Keep in Dock.
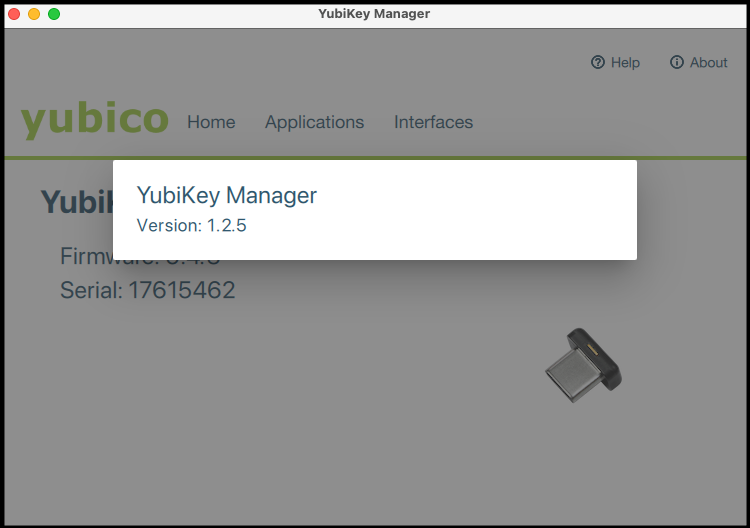
YubiKey Manager GUI Version
To identify the version of the YubiKey Manager GUI on either Windows or MacOS:
Launch the YubiKey Manager GUI.
Click About in the upper right corner of the GUI. The version is displayed in a popup box.
View YubiKey Firmware Version
To identify the version of the YubiKey on either Windows or MacOS:
Launch the YubiKey Manager, GUI version.
At the YubiKey Manager GUI prompt, insert your YubiKey and touch.
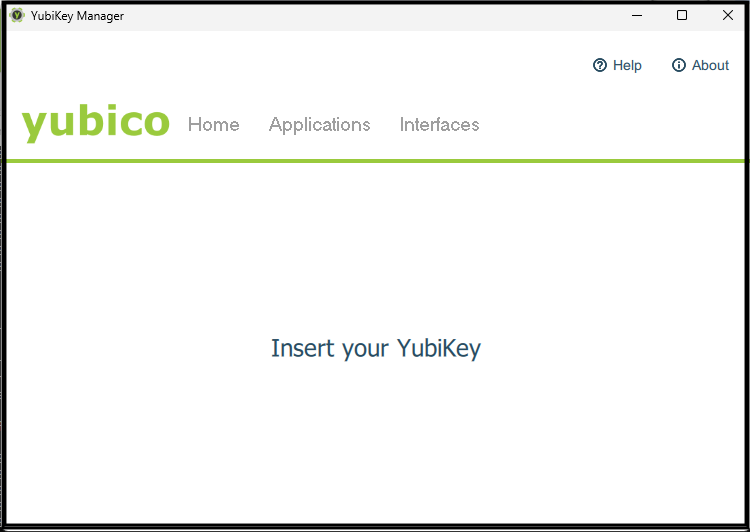
If your YubiKey is already connected, the YubiKey Manager GUI Home tab is displayed.
Note that the tool only reads a single YubiKey at a time, so if you have multiple keys connected, it might not be evident which one YubiKey Manager GUI is identifying.
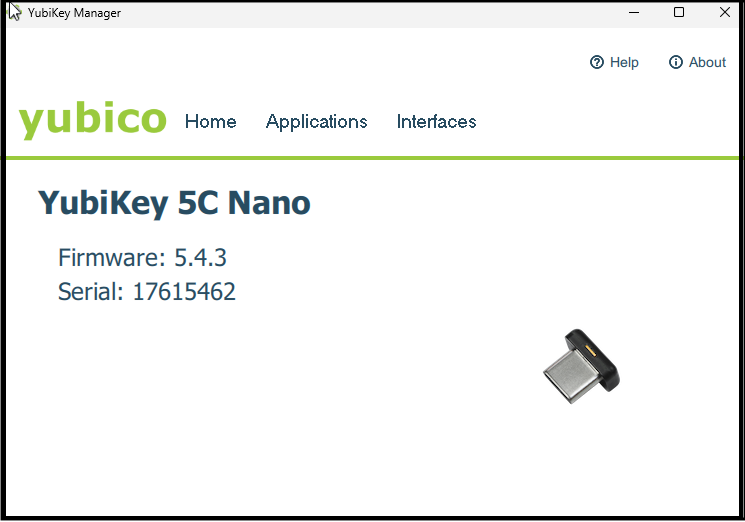
View the listed YubiKey firmware version.
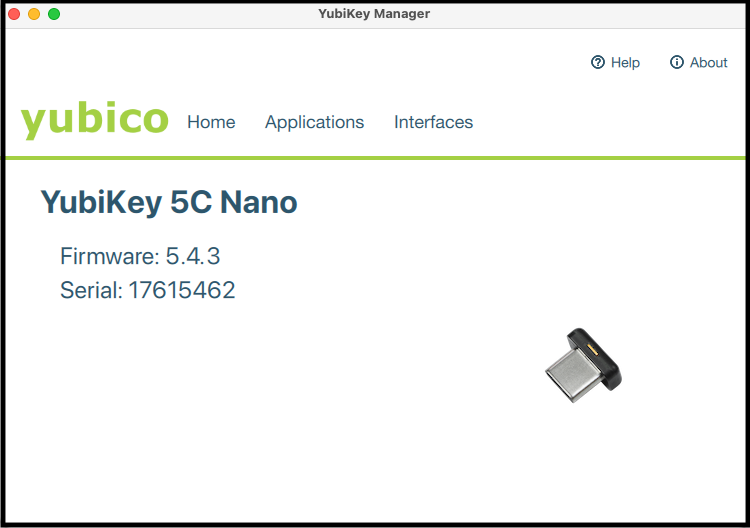
When your YubiKey credential is accepted YubiKey Manager GUI opens the Home tab and lists the accepted YubiKey firmware:
- YubiKey series (e.g., YubiKey 5)
- Firmware (e.g., 5.4.X)
- Images of the various form factors within that series.
Managing Applications
YubiKey Manager GUI can be used to check which applications are enabled on which interface and to enable or disable each application on each physical interface.
View Available Interfaces
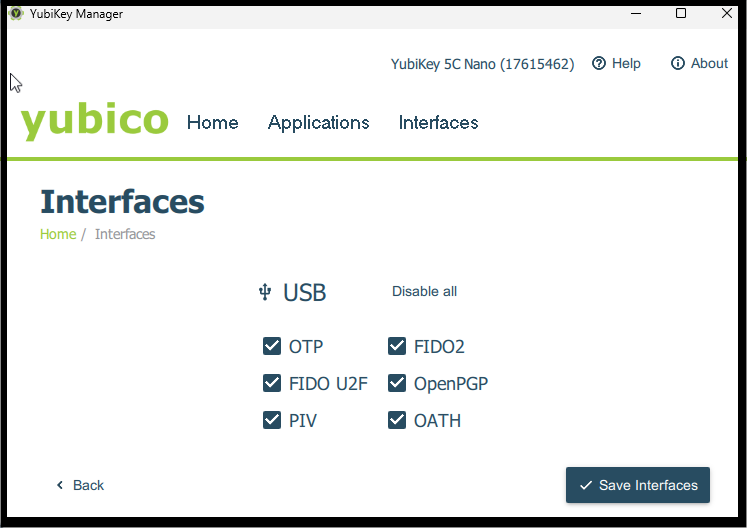
The Interfaces tab displays your key’s form factor (for example, USB), and the interfaces it has. Use the Interfaces tab to configure what is available on that key. For example, you can disable the interfaces/applications by deselecting the respective checkboxes.
View YubiKey Enabled Applications
Launch the YubiKey Manager, GUI version.
Insert the YubiKey whose applications you want to manage.
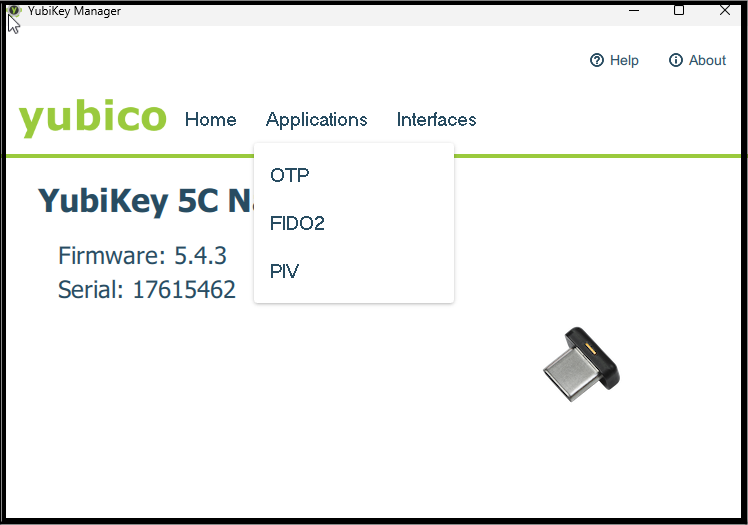
View available applications. Select the Applications tab.
Enable and Disable Applications
Launch the YubiKey Manager, GUI version.
Insert the YubiKey whose applications you want to manage.
View available applications. Select the Interfaces tab.
A checkbox with a tick is shown next to each enabled applications.
Enable to disable applications for the YubiKey.
- Select the checkbox to enable an application.
- Unselect the checkbox to disable an application.
- Click Save Interfaces.
Note
For the YubiKey 5Ci, any modifications made to the applications over the USB interface also apply to the applications over Lightning®.
Locking
Once the desired applications have been selected, a lock code can be set to prevent changes to the set of enabled applications. This is done using the ykman CLI ykman config set-lock-code. The lock code is 16 bytes presented as 32 hex characters. For more information, see ykman config set-lock-code [OPTIONS].
Configure YubiKey Slot on YubiKey
Launch the YubiKey Manager, GUI version.
Insert the YubiKey whose applications you want to manage.
Select application to configure.
- Select the Applications tab.
- Select from the displayed list of applications.
Select the YubiKey slot to configure. Click the slot Configure button.
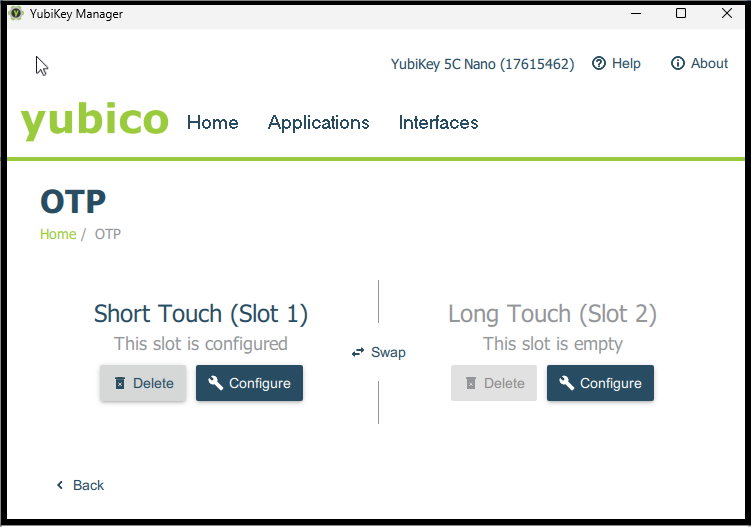
Complete the configuration options. These are specific to each application type.
Resetting FIDO2 Function
Resetting the key is not the same as unblocking it. Because resetting the FIDO2 function returns the key to its beginning state when it has no PIN, you must set a new PIN and enroll the key again after resetting it.
Remove your YubiKey if it is still connected to your machine, then launch ykman and insert your key.
Click on the word Applications at the top of that tab. A list of menu options appears. The specific options depend on the key.
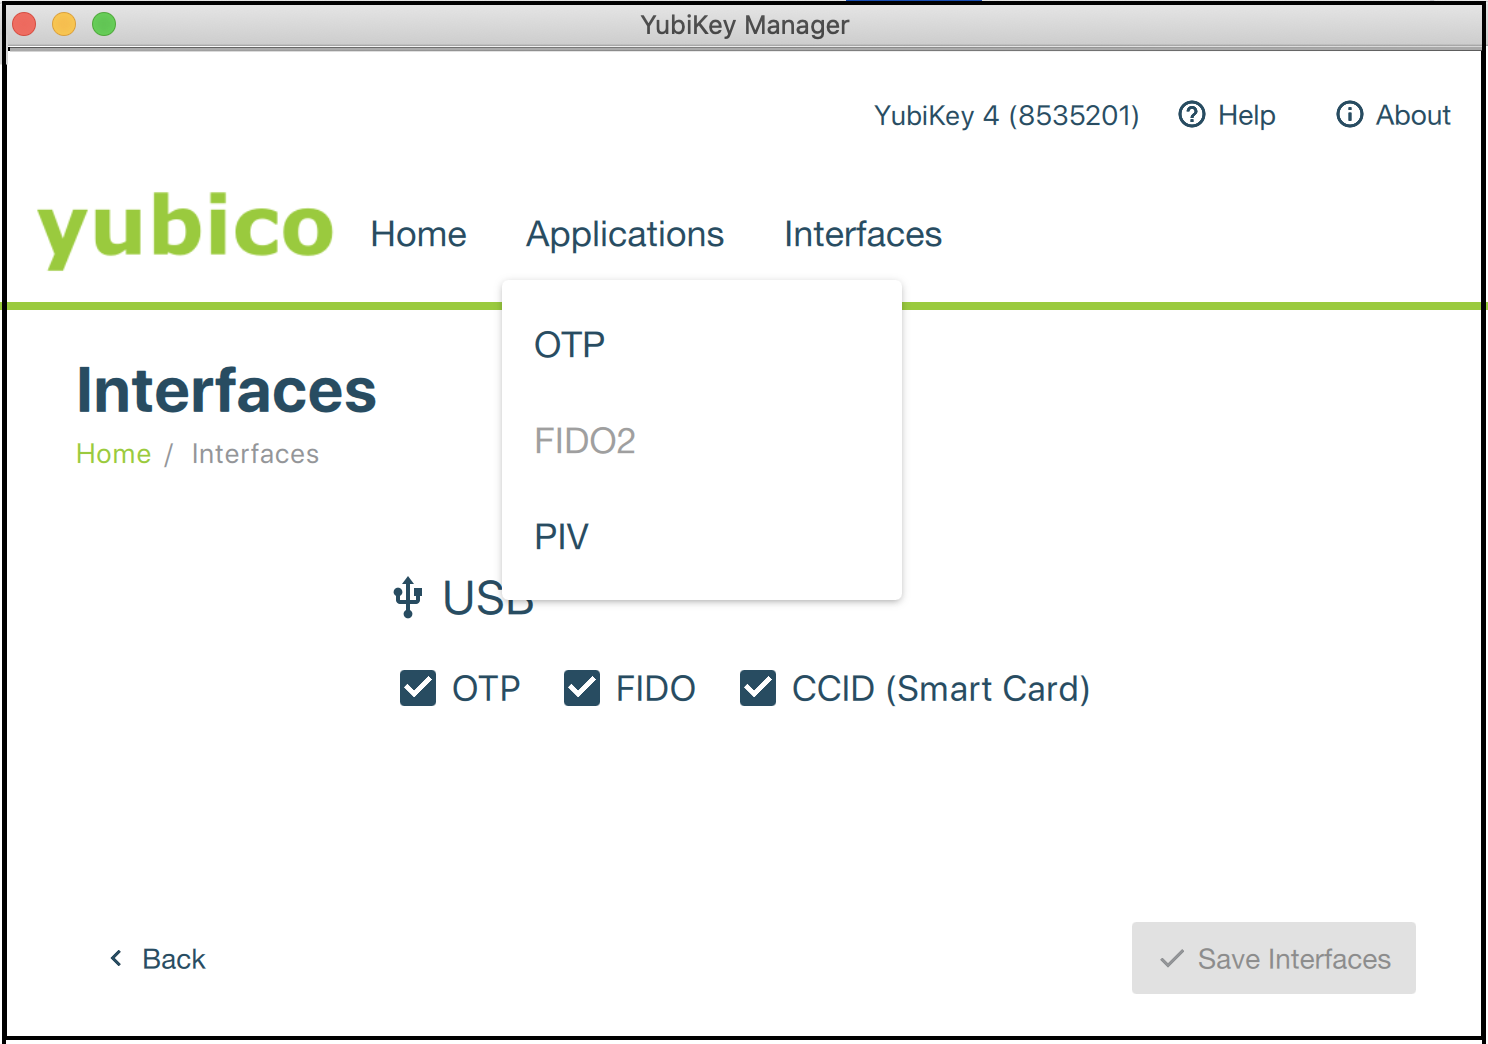
Select FIDO2. The FIDO2 page appears.
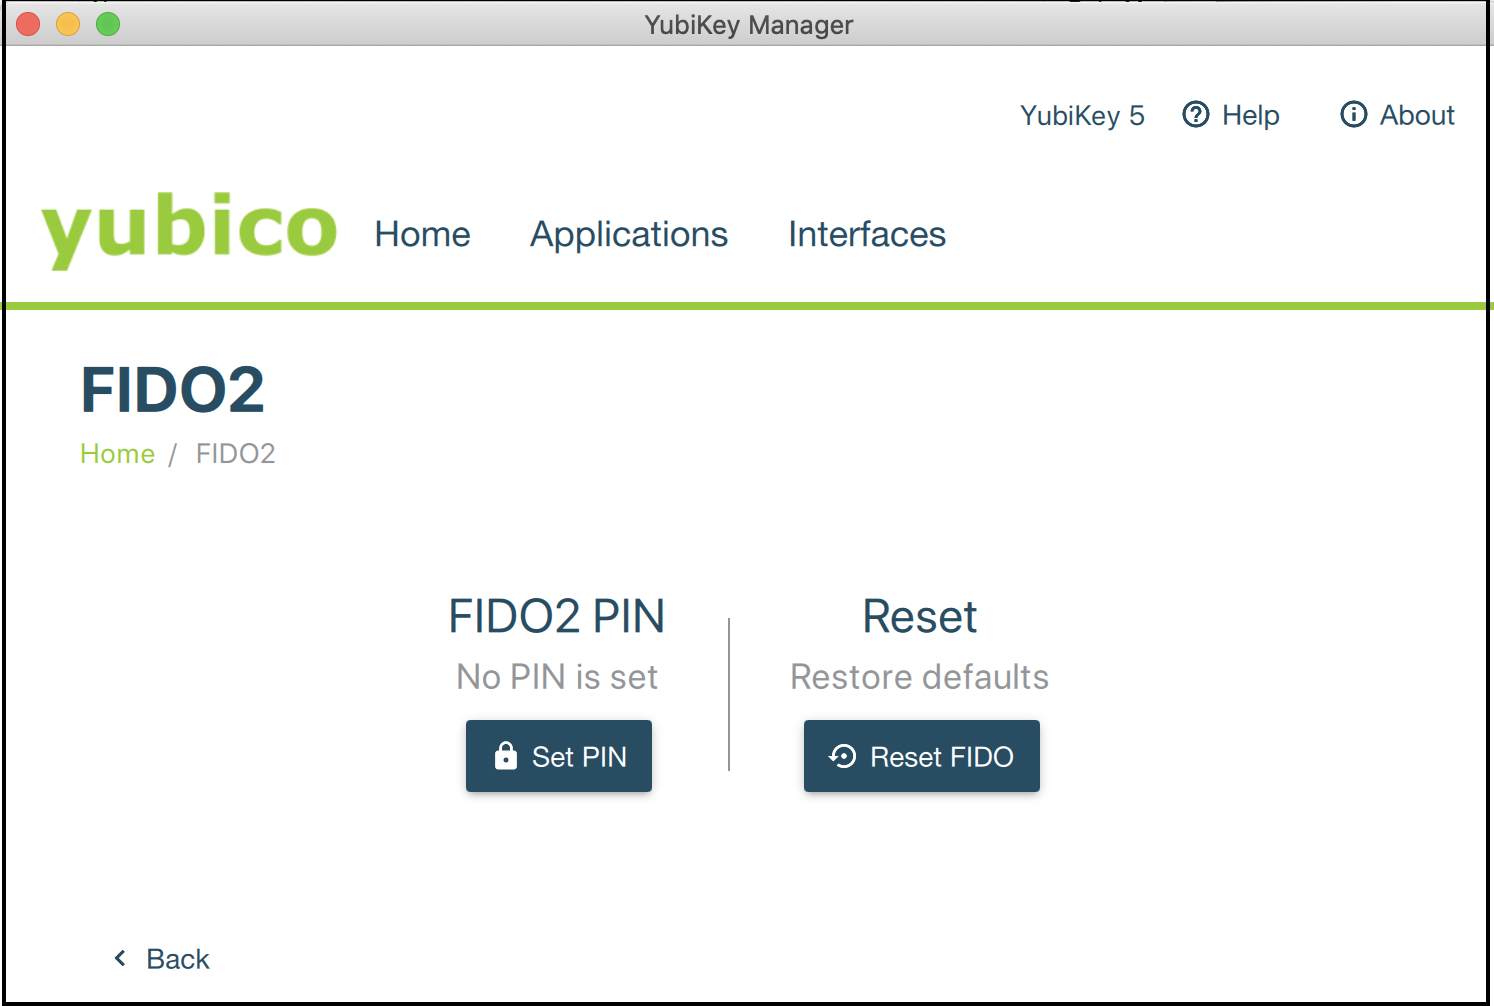
Click the Reset FIDO button. The Reset FIDO confirmation popup appears.
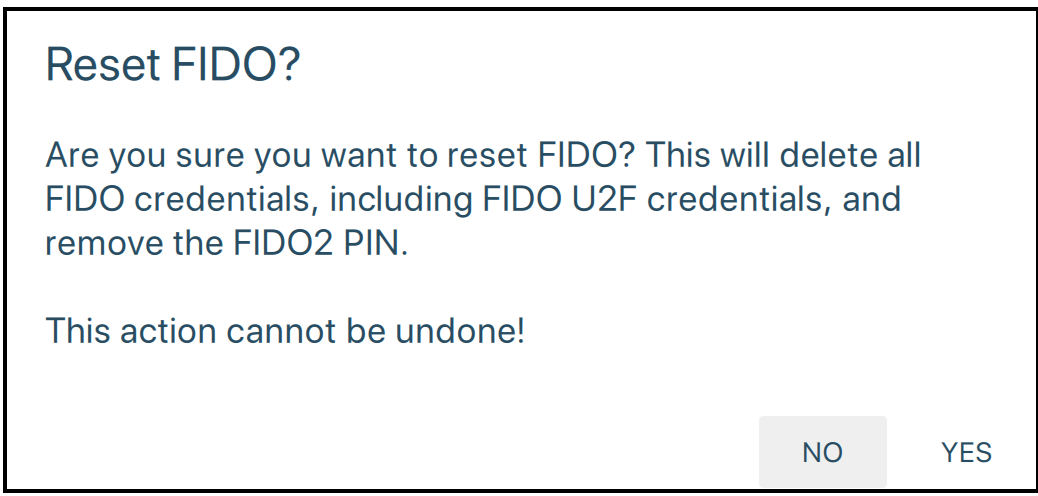
Click Yes. Everything on the key is removed: the PIN (if set) is deleted. The Remove and re-insert your YubiKey! prompt appears.

Remove and re-insert your YubiKey. The Touch your YubiKey prompt appears, and the green LED flashes.

Touch your YubiKey. The message “FIDO applications have been reset” appears at the bottom of the Applications page.
Remove the key in preparation for re-enrolling it.