Configuring YubiEnroll with PingOne PingID
The following describes how to set up YubiEnroll in the PingOne PingID tenant and configure the required user permissions.
Configuration Steps
The configuration steps involve the following:
- Registering the YubiEnroll App
- Configuring Permissions
- Preparing to Add the PingOne PingID Provider
- Optional, Enabling MFA and FIDO2 Policies
- Optional, Using Custom Domains
When you have successfully completed these steps, you are ready to enroll YubiKeys on behalf of end users in your organization.
Registering the YubiEnroll App
Register the YubiEnroll app as an OAuth2 app. Complete the steps:
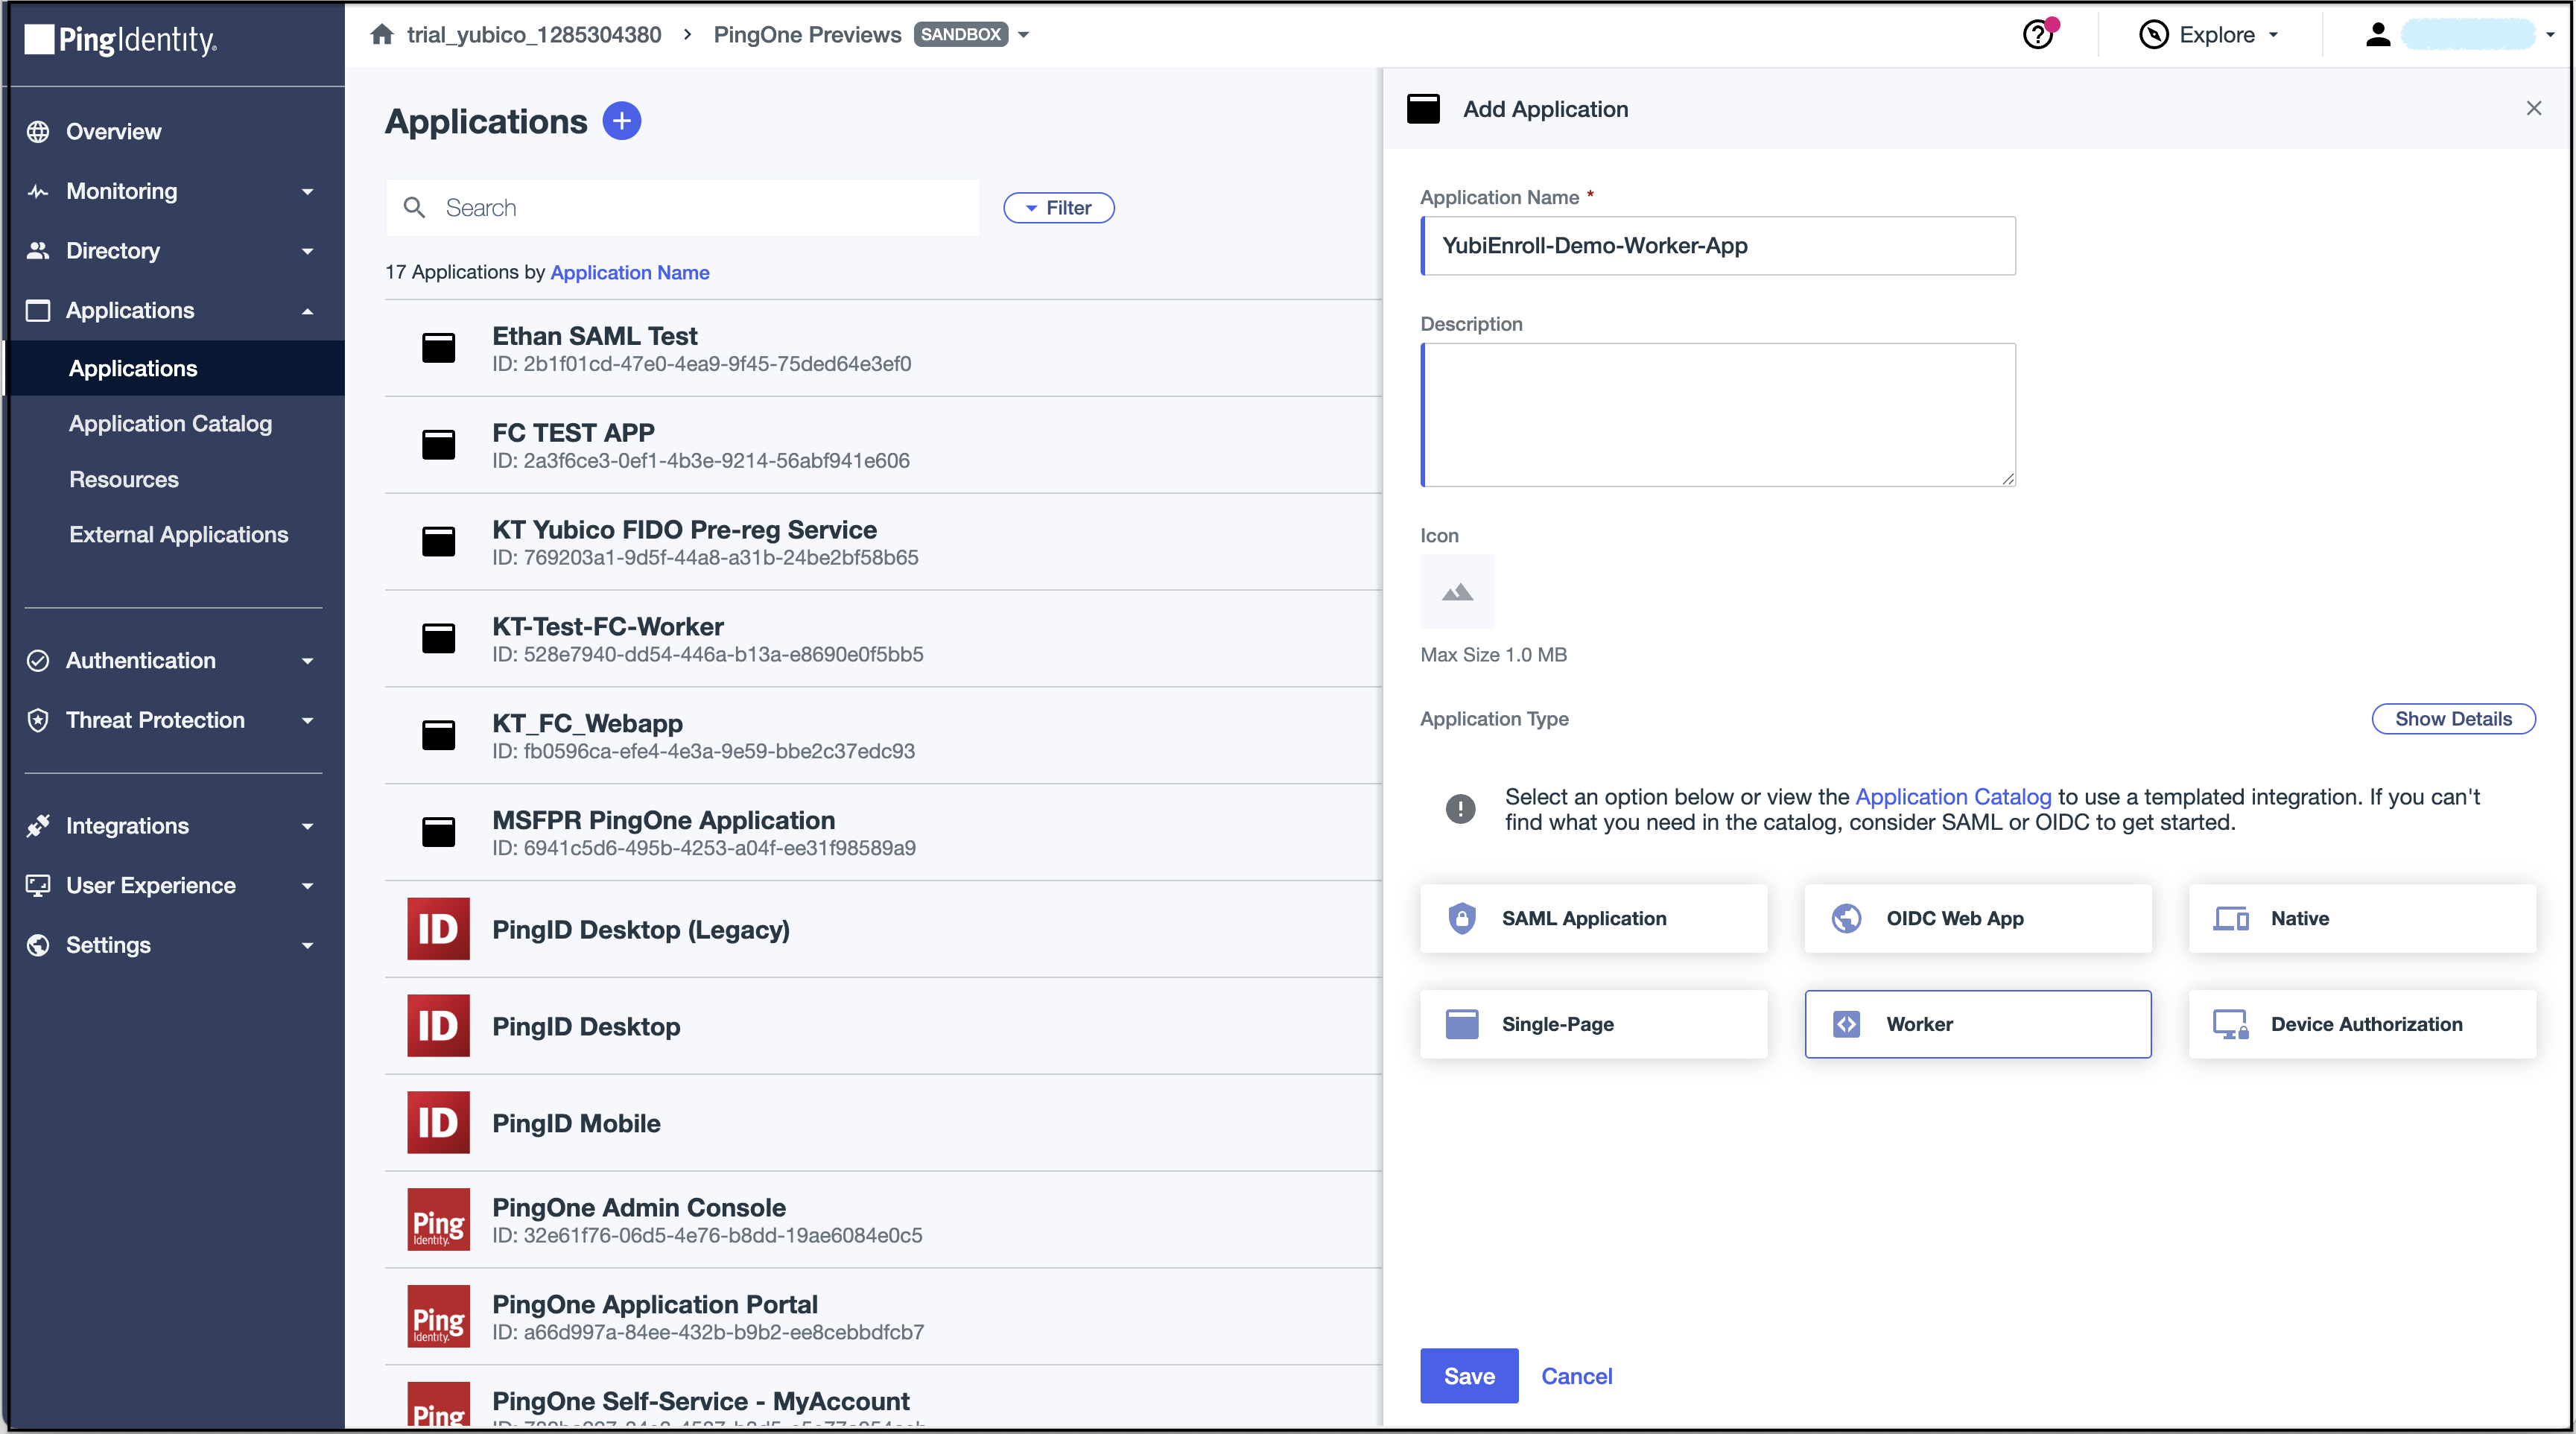
Create a new application.
- Log in to the PingOne PingID Console.
- From the left panel, select Applications.
- Click the plus (+) to add a new application.
- Enter an Application Name. The example shows
YubiEnroll-Demo-Worker-App. - Select Application Type, Worker.
- Click Save.
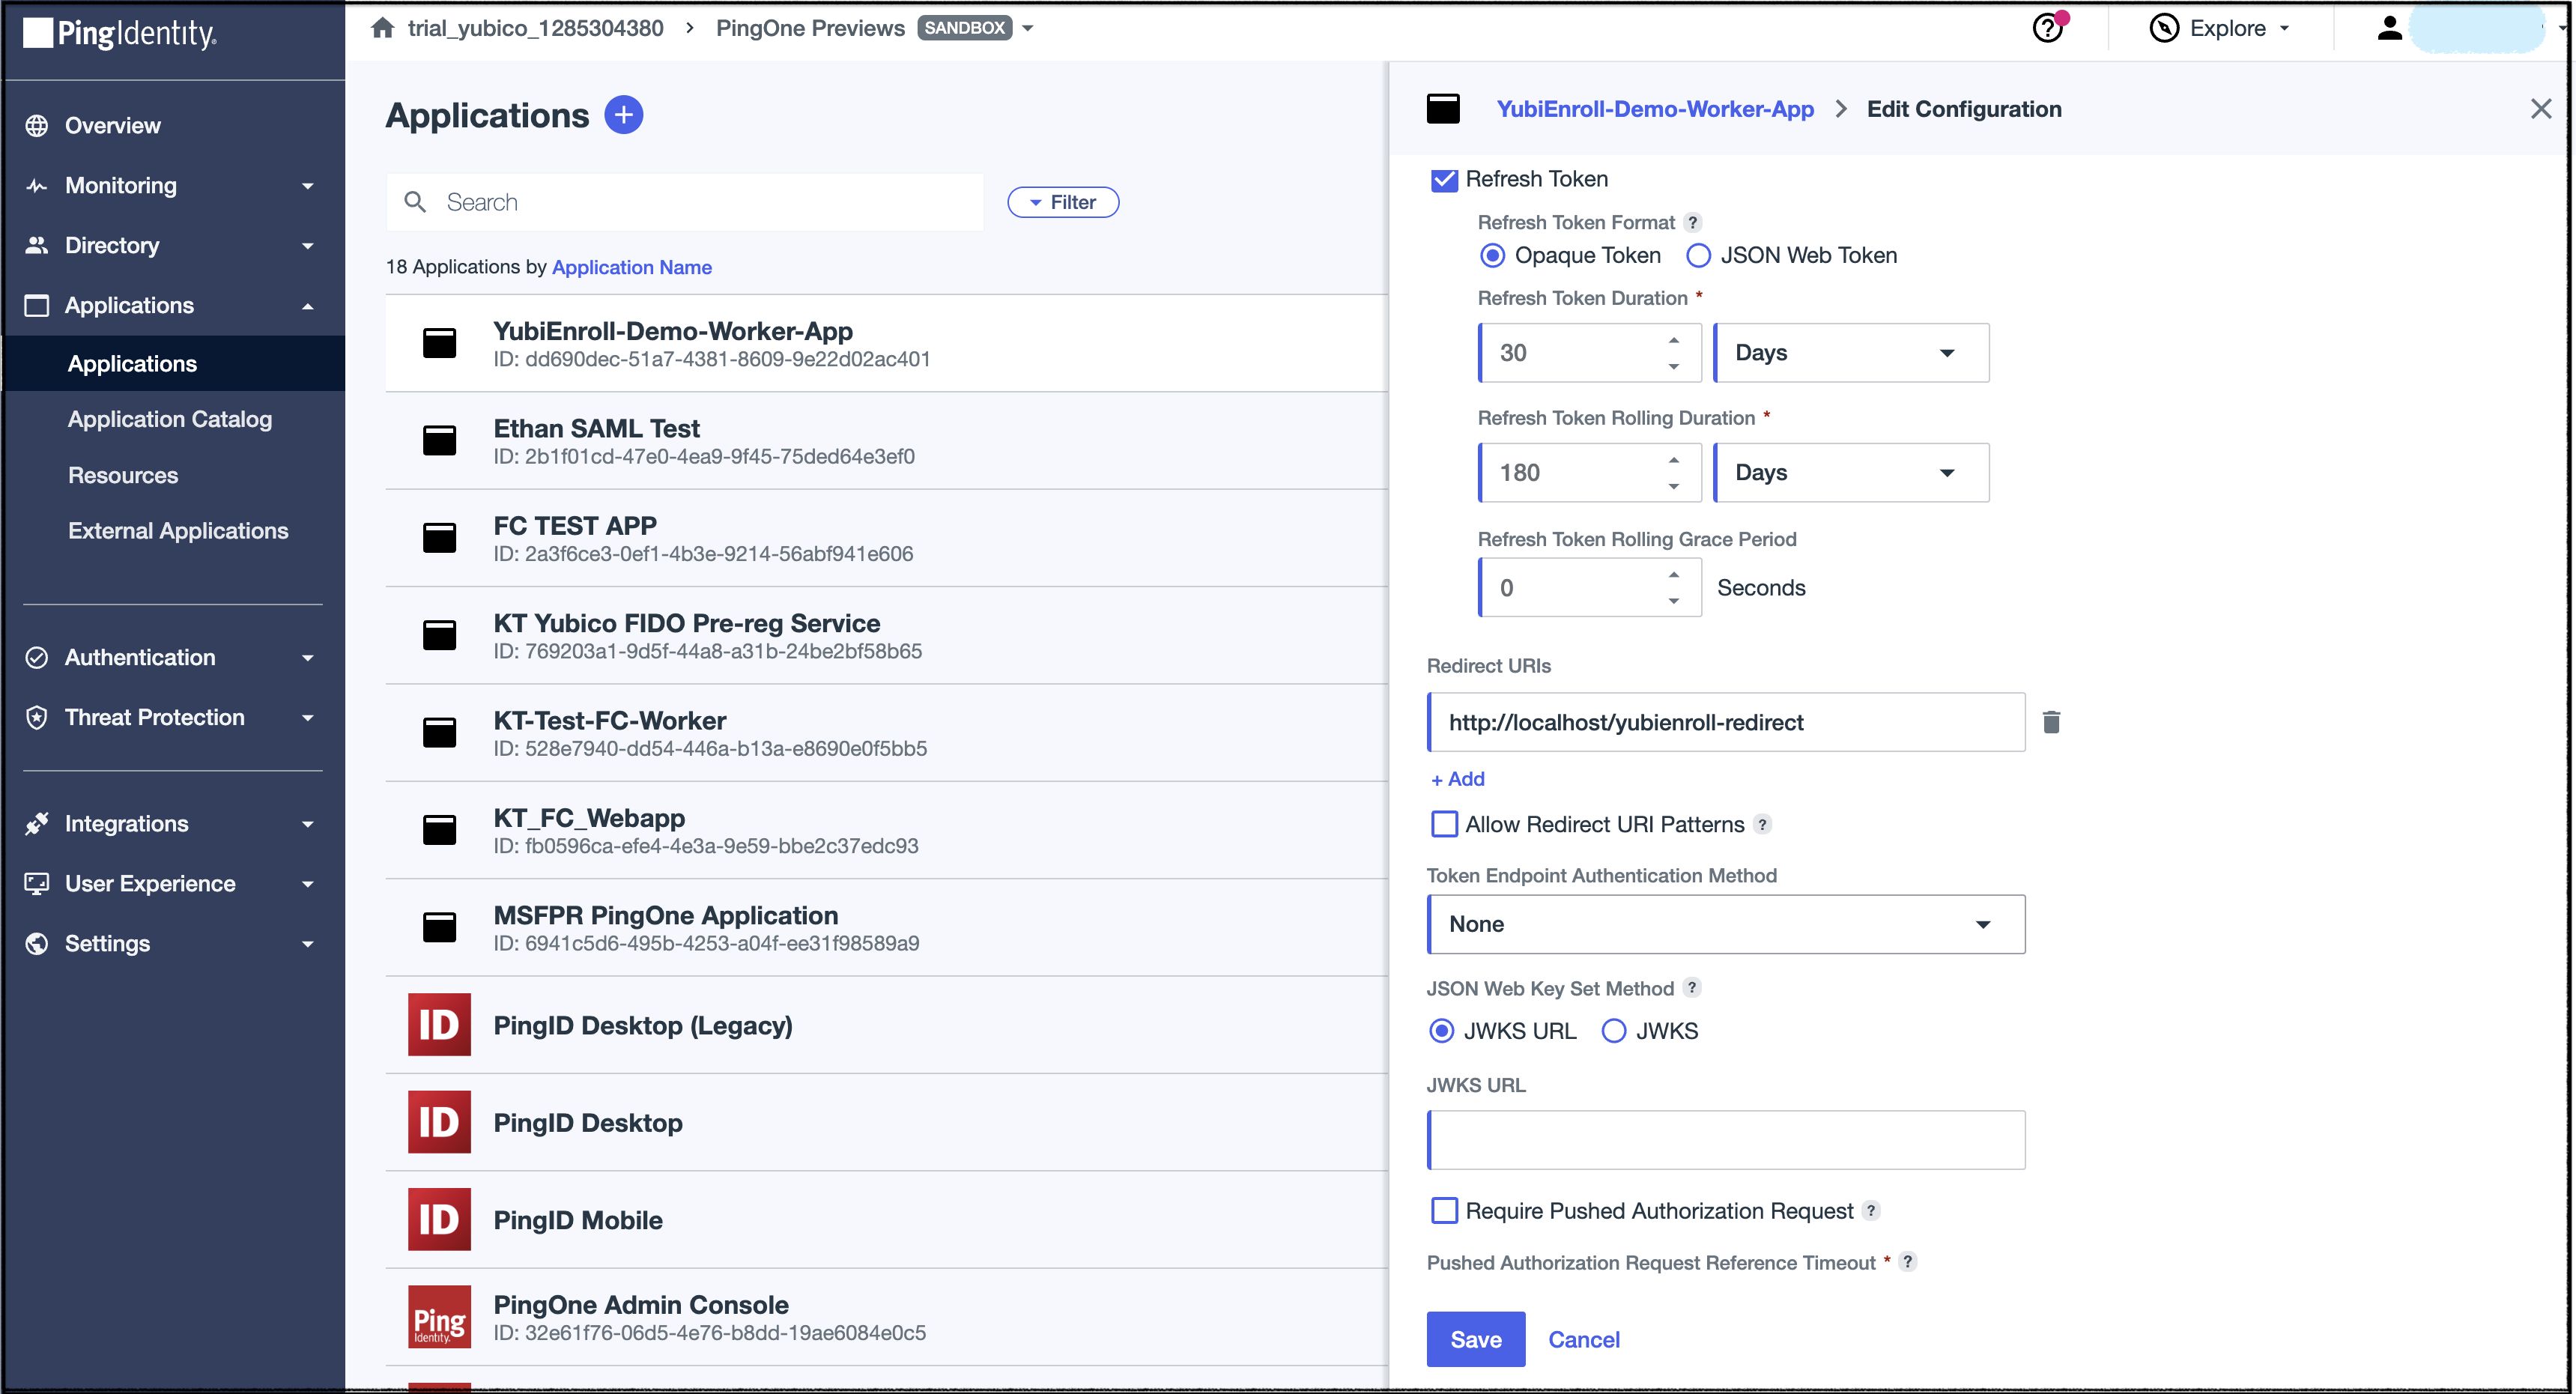
Set the Configuration.
Select the Configuration tab.
In OIDC Settings, select:
Response Type, check Code.
Grant Type:
- Check Authorization Code
- Select PKCE Enforcement under Authorization Code, S256_REQUIRED.
- Check Refresh Token.

Enter a Redirect URI. For example, http://localhost:9443/yubienroll-callback.
You must specify a port if you are not using URI patterns.
Select Token Endpoint Authentication Method, None.
Click Save.
Activate the app. Click the activation toggle On.

For PingOne PingID source content, see PingOne PingID Adding an Application.
Configuring Permissions
To enroll YubiKeys on behalf of an end user, the YubiEnroll app user, for example an IT admin, must have PingOne PingID roles: Identity Data Admin and Environment Admin.
Preparing to Add the PingOne PingID Provider
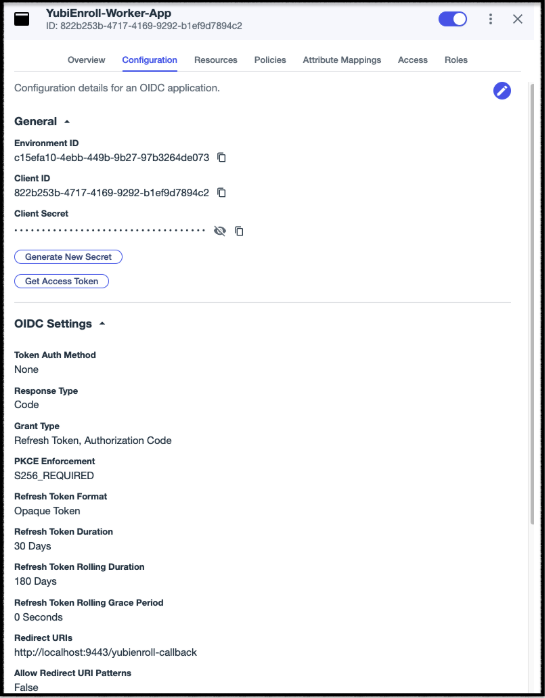
When adding a provider configuration in YubiEnroll you need the following values from PingOne PingID. These were created in step Registering the YubiEnroll App.
From the PingOne PingID Console, select the YubiEnroll app you created. The example name is
YubiEnroll-Worker-App.Locate required values:
Item Location Client IDGeneral section Environment IDGeneral section Redirect URIOIDC Settings section custom_domainoptional value policy_idoptional value Most of the value are listed on the Configuration tab.
To add PingOne PingID in YubiEnroll, see Adding Provider Configurations.
Enabling MFA and FIDO2 Policies
To enable authentication with FIDO2 devices one must create a FIDO2 policy and include it in the relevant MFA policy. By default YubiEnroll uses the default MFA policy. It is possible to use non-default policy by specifying the policy_id when creating/editing the PingOne PingID provider. More info on FIDO2 policies can be found at Adding a FIDO policy.
Using Custom Domains
PingOne PingID supports the mapping of customer-owned and controlled domain names that are used to access user interfaces and services. By default YubiEnroll assumes no custom domains are used. It is possible to specify a custom domain by specifying the custom_domain when creating/editing the PingOne PingID provider. More info on custom domains can be found at Setting up a custom domain.