YubiHSM Quick Start Tutorial
The purpose of this tutorial is to demonstrate basic functionalities of different key types: Authentication Key, Asymmetric Key and Wrap Key. We start with a fresh YubiHSM 2 configuration and we proceed in generating a new Authentication Key. Then we generate an Asymmetric Key for signing purposes. We sign an arbitrary amount of data and verify that our signature is correct. Part of this documentation is to demonstrate how to backup a key on a second YubiHSM 2. We do so by wrapping the Asymmetric Key and re-importing it into the same device.
This tutorial covers:
- Verify the YubiHSM and Packaging
- Connect to the YubiHSM 2
- Start the YubiHSM Manager
- Add a New Authentication Key
- Generate an Asymmetric Key Object for Signing
- Sign With the New Asymmetric Key
- Export an Asymmetric Key Under Wrap
Before proceeding with this document you should be familiar with concepts such as: Sessions, Domains, Capabilities described in Core Concepts.
Note
The following code samples have arbitrary line-breaks to prevent them from running off the page.
Physical YubiHSM Care
This section describes general information about packaging, identifying, and caring for your YubiHSM.
Verify the YubiHSM and Packaging
The YubiHSM has its own packaging style. Be sure you received the YubiHSM you ordered.
When you receive your YubiHSM, check that the packaging has not been tampered with.
Check that the YubiHSM arrives in the correct Yubico packaging.
See YubiKey packaging for images and description of the packaging used for YubiHSM 2 and YubiHSM 2 FIPS.
Check all the packaging components:
- The security seal on the back of the sleeve is not torn.
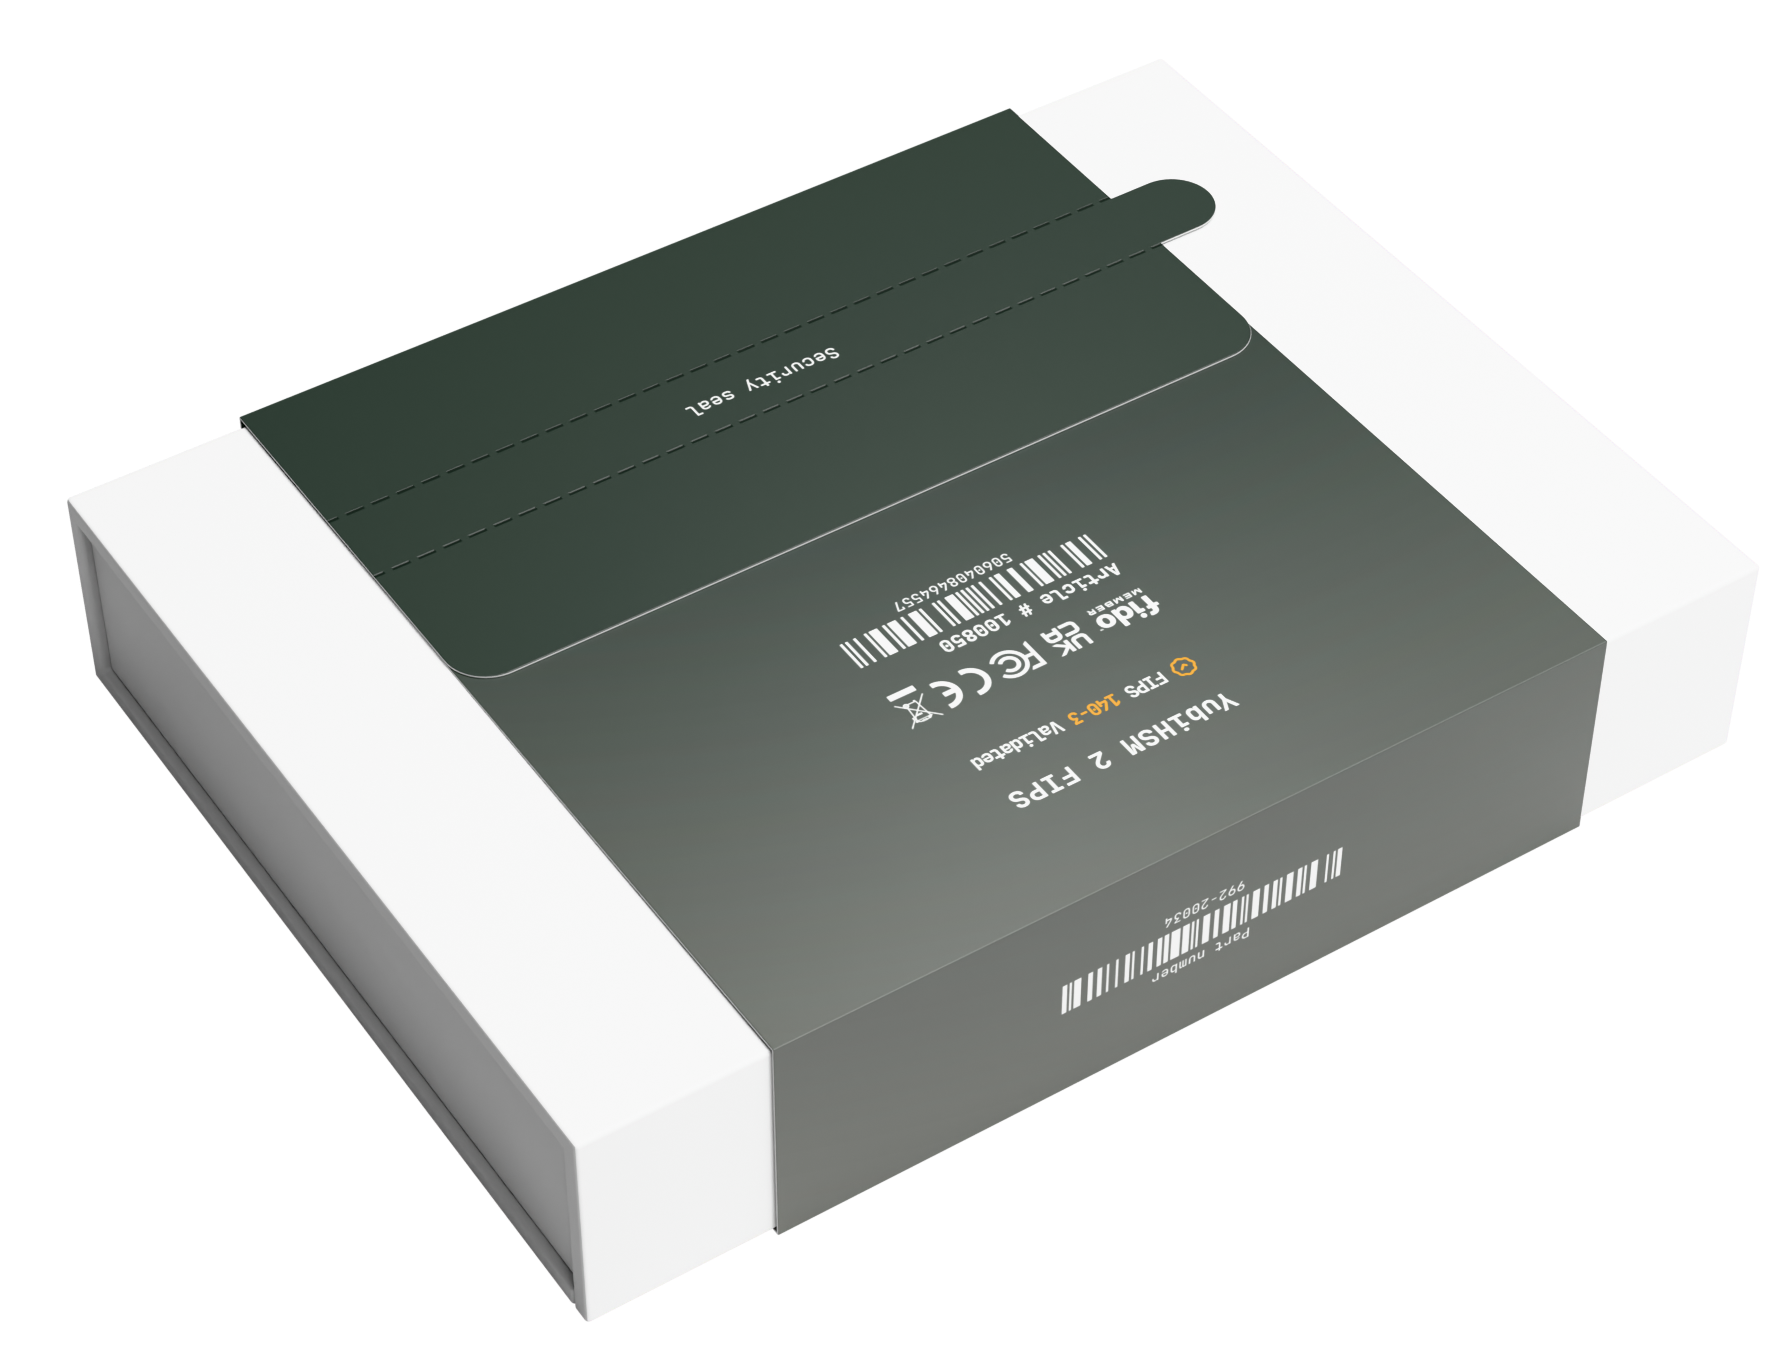
YubiHSM packaging with intact security seal
- The outer box cardboard box is not broken.
- The inner card tray show no signs of wear or tear
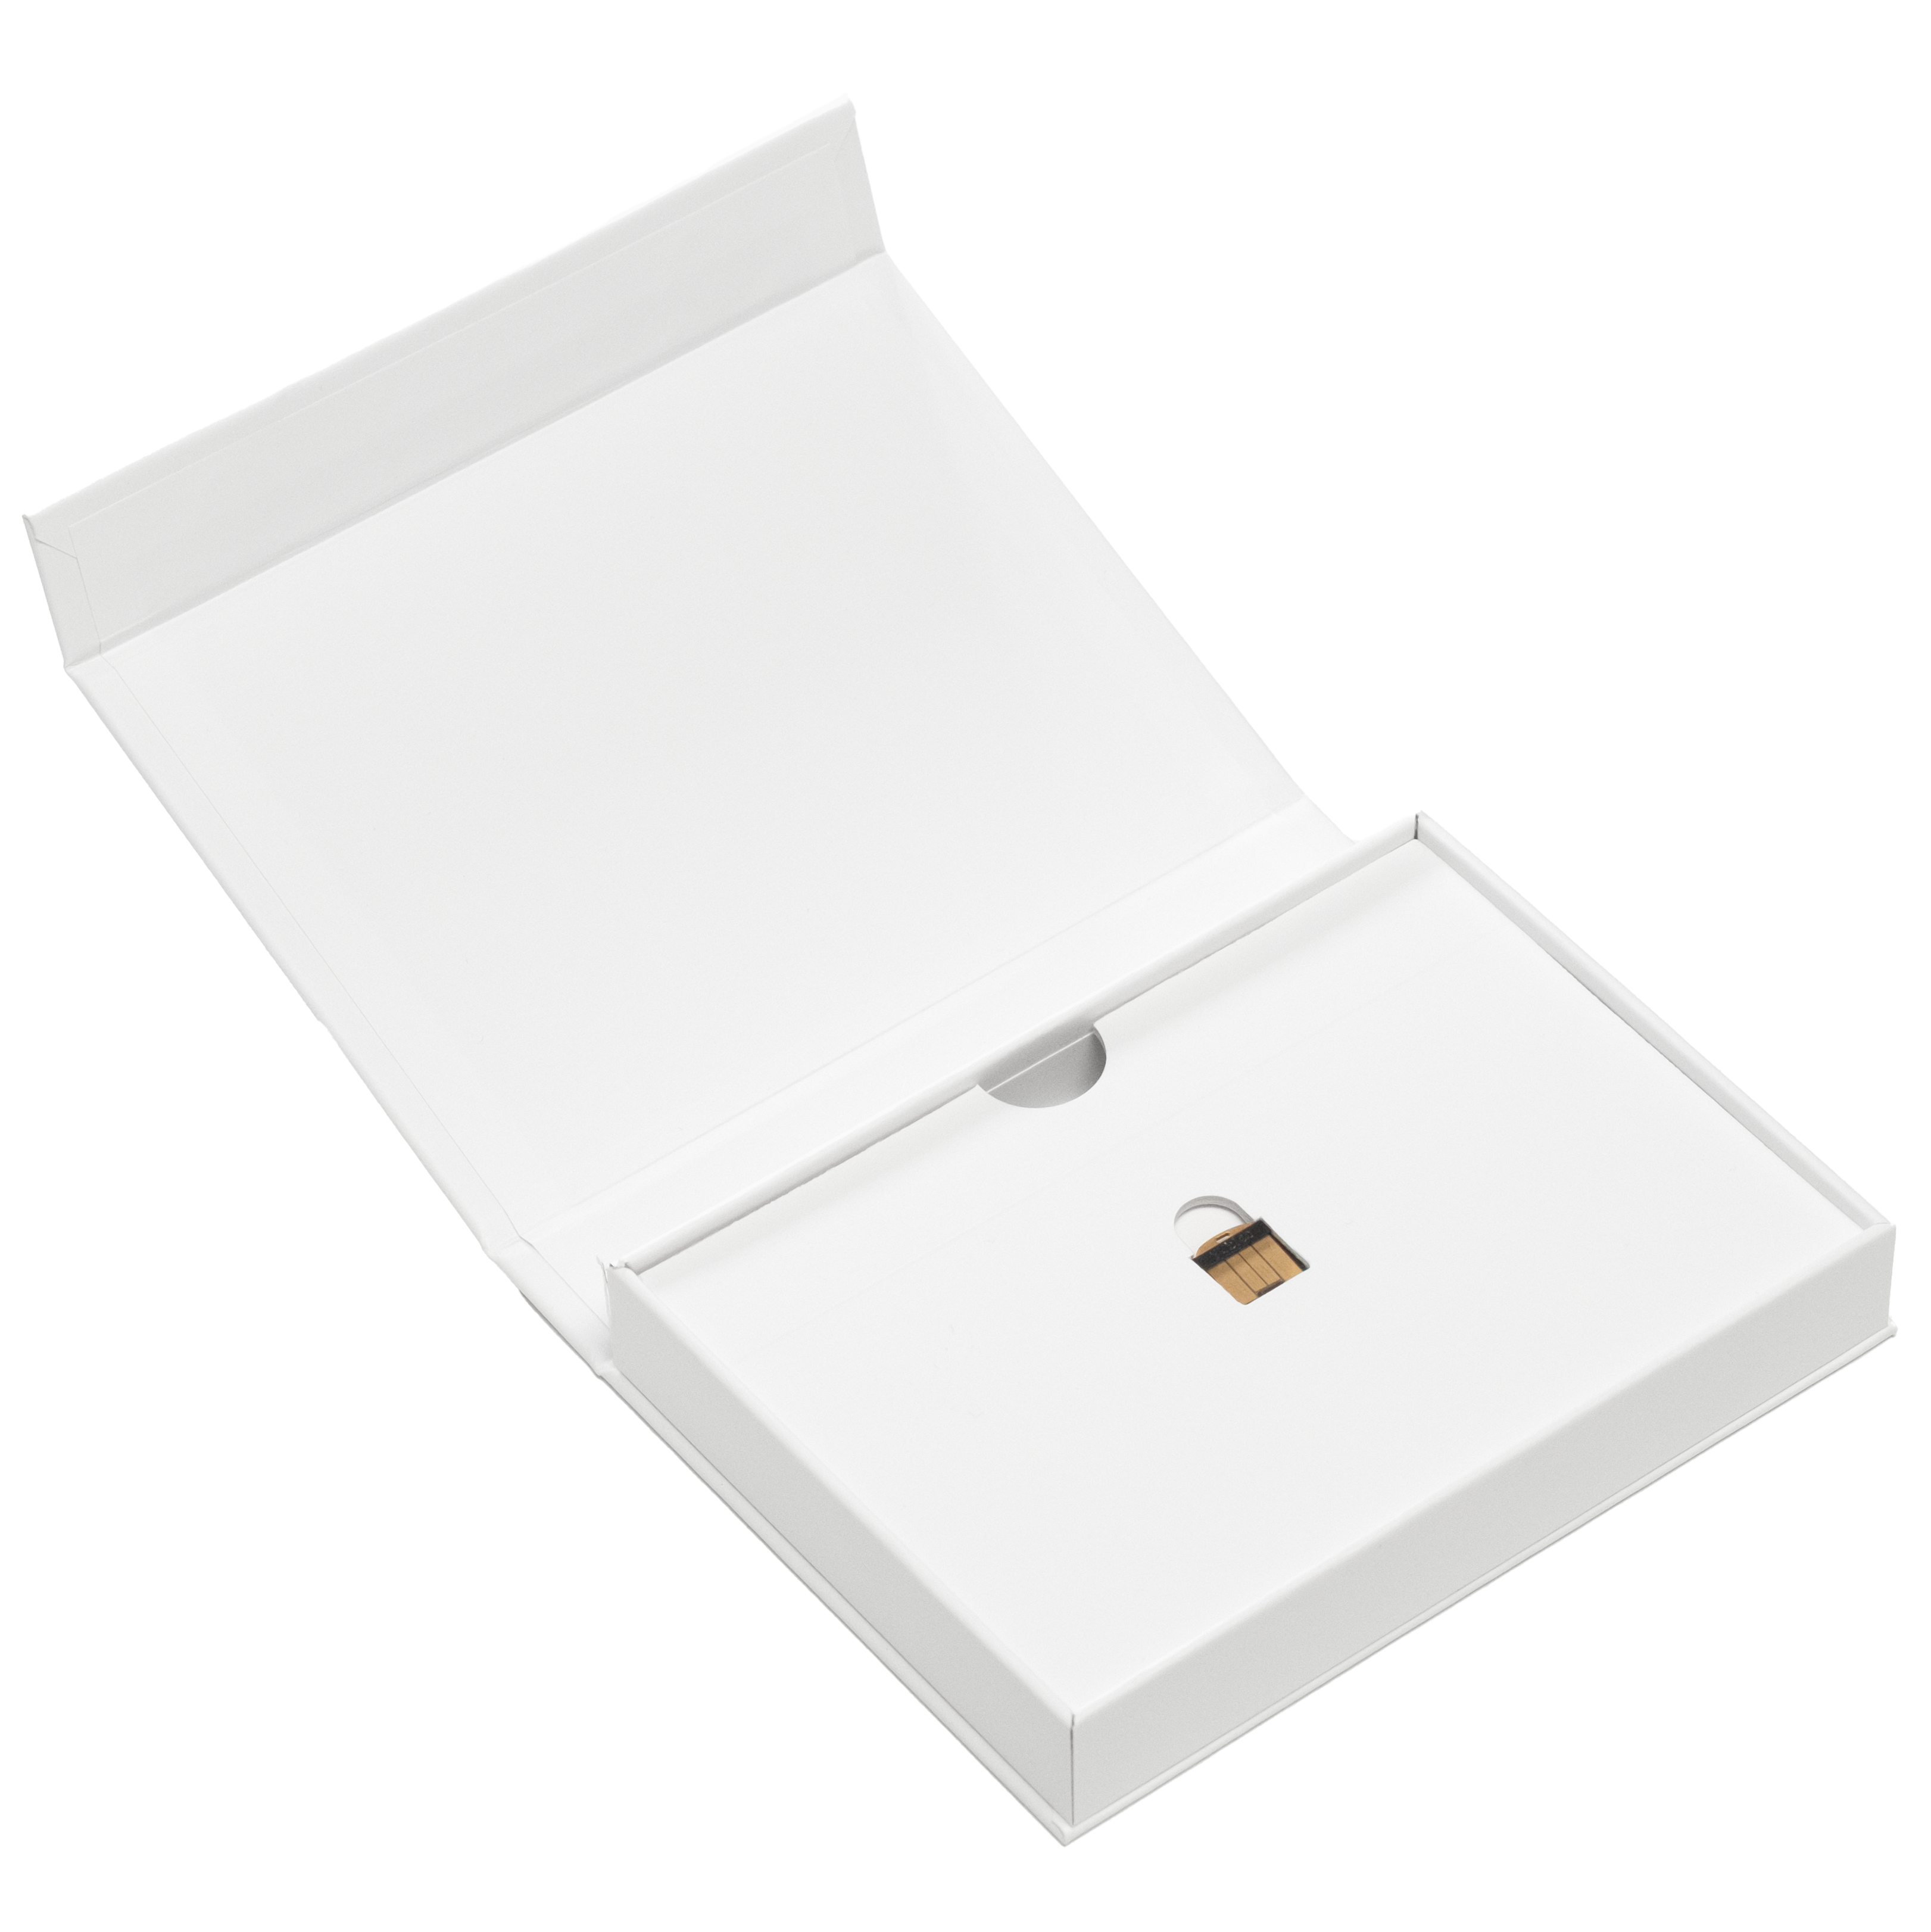
YubiHSM packaging with intact inner card tray
If you suspect any tampering, Submit a request.
YubiHSM ID Numbers
Various security protocols and use cases require valid devices identification. For the YubiHSM’s USB Product Identifier (PID), see How to find the USB Product ID (PID) of your YubiKey.
Care and Cleaning
YubiHSMs are IP68-rated. This means you can expect the YubiHSM to not allow ingress of dust up to level 6 and water resistance up to level 8 as defined by the International Electrotechnical Commission, for ingress protection (IP). See IP ratings.
To clean the YubiHSM, use wipes impregnated with no more than 70% isopropyl alcohol.
Install the YubiHSM 2 Tools and Software
To complete the procedures in this guide, install the required YubiHSM 2 tools and software on your system. The YubiHSM 2 SDK is built and provides for the following operating systems: Windows, Linux distributions, and macOS.
Tip
A generic prompt, $, is used in command line examples in this document. Depending on your command line application, your prompt may be different.
The following YubiHSM items of software are used in this guide. They are included as part of the archive file you download. See YubiHSM2 Releases for most recent platform YubiHSM2 downloads.
Unzip the downloaded archives of the SDK containing the YubiHSM libraries and tools and move the contents to an appropriate location.
Complete the step for your operating system.
On your Windows system, run both installers:
yubihsm-manager-<VERSION>-x64.msi(YubiHSM Manager for Windows)yubihsm-connector-<VERSION>-windows-amd64.msi(YubiHSM Connector for Windows)
On a Debian-based system, run the following command:
$ dpkg -i ./yubihsm-manager_*.deb ./yubihsm-connector_*.debOn a Redhat-based system, run the following command:
$ yum install ./yubihsm-manager-*.rpm ./yubihsm-connector-*.rpmOn a macOS-based system, use the darwin package.
yubishm2-sdk-<date>-darwin-universal.pkg(either macOS ARM or AMD chip sets).yubishm2-sdk-<date>-darwin-arm64.pkg(macOS ARM chip sets)yubishm2-sdk-<date>-darwin-amd64.pkg(macOS AMD chip set)
Double click on the installer package and follow the instructions.
Connect to the YubiHSM 2
The following steps use the yubihsm-connector. Connection can also be made using the direct USB mode which is explained later in this document.
- Start the connector.
$ yubihsm-connector --log-level debugwhere –
--log-level debugruns the connector in debug mode which may slow down the connector but produces more logs. It is not required for normal mode of operations.Make sure your device is accessible by the connector. This is accomplished either by running the connector as a superuser or by using an appropriate
udev_rule. See OS Permissions for USB Access for more details.
- Check the status of your connector and device by using a browser to visit http://127.0.0.1:12345/connector/status.
Start the YubiHSM Manager
Most commands can only be send to the YubiHSM 2 within the context of an authenticated session, which requires there to be an Authentication Key object stored on the device. To establish a session, the Authentication Key Object ID needs to be specified along with the authentication credential that is associated with that Authentication Key, for example a password.
By default the YubiHSM 2 comes with a pre-installed Authentication Key with Object ID 1 and a derived password
password. While it is important to remove or replace this Authentication Key before production deployment, it can
be used for the purposes of this tutorial to establish a session and run commands on the device. See
Session for more information about sessions and Objects and
Authentication Key Object for more information about Authentication Keys.
For this tutorial, we will be using the YubiHSM 2 Manager to interact with the YubiHSM 2 device. The YubiHSM Manager is a command-line tool that allows you to manage your YubiHSM 2 device. Starting the manager will automatically open a session to the YubiHSM 2 device and allow you to run commands to manage the device and its keys.
Start the YubiHSM Manager by running the following command in a terminal:
$ yubihsm-managerRunning
yubihsm-managerwithout any arguments will attempt to open a session using the default Authentication Key (Object ID1) and will prompt the user for the password.Enter the default password
passwordto open a session. You should enter the main menu:$ yubihsm-manager * Using authentication key 0x0001 | > Enter authentication password: | ******** | ! Warning!! Opening a session using default authentication key and default password. It is strongly recommended to change default credentials | > YubiHSM Manager ------------------------------------------------------------------+ | | | Operations applicable for all objects on the YubiHSM | | Pressing 'Esc' will always cancel current operation and return to previous menu | +------------------------------------------------------------------------------------+ | | * List (List all objects stored on the YubiHSM) | - Search objects | - [Asymmetric Key operations] | - [Symmetric Key operations] | - [Wrap Key operations] | - [Authentication Key operations] | - [Special operations] | - [Device operations] | - Exit YubiHSM Manager
Use the arrow keys to navigate the menu and select the desired operation by pressing Enter. In multi-choice options, pressing the Space key will select or deselect an option. Pressing the Escape key will cancel the current operation and return to the previous menu or exit the manager if on the top level menu.
Select List from the main menu. This will list all the objects currently stored on the YubiHSM 2 device. If this is a brand new YubiHSM, you should see only the default Authentication Key with Object ID
1in the list.> YubiHSM Manager > List -----------------------------------------------------------+ | | | List all objects stored on the YubiHSM | | Pressing 'Esc' will always cancel current operation and return to previous menu | +------------------------------------------------------------------------------------+ | > +------------------------------------------------------------------------------------------------------------------------------------------------------------------------------------------+ | | ID | Type | Label | Algorithm | Domains | Capabilities | | +--------+-------------------+----------------------------------+--------------------------------+----------------------------------------+------------------------------------------------+ | | 0x0001 | AuthenticationKey | DEFAULT AUTHKEY CHANGE THIS ASAP | "AES128 Yubico Authentication" | 1,2,3,4,5,6,7,8,9,10,11,12,13,14,15,16 | get-opaque,put-opaque,put-authentication-key,p | | | | | | | | ut-asymmetric-key,generate-asymmetric-key,sign | | | | | | | | pseudo-random,put-mac-key,generate-hmac-key,si | | | | | | | | gn-hmac,verify-hmac,get-log-entries,sign-ssh-c | | | | | | | | ertificate,get-template,put-template,reset-dev | | | | | | | | ice,decrypt-otp,create-otp-aead,randomize-otp- | | | | | | | | aead,rewrap-from-otp-aead-key,rewrap-to-otp-ae | | | | | | | | ad-key,sign-attestation-certificate,put-otp-ae | | | | | | | | ad-key,generate-otp-aead-key,wrap-data,unwrap- | | | | | | | | data,delete-opaque,delete-authentication-key,d | | | | | | | | elete-asymmetric-key,delete-wrap-key,delete-hm | | | | | | | | ac-key,delete-template,delete-otp-aead-key,put | | | | | | | | -symmetric-key,generate-symmetric-key,delete-s | | | | | | | | ymmetric-key,decrypt-ecb,encrypt-ecb,decrypt-c | | | | | | | | bc,encrypt-cbc,put-public-wrap-key,delete-publ | | | | | | | | ic-wrap-key | | +--------+-------------------+----------------------------------+--------------------------------+----------------------------------------+------------------------------------------------+
This action lists all objects stored on the YubiHSM 2 device along with their basic properties.
To view all properties of a specific object, use the Search objects option from the main menu.
- Select Search objects
- Select By object ID
- Enter Object ID
1
This displays all the properties of the default Authentication Key.
+--------+-------------------+--------------------------------+--------------------------------+----------+----------+--------------------------------+--------------------------------+--------------------------------+
| ID     | Type              | Label                          | Algorithm                      | Sequence | Origin   | Domains                        | Capabilities                   | Delegated Capabilities         |
+--------+-------------------+--------------------------------+--------------------------------+----------+----------+--------------------------------+--------------------------------+--------------------------------+
| 0x0001 | AuthenticationKey | DEFAULT AUTHKEY CHANGE THIS    | "AES128 Yubico Authentication" | 0        | Imported | 1,2,3,4,5,6,7,8,9,10,11,12,13, | get-opaque,put-opaque,put-auth | get-opaque,put-opaque,put-auth |
|        |                   | ASAP                           |                                |          |          | 14,15,16                       | entication-key,put-asymmetric- | entication-key,put-asymmetric- |
|        |                   |                                |                                |          |          |                                | key,generate-asymmetric-key,si | key,generate-asymmetric-key,si |
|        |                   |                                |                                |          |          |                                | gn-pkcs,sign-pss,sign-ecdsa,si | gn-pkcs,sign-pss,sign-ecdsa,si |
|        |                   |                                |                                |          |          |                                | gn-eddsa,decrypt-pkcs,decrypt- | gn-eddsa,decrypt-pkcs,decrypt- |
|        |                   |                                |                                |          |          |                                | oaep,derive-ecdh,export-wrappe | oaep,derive-ecdh,export-wrappe |
|        |                   |                                |                                |          |          |                                | d,import-wrapped,put-wrap-key, | d,import-wrapped,put-wrap-key, |
|        |                   |                                |                                |          |          |                                | generate-wrap-key,exportable-u | generate-wrap-key,exportable-u |
|        |                   |                                |                                |          |          |                                | nder-wrap,set-option,get-optio | nder-wrap,set-option,get-optio |
|        |                   |                                |                                |          |          |                                | n,get-pseudo-random,put-mac-ke | n,get-pseudo-random,put-mac-ke |
|        |                   |                                |                                |          |          |                                | y,generate-hmac-key,sign-hmac, | y,generate-hmac-key,sign-hmac, |
|        |                   |                                |                                |          |          |                                | verify-hmac,get-log-entries,si | verify-hmac,get-log-entries,si |
|        |                   |                                |                                |          |          |                                | gn-ssh-certificate,get-templat | gn-ssh-certificate,get-templat |
|        |                   |                                |                                |          |          |                                | e,put-template,reset-device,de | e,put-template,reset-device,de |
|        |                   |                                |                                |          |          |                                | crypt-otp,create-otp-aead,rand | crypt-otp,create-otp-aead,rand |
|        |                   |                                |                                |          |          |                                | omize-otp-aead,rewrap-from-otp | omize-otp-aead,rewrap-from-otp |
|        |                   |                                |                                |          |          |                                | -aead-key,rewrap-to-otp-aead-k | -aead-key,rewrap-to-otp-aead-k |
|        |                   |                                |                                |          |          |                                | ey,sign-attestation-certificat | ey,sign-attestation-certificat |
|        |                   |                                |                                |          |          |                                | e,put-otp-aead-key,generate-ot | e,put-otp-aead-key,generate-ot |
|        |                   |                                |                                |          |          |                                | p-aead-key,wrap-data,unwrap-da | p-aead-key,wrap-data,unwrap-da |
|        |                   |                                |                                |          |          |                                | ta,delete-opaque,delete-authen | ta,delete-opaque,delete-authen |
|        |                   |                                |                                |          |          |                                | tication-key,delete-asymmetric | tication-key,delete-asymmetric |
|        |                   |                                |                                |          |          |                                | -key,delete-wrap-key,delete-hm | -key,delete-wrap-key,delete-hm |
|        |                   |                                |                                |          |          |                                | ac-key,delete-template,delete- | ac-key,delete-template,delete- |
|        |                   |                                |                                |          |          |                                | otp-aead-key,put-symmetric-key | otp-aead-key,put-symmetric-key |
|        |                   |                                |                                |          |          |                                | ,generate-symmetric-key,delete | ,generate-symmetric-key,delete |
|        |                   |                                |                                |          |          |                                | -symmetric-key,decrypt-ecb,enc | -symmetric-key,decrypt-ecb,enc |
|        |                   |                                |                                |          |          |                                | rypt-ecb,decrypt-cbc,encrypt-c | rypt-ecb,decrypt-cbc,encrypt-c |
|        |                   |                                |                                |          |          |                                | bc,put-public-wrap-key,delete- | bc,put-public-wrap-key,delete- |
|        |                   |                                |                                |          |          |                                | public-wrap-key                | public-wrap-key                |
+--------+-------------------+--------------------------------+--------------------------------+----------+----------+--------------------------------+--------------------------------+--------------------------------+
Add a New Authentication Key
Before moving on, make sure you are familiar with concepts of Capabilities and Domains
For our example we are going to generate an Authentication Key with selected Capabilities and Domains. Learn more about existing key Types at Objects.
From the main menu, select [Authentication Key operations].
Select Setup custom user
Enter Object ID 2
Enter label student
Select Domains 1, 2, and 3
Select the Capabilities:
- Delete Asymmetric Key Objects
- Export other Objects under wrap
- Extract random bytes
- Generate Asymmetric Key Objects
- Import Wrap Key Objects
- Import wrapped Objects
- Sign data using ECDSA
Select Delegated Capabilities:
- Export other Objects under wrap
- Exportable under wrap
- Import wrapped Objects
- Sign data using ECDSA
Important
While the list of Capabilities and Delegated Capabilities to select from are the same, they are distinct in that Capabilities specify operation the Authentication Key is permitted to perform, while Delegated Capabilities specify operations that the Authentication Key can grant to other Objects that it creates.
Important
Export other Objects under wrap allows the creation of Objects that can perform export of other objects in encrypted form.
Exportable under wrap allows the creation of Objects that can be exported in encrypted form.
Select Password Derived
Enter password for the new Authentication Key,
foo123Confirm the password by entering
foo123again. A table with all selected options is displayed for confirmation.Confirm the creation of the new Authentication Key by selecting Yes.
On success, the following message is displayed before returning to menu:
Created new authentication key with ID 0x0002
This means that a new Authentication Key with Object ID
0x0002(hexadecimal for 2) was created and stored on the device.List all Objects to see the newly created Authentication Key.
Select List from the presented menu
A table containing both the default Authentication Key and the new Authentication Key is displayed.
Next, let’s start using our newly created Authentication Key to establish an encrypted Session.
- Exit the YubiHSM Manager by Selecting Exit YubiHSM Manager from the presented menu.
- In the terminal, start the YubiHSM Manager again with the command
yubihsm-manager --authkey 2. This will attempt to open a session using the Authentication Key with Object ID2and will prompt the user for the password. - Enter the password
foo123to open a session. You should enter the main menu again, but this time you are authenticated with the new Authentication Key.
Generate an Asymmetric Key Object for Signing
We now proceed to generate a new Asymmetric Key. In our example we will use this key to sign some data. We will also export the key under wrap to another YubiHSM, for backup purposes.
Specifically, we will ask the device to generate an Asymmetric Key with ID 100 and a given set of Domains and
Capabilities. We will also specify the kind of Asymmetric Key that we would like to generate, an EC key using the
NIST P-256 curve in this case.
From the main menu, select [Asymmetric Key operations].
Select Generate
Select EC SEC-P256
Enter Object ID 100
Enter label label_ecdsa_sign
Select Domains All Domains
Note
Note that this time, only Domains 1, 2, and 3 are presented as options. This is because an object cannot be created with access to Domains that the Authentication Key used to create it does not have access to.
Select the Capabilities All Capabilities:
Note
Note that the Capabilities presented this time are only a subset of all existing Capabilities. This is because an object cannot be created with Capabilities that the Authentication Key used to create it is not authorized to grant. In other words, a new object can only be created with Capabilities that the Authentication Key has in its Delegated Capabilities
A table with all selected options is displayed for confirmation.
Note
Note that this time, we are not selecting any Delegated Capabilities. This is because an Asymmetric Key cannot create any new objects on the YubiHSM and thus does not grant any Capabilities to other objects.
Confirm the creation of the new Asymmetric Key by selecting Yes.
On success, the following message is displayed before returning to menu:§
Generated object of type asymmetric-key and ID 0x0064 on the YubiHSM
This signifies that an Asymmetric Key with ID
0x0064(hexadecimal for 100) was generated.List Asymmetric Objects to see the newly created Asymmetric Key.
Select List from the presented menu
A table containing the new Authentication Key is displayed.
Note
Not that in this table, only Asymmetric Keys are listed. This is because the List operation was performed within the context of [Asymmetric Key operations] menu. To list all objects currently on the device: Press Esc to return to the main menu then select List from there.
Sign With the New Asymmetric Key
Assuming we have a file called
data.txtcontaining the data we would like to sign, we will sign it using ECDSA with the Asymmetric Key we generated in the previous step.From the main menu, select [Asymmetric Key operations].
Select Sign
Enter path to
data.txtSelect the signing key
0x0064Select ECDSA with SHA-256
By default the output is printed to the standard output and consists of the Hex-encoded signature like the one below.
304402206c0401d23d712a06615ab8471fbb7561a05d30eeae54803c64bad31657ae3ef20220099901d4e3bc4b317d412ffc38f718844aa7818b3e586decb5b5c02c24ed7a63
When questioned about writing the signature to a file, select Yes.
Press Enter to select the default file for the signature.
On success, the following message is displayed before returning to menu:
Wrote file ./data.sig
Next, we will extract the public key from the Asymmetric Key on the device and write it to a file so that we can use it to verify the signature we just created.
From the menu, select Get Public Key.
Select the signing key
0x0064The public key is displayed in Base64 format.
When questioned about writing the public key to a file, select Yes.
Press Enter to select the default file for the public key.
On success, the following message is displayed before returning to menu:
Wrote file ./0x0064.pubkey.pem
We are going to use OpenSSL for the verification process, which is done outside the YubiHSM Manager.
- From the menu, select Exit YubiHSM Manager to exit the manager.
- Use the following command to verify the signature using OpenSSL. You should get the output
Verified OKif the signature is valid.
$ openssl dgst -sha256 -signature data.sig -verify 0x0064.pubkey.pem data.txt
Verified OK
Export an Asymmetric Key Under Wrap
Time to export the Asymmetric Key under wrap to a second YubiHSM 2 (in this example, we will export to the same YubiHSM for convenience).
To do that we need a Wrap Key, which fundamentally is an AES key. We use the random number generator built into the YubiHSM to generate the 16 bytes needed for an AES-128 key.
In the terminal, start the YubiHSM Manager again with the command
yubihsm-manager --authkey 2and enter the passwordfoo123when promptedFrom the main menu, select [Wrap Key operations].
Select Generate pseudo random number
Enter number of bytes to generate, 16. A 16 bytes string is displayed in Hex format.
From the menu, select Import Wrap Key
When questioned about recreating from shares, select No.
Enter the 16 bytes string from step 1d as the key material for the new Wrap Key.
Enter 200 as the Object ID for the new Wrap Key.
Enter label label_wrapkey
Select Domains 1, 2, and 3
Select the Capabilities:
- Export other Objects under wrap
- Import wrapped Objects
Select Delegated Capabilities:
- Exportable under wrap
- Sign data using ECDSA
Note
For both exporting and importing an object under wrap, the Delegated Capabilities of the Wrap Key have to include all the Capabilities of the Object being exported/imported.
A table with all selected options is displayed for confirmation.
Confirm the creation of the new Wrap Key by selecting Yes.
On success, the following message is displayed:
Imported wrap-key object with ID 0x00c8 into the YubiHSM
When questioned about splitting the wrap key into shares, select No. You will now return to the menu.
We can now export the Asymmetric Key with ID
100using the Wrap Key with ID200and save it to a file called0x0064-asymmetric-key.yhw.From the menu, select Export objects under wrap.
Select the wrapkey with ID
0x00c8(200in Hex)Select the asymmetric key with ID
0x0064(100in Hex) to be exported by pressing the Space key and then Enter. Outside this tutorial, you can select multiple keys.Press Enter to select the current directory as the the location for the file containing the wrapped object.
On success, the following message is displayed before returning to menu:
Wrote file ./0x0064-asymmetric-key.yhw
We are going to re-import the Asymmetric Key on the same device so we need to first delete the existing one.
Press ESC to return to the main menu
Select [Asymmetric Key operations].
Select Delete
Select the asymmetric key with ID
0x0064to be deleted by pressing the Space key and then Enter.A confirmation prompt is displayed.
Confirm the deletion by selecting Yes.
On success, the following message is displayed before returning to menu:
Successfully deleted asymmetric-key object with ID 0x0064 from the YubiHSM
We now import the wrapped EC key back into the YubiHSM using the same Wrap Key.
Press ESC to return to the main menu
Select [Wrap Key operations].
From the menu, select Import wrapped object.
Enter the path to the wrapped EC key, ./0x0064-asymmetric-key.yhw.
Select the wrapkey with ID
0x00c8On success, the following message is displayed before returning to menu:
Successfully imported object asymmetric-key, with ID 0x0064