Short Cut to Authenticator Functionality
You can generate and copy One Time Passwords (OTPs) directly from Windows’ system tray or from the menu bar in MacOS. This saves you having to launch the Yubico Authenticator every time you want to use it. Just click on the Authenticator icon. The screenshots below show the icon (blown up) first as it appears when the app is inactive, and then when the app is running in the background:
MacOS: Authenticator Icon Inactive
MacOS: Authenticator Icon Active
Windows Authenticator Icon
Integrating Authenticator Functionality
To insert Yubico Authenticator code generation function into a system tray (on Windows) or menu bar (in MacOS),
| Step 1: | Launch the Yubico Authenticator desktop application. |
|---|---|
| Step 2: | If Settings is already selected, open it to the Settings window by clicking the three horizontal bars in the top left corner. 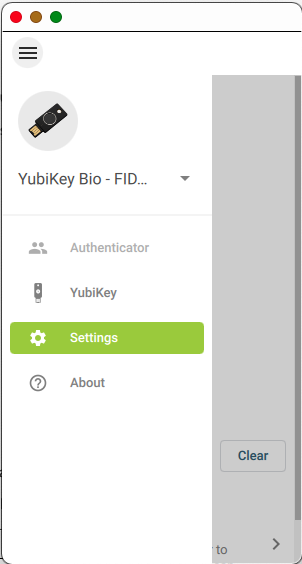
If Settings is not already selected, select it. The Settings window appears. |
| Step 3: | Under Application, click the checkbox labeled Show in system tray (or Show in menu Bar for MacOS). 
MacOS: Show in Menu Bar (Optional) The Hide on launch checkbox automatically minimizes Yubico Authenticator on launch, so that only the System tray or Menu bar (MacOS) icon is shown instead of the fully expanded application. |
The Yubico Authenticator icon should now be displayed in the System tray (Windows) or Menu bar (MacOS).

MacOS: Yubico Authenticator Icon in Menu Bar
Short Cut to Controlling Authenticator
To show the Authenticator GUI in the foreground or to close the app, right-click the Authenticator icon in the system tray or menu bar and select as desired from the menu, Show Yubico Authenticator or Quit :
MacOS: Icon Menu
Configuring Favorites
Multiple accounts can be favorited. In this example, an account has already been added to the YubiKey as described in Setup Your YubiKey with Yubico Authenticator for Desktop. Note that favorited accounts are specific to the local device. Accounts will need to be re-marked as a favorite for every instance of the Yubico Authenticator desktop application.
| Step 1: | Launch the Yubico Authenticator. |
|---|---|
| Step 2: | Insert the YubiKey. |
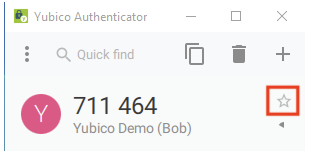
| Step 3: | In the Yubico Authenticator GUI, mouse over the account to be favorited and click on the star outline in the top right corner. Once an account has been set as a favorite, the star outline turns gold. |

Generating OTP Codes for Favorite Accounts
The images shown below are from a sample authentication flow. Other services may have a different interface for accepting OTPs.
| Step 1: | in the System tray (Windows) or Menu bar (MacOS), right click the Yubico Authenticator icon. |
|---|---|
| Step 2: | From the resulting pop-up, select the desired account. 
|
| Step 3: | [Optional] The operating system prompts you to touch the YubiKey if Require touch was enabled during setup. 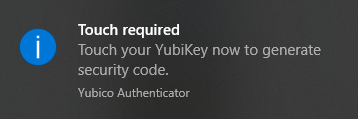
The operating system automatically copies the OTP to the clipboard. |
| Step 4: | when prompted by the service of the favorited account, paste the copied OTP into the appropriate field on the website. 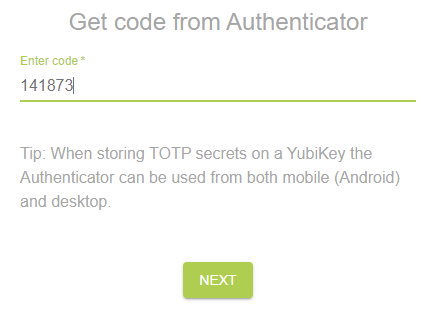
|
To file a support ticket with Yubico, click Support.