Install the App
Once you have downloaded the Yubico Authenticator app, follow the installation instructions listed here for your chosen platform.
macOS
Yubico Authenticator installation on macOS is slightly different for direct downloads vs. Mac App Store. However, both methods require you to enable input monitoring and screen recording after installation.
Installation via direct download
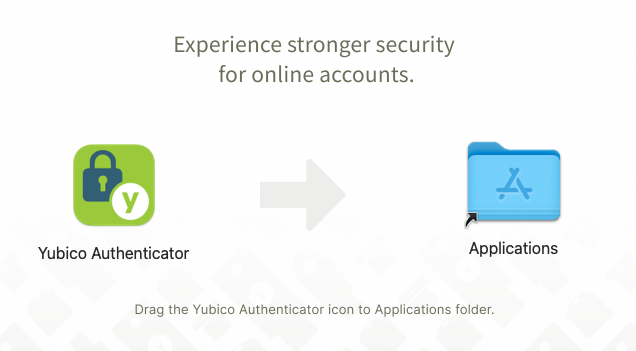
If you downloaded the .dmg file from the Yubico website, do the following:
Double-click on the yubico-authenticator-<version>.dmg file.
Drag the Yubico Authenticator icon to the Applications folder when prompted.
Installation via the Mac App Store
If you want to install the app via the Mac App Store, do the following:
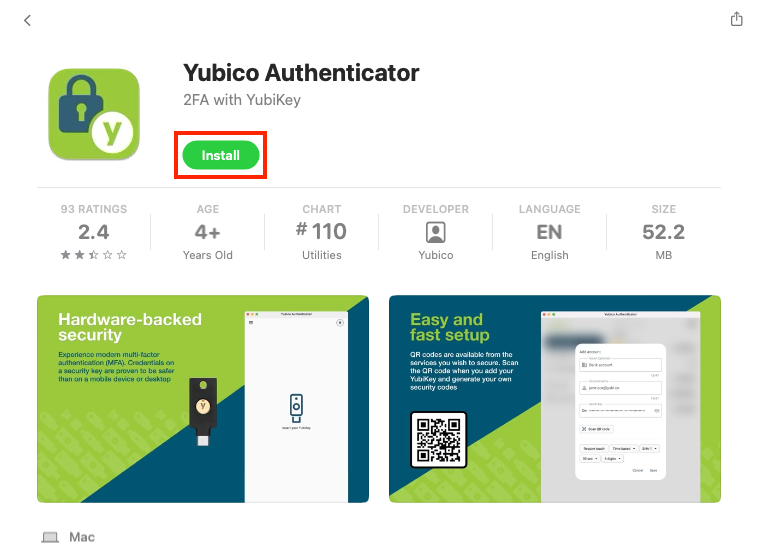
On the Yubico Authenticator page in the Mac App Store, click Get. Once the app has been downloaded, the blue Get button will change to a green Install button.
Click the Install button. Enter your Apple ID and password when prompted.
Enable input monitoring
Before you can use the Slots feature of Yubico Authenticator, you must enable input monitoring. These special permissions are required because the YubiKey’s Yubico OTP application, which you interact with via Slots, communicates with your Mac as if it were an external keyboard.
To enable input monitoring, do the following:
Open the Yubico Authenticator app and insert a YubiKey into your Mac.
Click on Slots.
A Keystroke Receiving window should pop up. Click on Open System Settings.
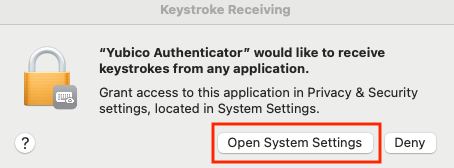
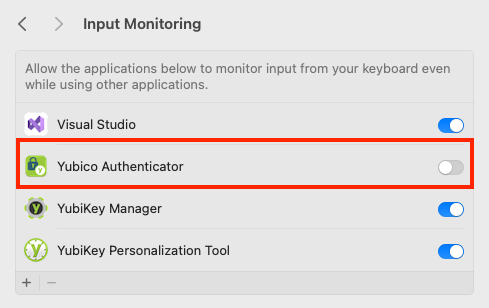
This will take you to your Input Monitoring settings. Flip the toggle next to Yubico Authenticator to the “on” position.
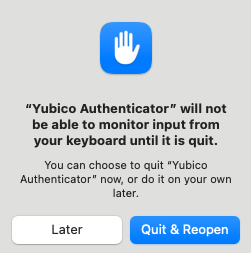
If the Yubico Authenticator app is still open, another window will pop up prompting you to restart the app to apply the new settings. Click Quit & Reopen.
Note
If you are not automatically prompted to change your input monitoring settings when opening the app for the first time, you can still do this manually by going to System Settings > Privacy & Security > Input Monitoring. Click the + icon, select the Yubico Authenticator app in the window that appears, and click Open.
Enable screen recording
Before you can add new OATH accounts via QR code, you must enable screen recording. You will be prompted to do this the first time you attempt a QR scan, but you can also set these permissions manually by doing the following:
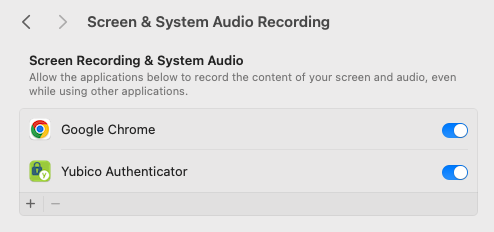
On your macOS device, go to System Settings > Privacy & Security > Screen & System Audio Recording.
If you do not see Yubico Authenticator on the list yet, add it by clicking the plus symbol, selecting the app, and clicking Open.
Set the toggle next to Yubico Authenticator to the “on” position.
Windows
If you downloaded the .msi file from the Yubico website, double-click the yubico-authenticator-<version>-win64.msi file and follow the prompts to complete installation. Depending on your device’s group policy settings, administrator permissions may be required during installation.
Alternatively, you can install Yubico Authenticator for Windows via the Microsoft Apps Store.
Linux
Once you have downloaded the tar.gz file from the Yubico website, extract the folder where the app has permissions to run.
Enable pcscd
Before you can use the Accounts (OATH) and Certificates (PIV) features of Yubico Authenticator, you must enable pcscd, which allows communication over the CCID interface.
To enable and start pcscd on most Linux systems, run:
sudo systemctl enable --now pcscd
To check if pcscd is running, enter:
systemctl status pcscd
To check if pcscd is enabled, enter:
systemctl is-enabled pcscd
QR scanning
For Linux machines running the Wayland graphical environment, the QR scanning feature (used when adding a new OATH account) requires either the gnome-screenshot tool (when running the Gnome desktop environment) or the Spectacle tool (when running the KDE desktop environment).
Running the app
To run the Yubico Authenticator for Linux app, change your path to wherever the executable is located and enter ./authenticator.
Alternatively, you can create a shortcut for Yubico Authenticator in the app launcher by running the desktop_integration.sh script, which is included in the tarball.
Installing older versions of Yubico Authenticator for Linux
To install an older version of Yubico Authenticator for Linux (5.1 and previous), follow the instructions on the Support site.
Android
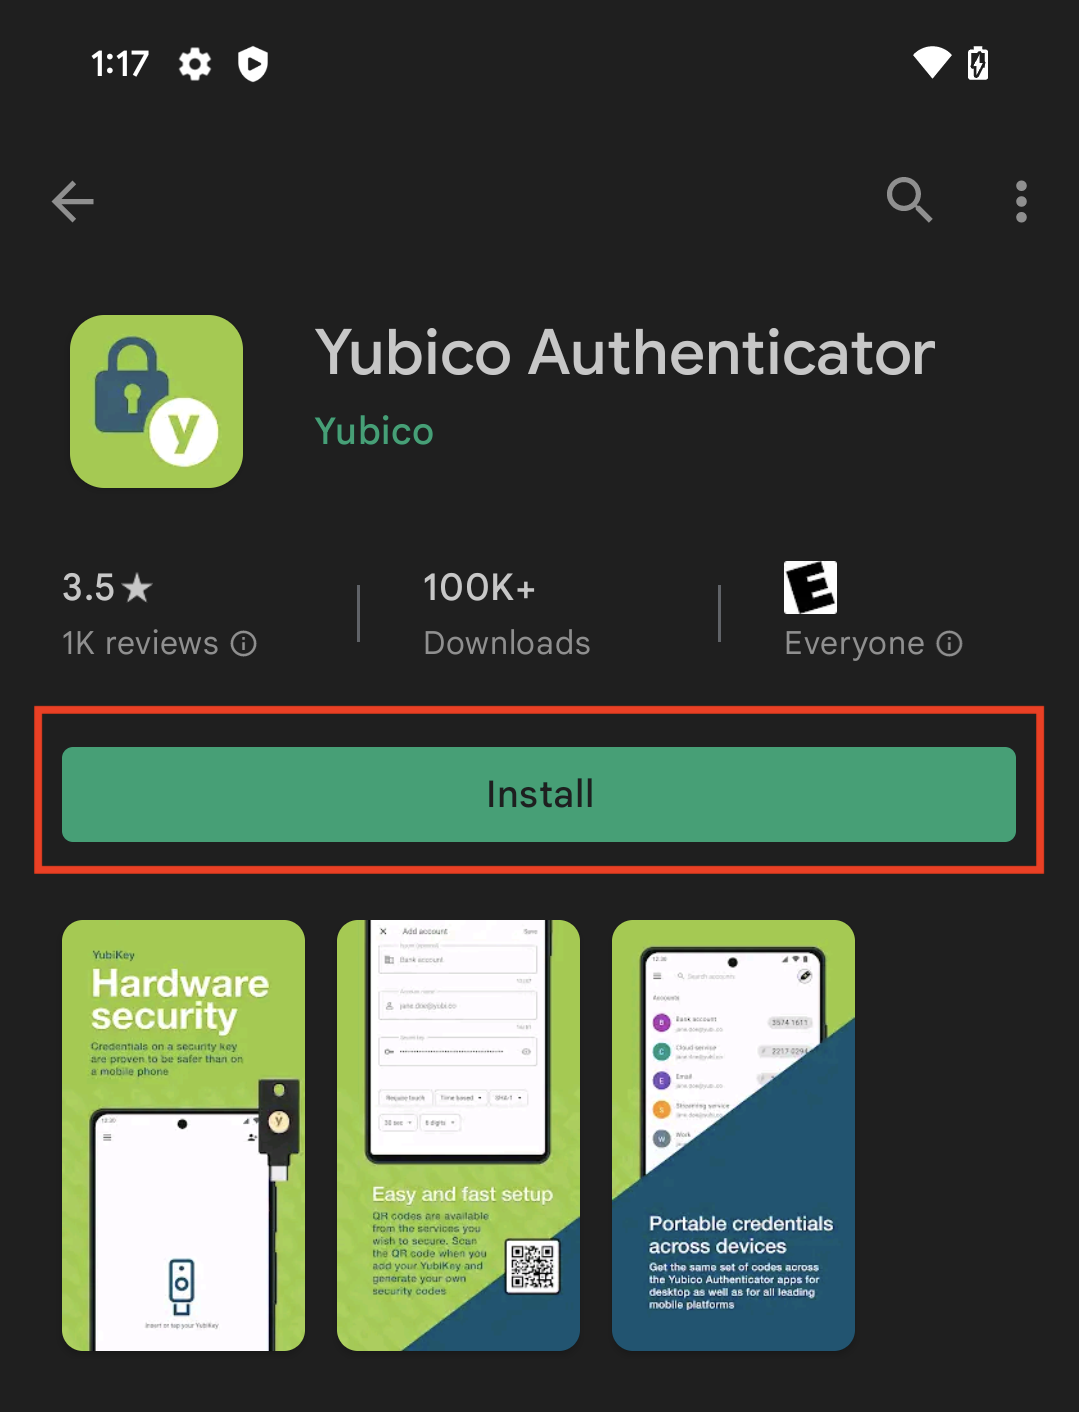
To install Yubico Authenticator for Android, go to the Yubico Authenticator page in the Google Play Store and click Install.
USB permissions
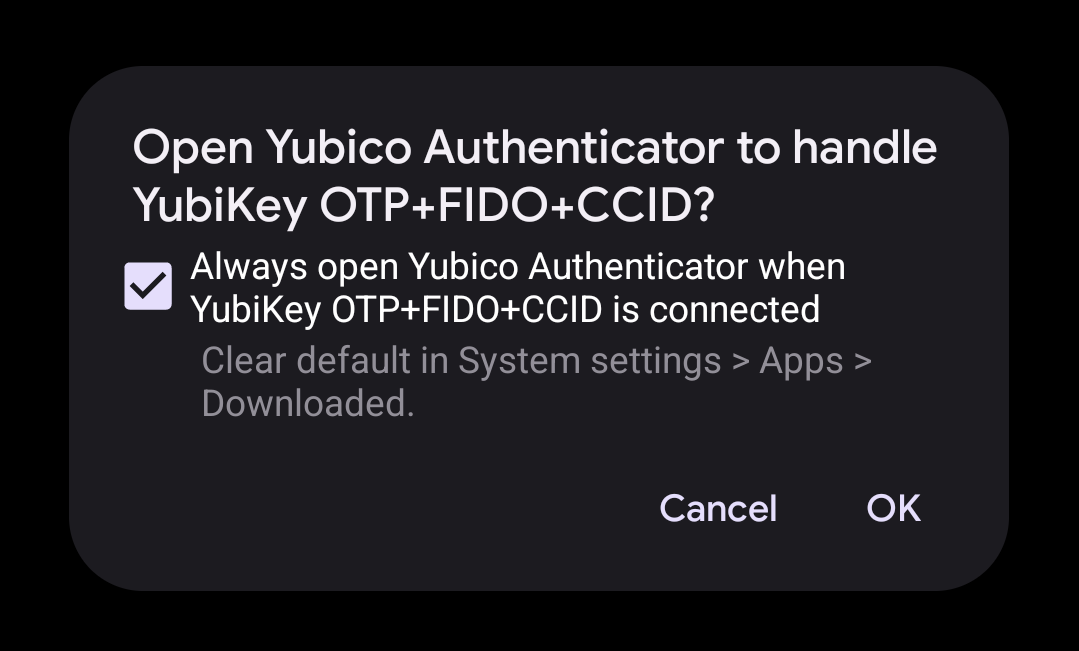
When you open the app and connect a new YubiKey to your Android device over USB, you may be prompted to allow the app to communicate with the key over the USB interface. The USB device name for the key is often listed as “YubiKey OTP+FIDO+CCID”. Click OK.
Installation via direct download
You may also download the .apk file directly. To install, click on the .apk file and follow the prompts. Your device may request permission to install apps downloaded from your browser.
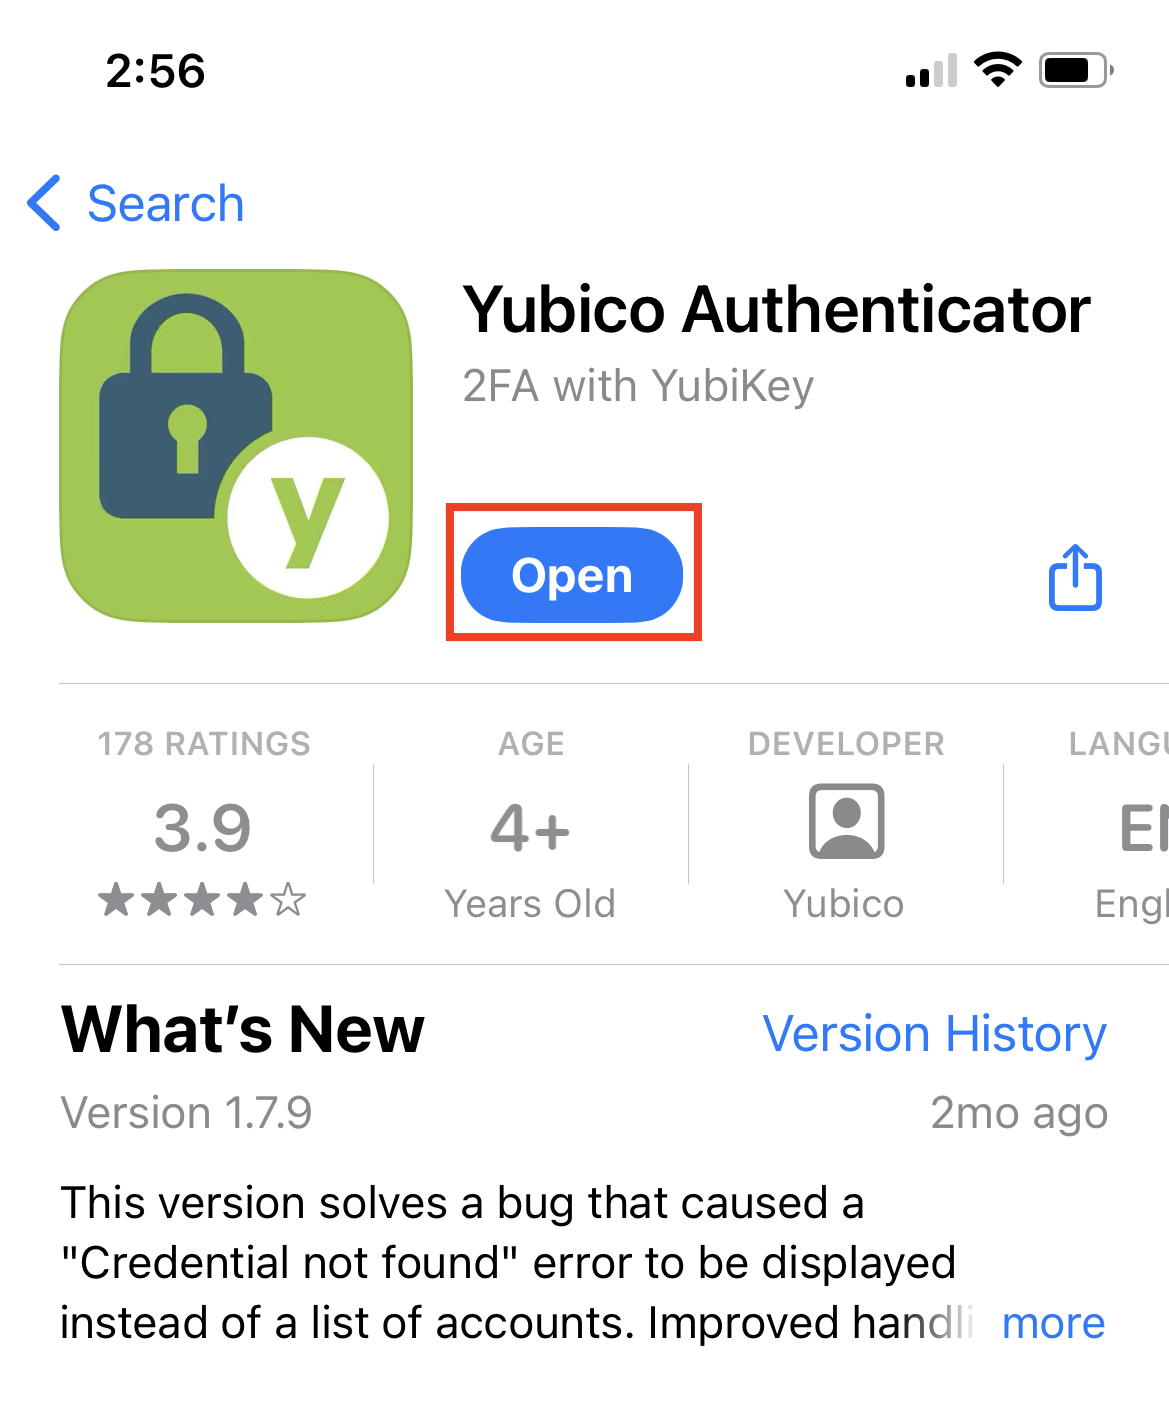
iOS and iPadOS
To install Yubico Authenticator for iOS/iPadOS, go to the Yubico Authenticator page in the App Store and click Get. Authenticate with your Apple account information when prompted. Once downloaded, click Open to open the Yubico Authenticator app.
Developers
For developers wishing to build and package the Yubico Authenticator app from source, please see the GitHub documentation for your desired platform: