Troubleshooting and Support
Running into problems with Yubico Authenticator? Check the guidance in this chapter for information on solving common issues and how to get additional support.
Accounts: OATH
OATH account renaming and/or deletion doesn’t work over NFC on iOS/iPadOS
When attempting to edit an OATH account name or delete an OATH account on iOS/iPadOS over an NFC connection, the name changes don’t save or the account isn’t successfully deleted despite following the correct steps. The app never prompts you to scan your key to complete the operation.
To solve this issue, close the app, reopen it, and try the operation again.
OTP authentication fails due to incorrect TOTP codes
If an OATH account’s TOTP codes are getting rejected as invalid during an authentication attempt and they have not expired at the time of submission, the clock on your device may be out of sync with the relying party (your account/service provider).
Reset the clock by following the instructions for your operating system or device. For example, Dell laptop users can reset the Real-Time Clock (RTC) by following the Dell knowledge base article instructions.
Cannot add OATH account
When attempting to add an OATH account to your YubiKey, the operation is greyed-out in Yubico Authenticator:
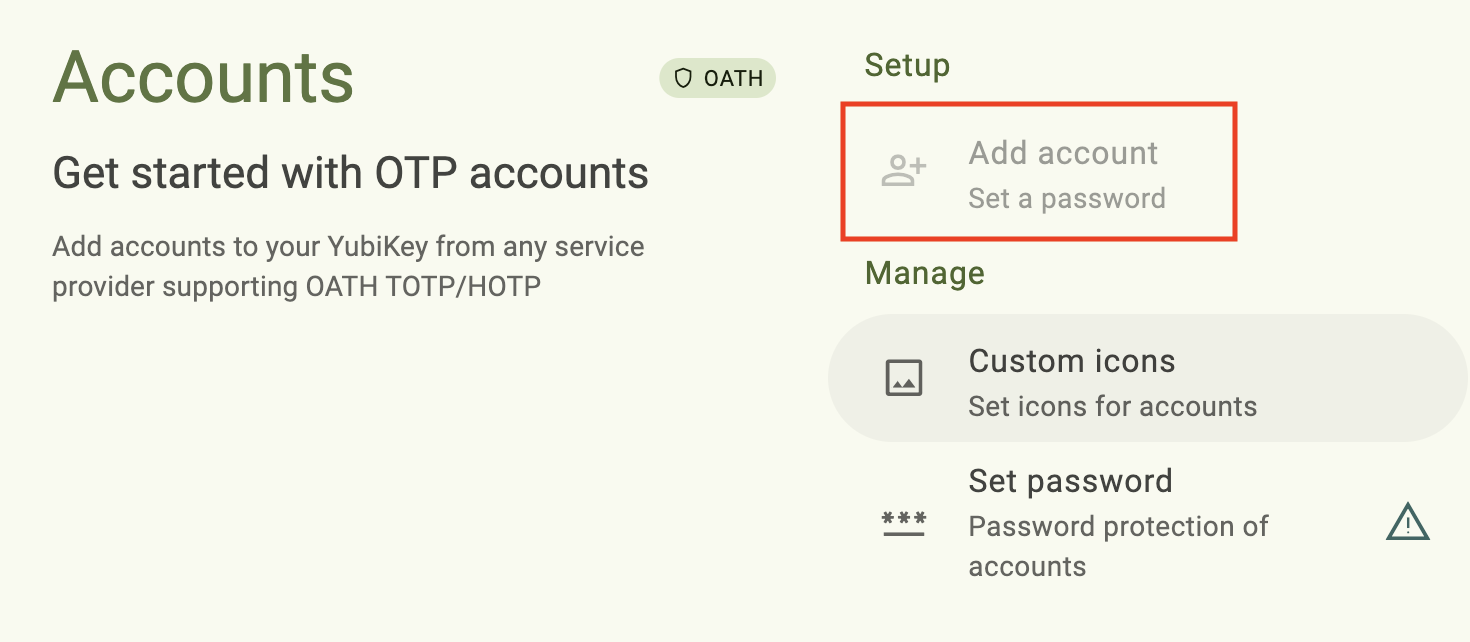
If you have a YubiKey 5 FIPS Series key with firmware version 5.7 or later, you will not be able to add OATH accounts to your YubiKey until the OATH application is in the FIPS approved state. Perform the operations required to achieve FIPS approved status, then try adding an account again.
Certificates: PIV
Cannot import or generate PIV keys or certificates
When attempting to import or generate a PIV key/certificate, the operations are greyed-out in Yubico Authenticator:
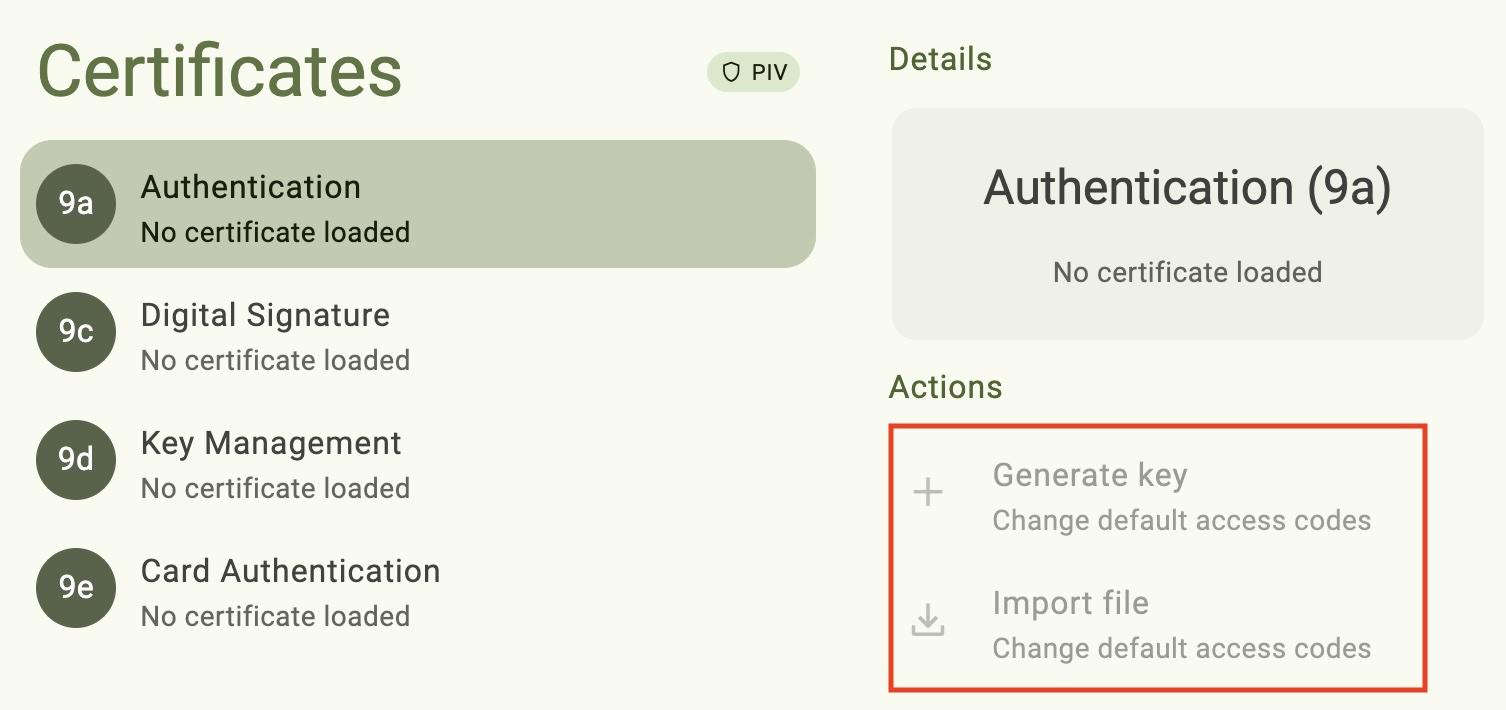
If you have a YubiKey 5 FIPS Series key with firmware version 5.7 or later, you will not be able to add PIV credentials to your YubiKey until the PIV application is in the FIPS approved state. Perform the operations required to achieve FIPS approved status, then try importing/generating PIV credentials again.
Slots: Yubico OTP
An error occurs when trying to open the Slots screen on macOS
When trying to open the Slots screen on macOS, the following error message is seen:
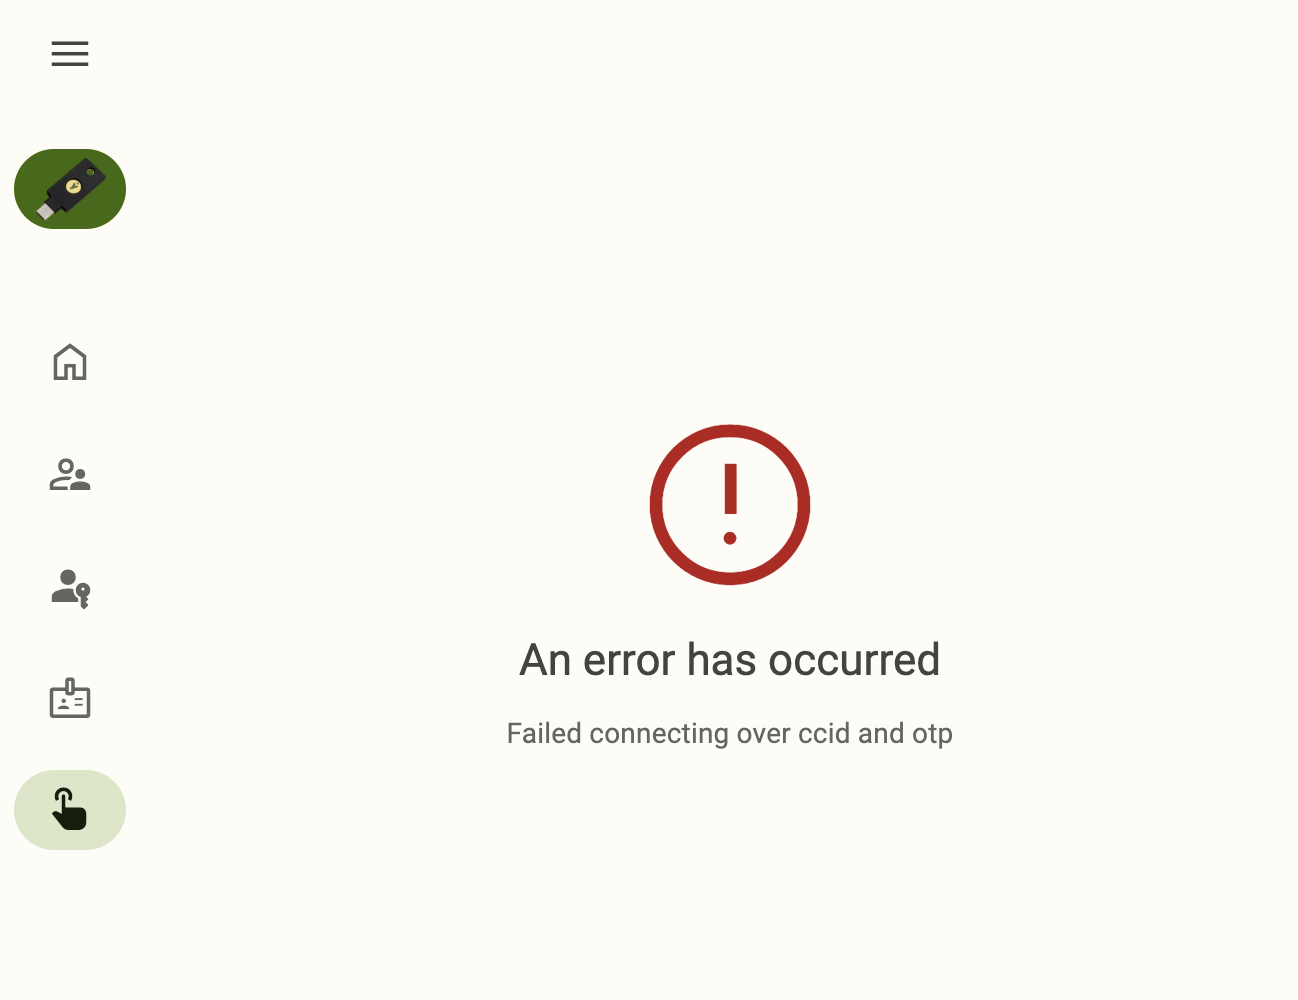
If you receive this error, it likely means that input monitoring has not been enabled on your device. Toggle on input monitoring, close and reopen the app, and try again.
Android
Unable to take screenshots of the app on Android
When attempting to capture a screenshot of the Yubico Authenticator app on an Android device, only a blank screen is saved.
By default, screenshots are disabled on Yubico Authenticator for Android. To enable screenshots, do the following:
- Click on the left menu icon in the upper left corner of the app and select Settings.
- Click on Debugging tools under SUPPORT.
- Under ACTIONS, toggle on Allow screenshots.
NFC wireless connections
NFC activation required
When attempting to use a brand new YubiKey with Yubico Authenticator over NFC, a message appears in the app that says NFC activation is required:
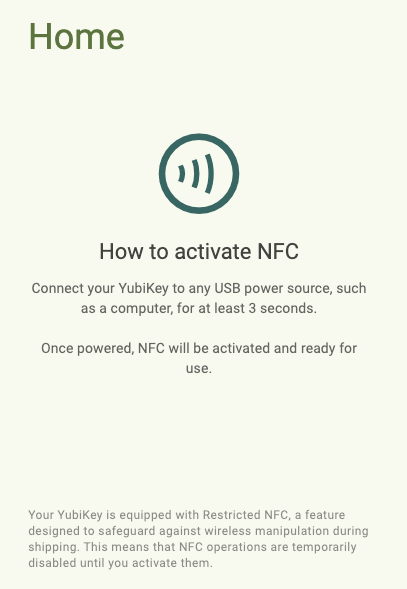
This message indicates that the key has the Restricted NFC feature enabled. Restricted NFC is a standard feature for all NFC-capable YubiKeys with firmware version 5.7 and later. Like the message indicates, this feature is intended to prevent wireless manipulation of your YubiKey during shipment.
Once the feature is disabled, you may use your YubiKey via NFC freely. To do so, connect your YubiKey to any powered USB port for at least 3 seconds.
Restricted NFC may be re-enabled at any time via the YubiKey Manager CLI tool.
Reporting issues and submitting feature requests
Found a bug? Want to request a new feature? Submit an Issue on GitHub.
For Yubico Authenticator for Desktop and Android, submit an Issue in the yubioath-flutter repository.
For Yubico Authenticator for iOS/iPadOS, submit an Issue in the yubioath-ios repository.
Getting additional help
Can’t find a solution to your issue? Submit a help request to Yubico’s Customer Support team.
Generating and collecting diagnostic data and logs
Note
Logs and diagnostic data can be collected on Yubico Authenticator for Desktop and Android only.
While troubleshooting an issue with Yubico’s support or development teams, you may be asked to collect and submit app logs and diagnostic data.
Log collection begins as soon as the app is started. If the log level is changed while the app is running, the logs collected from that point onward will be at the new level.
Logs can be copied to the clipboard from within the app or to a log file via the command line. There is a fixed size buffer for the Copy log button in the app, so if the log is longer than 1000 lines, only the latest 1000 will be included. There is no such limit when outputting logs to a file.
The diagnostics data is useful for making sure the YubiKey is correctly detected and to get information about the key itself and its configuration. The log data is more useful when trying to figure out why a specific action in the app is failing.
Log levels
The log levels (log types) include ERROR, WARNING, INFO, DEBUG, and TRAFFIC, in order of increasing verbosity. The default level is INFO. In general, the following information is collected:
- ERROR - Any error that occurs, which is often an action that cannot be performed.
- WARNING - Something failed, but the app is able to recover and complete the action, or the failure doesn’t impact the action.
- INFO - What the app is doing without specific details. For example, a credential was added/removed/renamed, etc.
- DEBUG - More detailed information about actions performed. This can include things like the name of an added account and the method with which the account was added. Some info at this level might be considered sensitive identifiable data (usernames, YubiKey serial numbers, etc).
- TRAFFIC - Even more detailed than DEBUG and INFO. It includes ALL raw traffic to/from the YubiKey. This includes the actual secrets when adding a credential, PIN codes that are being set, etc.
The DEBUG and TRAFFIC levels will show a red warning in the app when active. You should be very cautious when sharing logs of DEBUG and TRAFFIC data with others given that they may contain sensitive information.
Generating logs and diagnostic data within the app
To generate this data, do the following:
Plug your YubiKey into your device, click on the left menu icon in the upper left corner of the app, and select Settings.
To connect via NFC on desktop, click the NFC icon in Yubico Authenticator and place your YubiKey on top of a desktop NFC reader. The key must maintain constant contact with the reader throughout the operation.
To connect via NFC on Android, tap your YubiKey on the back of your device to scan.
Click on Debugging tools under SUPPORT.
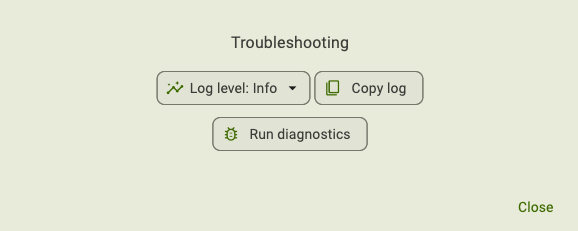
Under LOG LEVEL, select the relevant log type.
If there is a particular operation you want to collect logs on, perform that operation. Now go back to Debugging tools and click Copy log under ACTIONS. This copies the log information to the clipboard. Paste the log information into a text file (or other document) and save it.
To generate diagnostic data (desktop only), click Run diagnostics. When the operation has completed, it will copy the data to the clipboard automatically. Paste this data into a text file (or other document) and save it.
Generating logs at the command line
To generate logs at the command line, do the following:
Open a terminal.
Plug your YubiKey into your device.
To connect via NFC on desktop, click the NFC icon in Yubico Authenticator and place your YubiKey on top of a desktop NFC reader. The key must maintain constant contact with the reader throughout the operation.
Start the app and set your desired log level with the
--log-level LEVELargument, whereLEVELshould be one oferror,warning,info,debug, ortraffic:macOS:
open -a "Yubico Authenticator" --args --log-level LEVEL
Windows:
\Program Files\Yubico\Yubico Authenticator\authenticator.exe --log-level LEVEL
Linux:
/path/to/authenticator --log-level LEVEL
If there is a particular operation you want to collect logs on, perform that operation.
Copy the logs to a file by passing the
--log-fileargument along with the filename (myfile.login this example):macOS:
open -a "Yubico Authenticator" --args --log-file myfile.log
Windows:
C:\Program Files\Yubico\Yubico Authenticator\authenticator.exe --log-file myfile.log
Linux:
/path/to/authenticator --log-file myfile.log
On macOS, the log file will be created at
~/Library/Containers/com.yubico.yubioath/Data/mylogfile.log. Due to sandboxing on macOS, an alternate file path cannot be provided when calling--log-file.