Configure Your Mail Client for Digital Signatures and/or Decryption
Once you have imported your S/MIME certificate and private key onto your YubiKey and provisioned the public certificate to your iOS Keychain, you must enable the S/MIME feature in your mail client and tell it which certificate to use for digital signatures and/or decryption. If you do not configure your mail client correctly, signing and/or decryption operations will fail. Follow the configuration guidance below for your desired mail client.
Additionally, in order to decrypt a message, the message must first be encrypted by the sender with your certificate’s public key. See Enable a sender to encrypt messages using your S/MIME certificate for tips on making your certificate available to your contacts.
Supported mail clients
Only select mail clients support S/MIME decryption and/or digital signatures with a YubiKey and Yubico Authenticator on iOS/iPadOS. It is up to the mail client vendors to implement S/MIME functionality via Apple’s CryptoTokenKit, and not all clients are designed to handle external tokens (including YubiKeys) during cryptographic operations. The following table lists currently known app and S/MIME feature support. Experiences may also vary depending on your application, device, and OS versions.
If you run into issues with a mail client when attempting to use S/MIME functionality, check our Troubleshooting guide for possible solutions. And if that fails, contact the vendor for support.
| Mail Client (on iOS/iPadOS) | Digital Signatures | Decryption |
|---|---|---|
| ISEC7 Mail | Supported | Supported |
| Apple Mail | Supported | Not Supported[1] |
| Microsoft Outlook | Not Supported[2] | Supported |
Caution
[1] If S/MIME decryption is enabled in the Apple Mail settings and you attempt to open an encrypted message in the app, Apple Mail will initiate the decryption process. However, this can result in upwards of several loops of Yubico Authenticator prompts and PIN authentication attempts before the decryption operation is successful. Failure is also commonly observed and can occur after PIV PIN entry or when the app fails to trigger the Yubico Authenticator process after opening an encrypted email.
[2] If the S/MIME setting for digital signatures is enabled in Outlook, the app will freeze and crash when attempting to compose or sign an email.
Configure ISEC7 Mail for signing and decryption
Follow the steps listed below to configure ISEC7 Mail for digital signatures and/or decryption on iOS and iPadOS.
Note
The ISEC7 Mail app is not developed by Yubico, and the UI is subject to change. If you run into issues when configuring the app, contact ISEC7 for assistance.
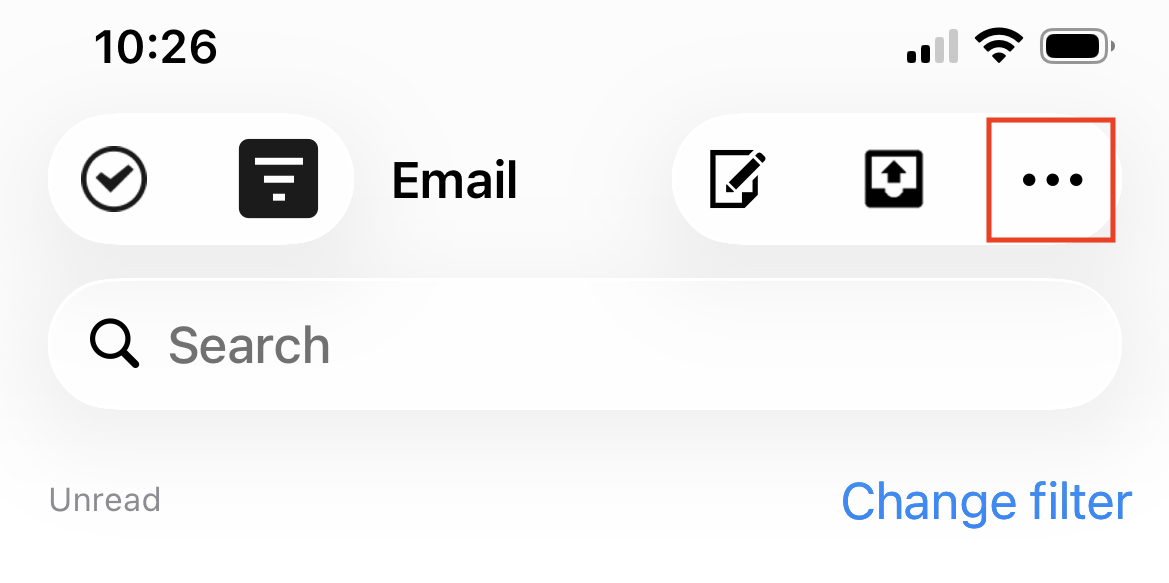
In ISEC7 Mail, click the three dots in the upper right corner and select Settings.
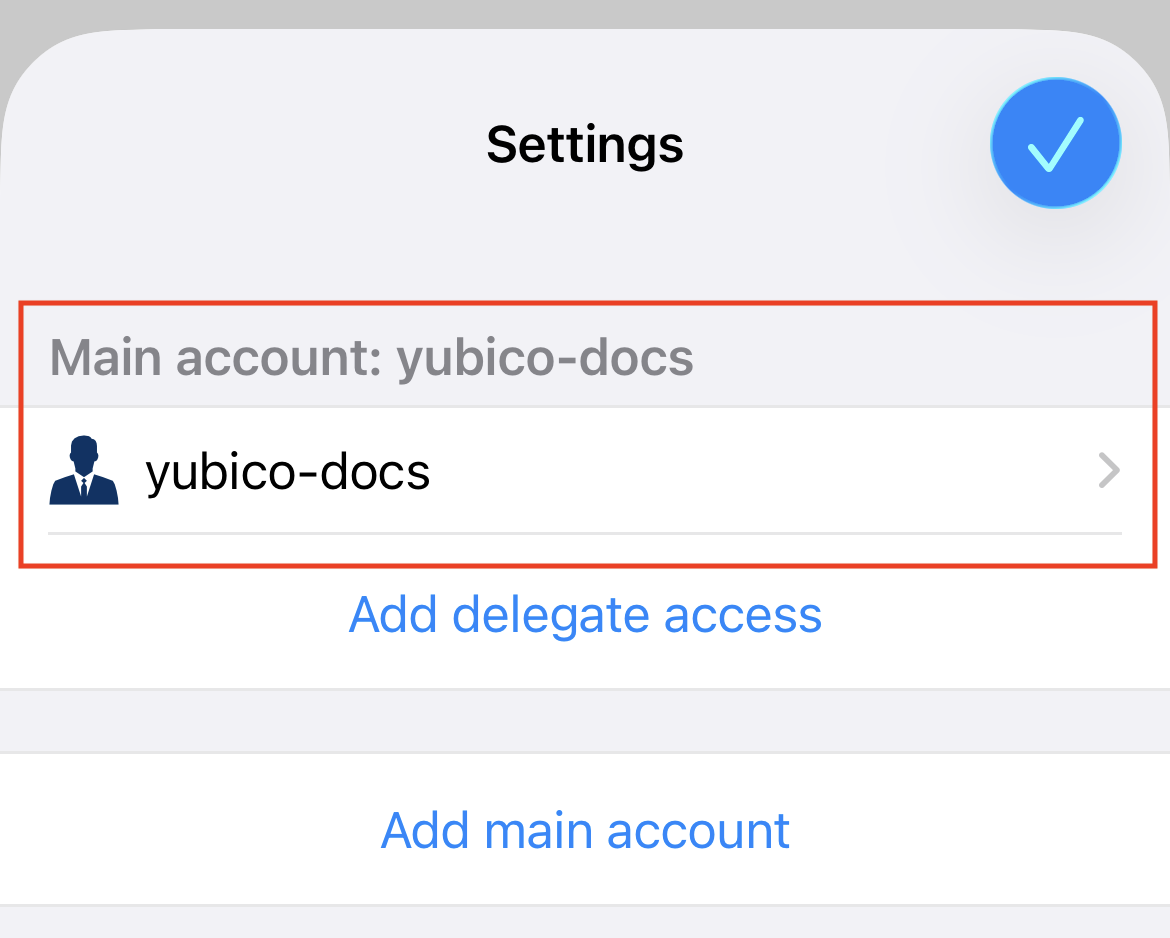
Select the name of the account you’d like to configure under the Main account section.
Note
If you do not see your account listed in Settings, you must add it first. Click Add main account to get started and follow the prompts. Note that ISEC7 Mail is compatible with Microsoft Exchange and Office 365 accounts only.
On the Edit account screen, scroll down to find the S/MIME certificates section.
To enable digital signatures, click on the Signing certificate box and select the certificate you’d like to use for signing. Similarly, to enable decryption, click on the Encryption certificate box and select the certificate you’d like to use for decryption. Any certificate that was provisioned to your iOS Keychain should be available for selection.
The certificates chosen for signing and decryption must match your email address. If they do not match, your digital signatures will be invalid and decryption will fail.
Note
It may take up to 24 hours after your S/MIME certificate has been issued by the certificate authority before the ISEC7 Mail app recognizes the certificate as valid and allows you to select it for signing and decryption in the account settings.
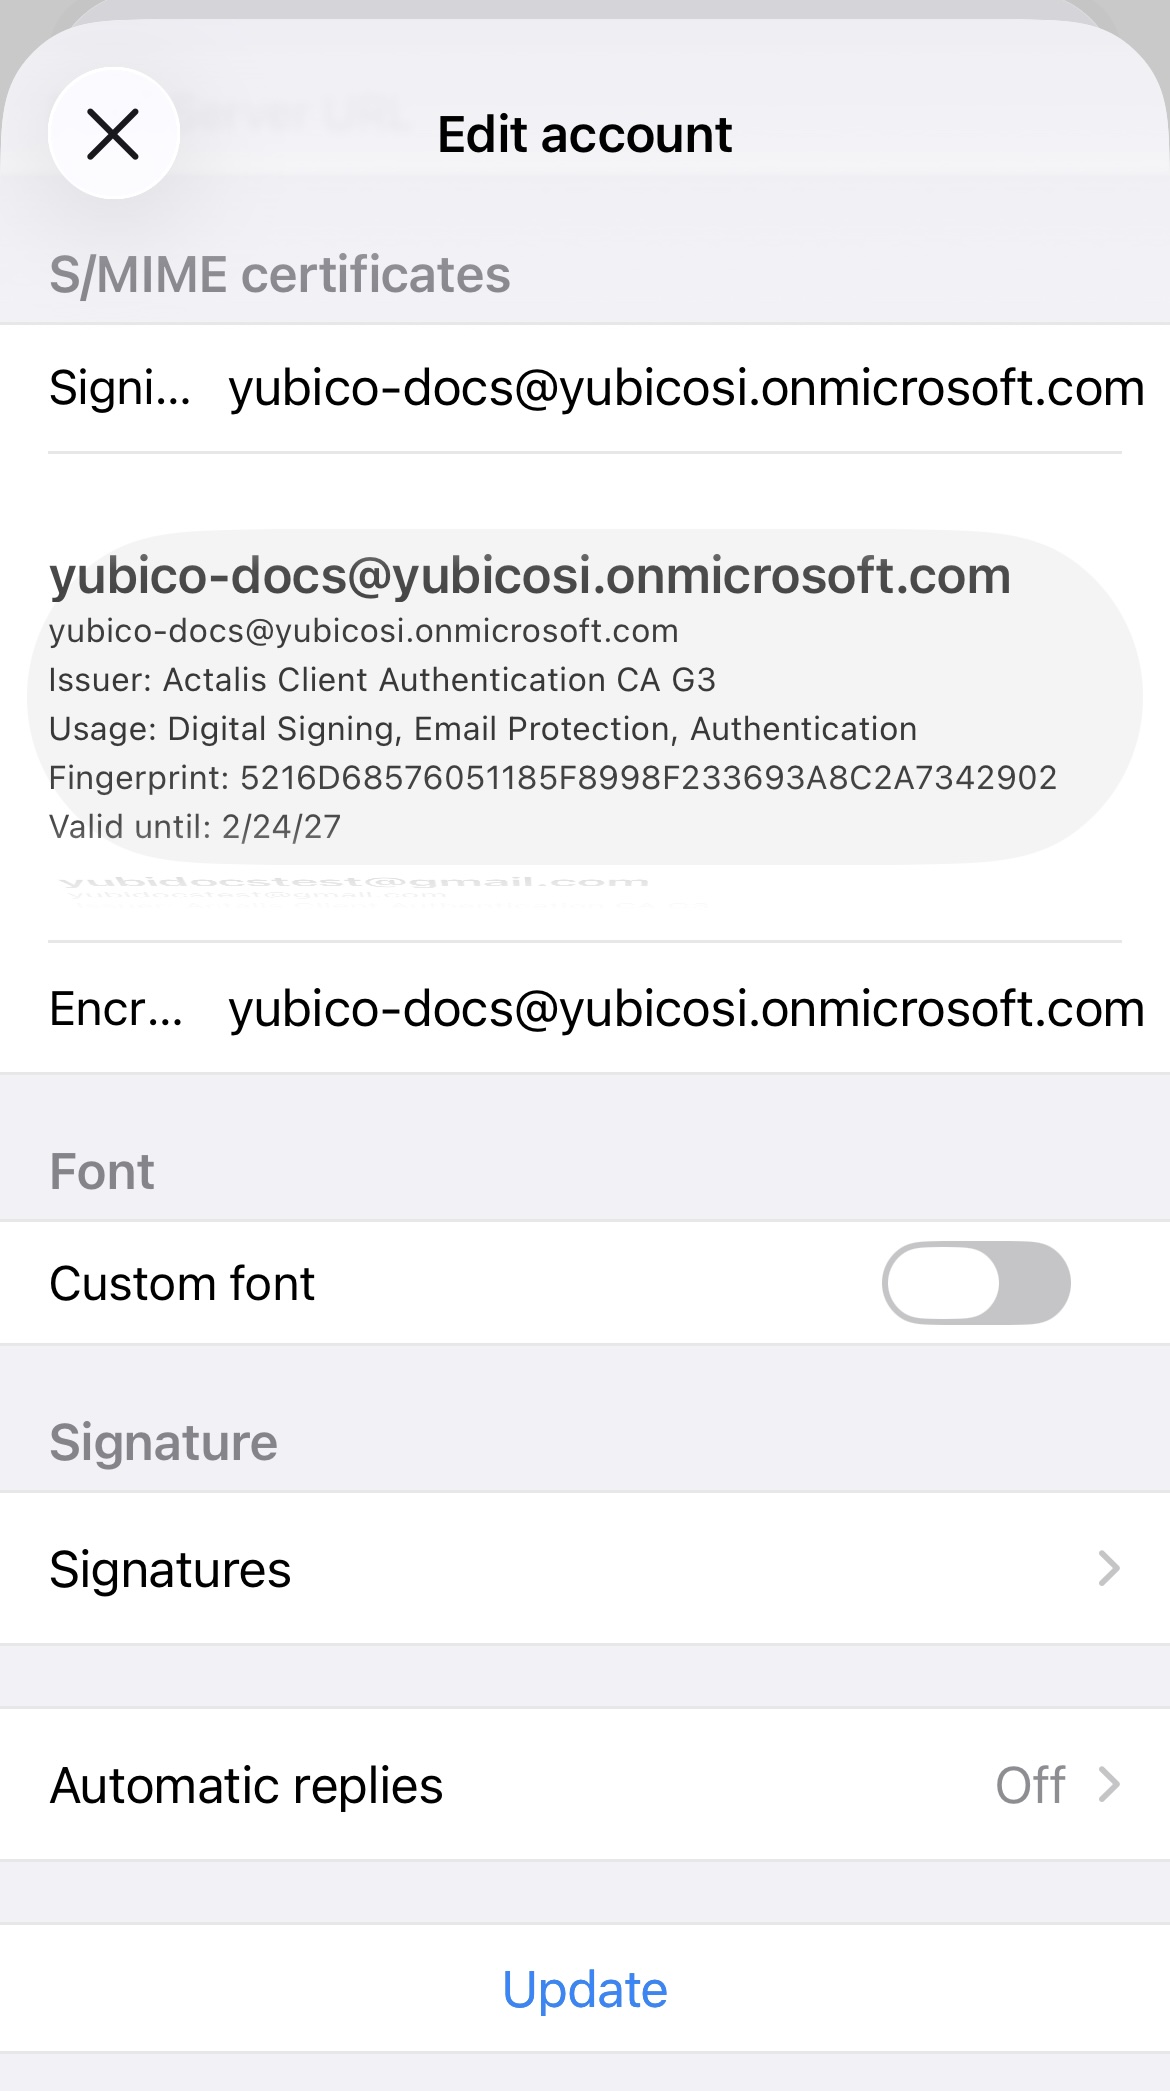
Click Update to apply your changes.
Configure Apple Mail for signing
Follow the steps listed below to configure Apple Mail for digital signatures on iOS and iPadOS.
Note
The Apple Mail app and its settings are not developed by Yubico, and the UI is subject to change. If you run into issues when configuring the app, contact Apple for assistance.
On your iOS/iPadOS device, go to Settings > Apps > Mail.
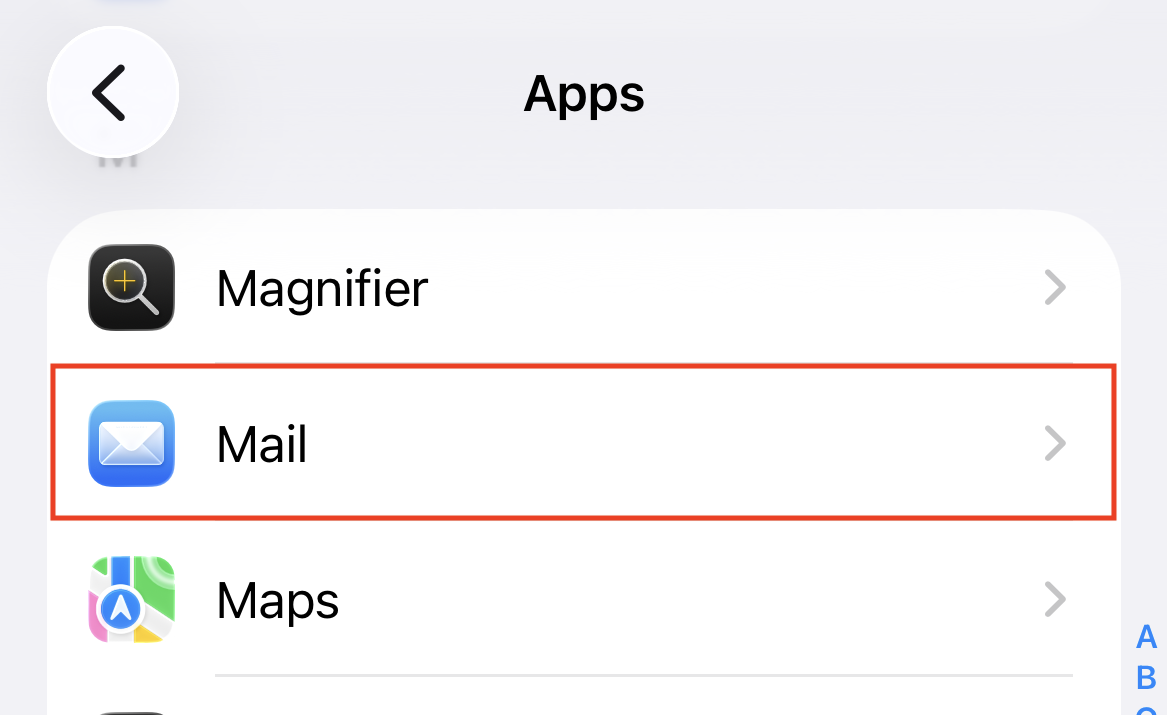
On the Mail screen, select Mail Accounts followed by the account you would like to configure.
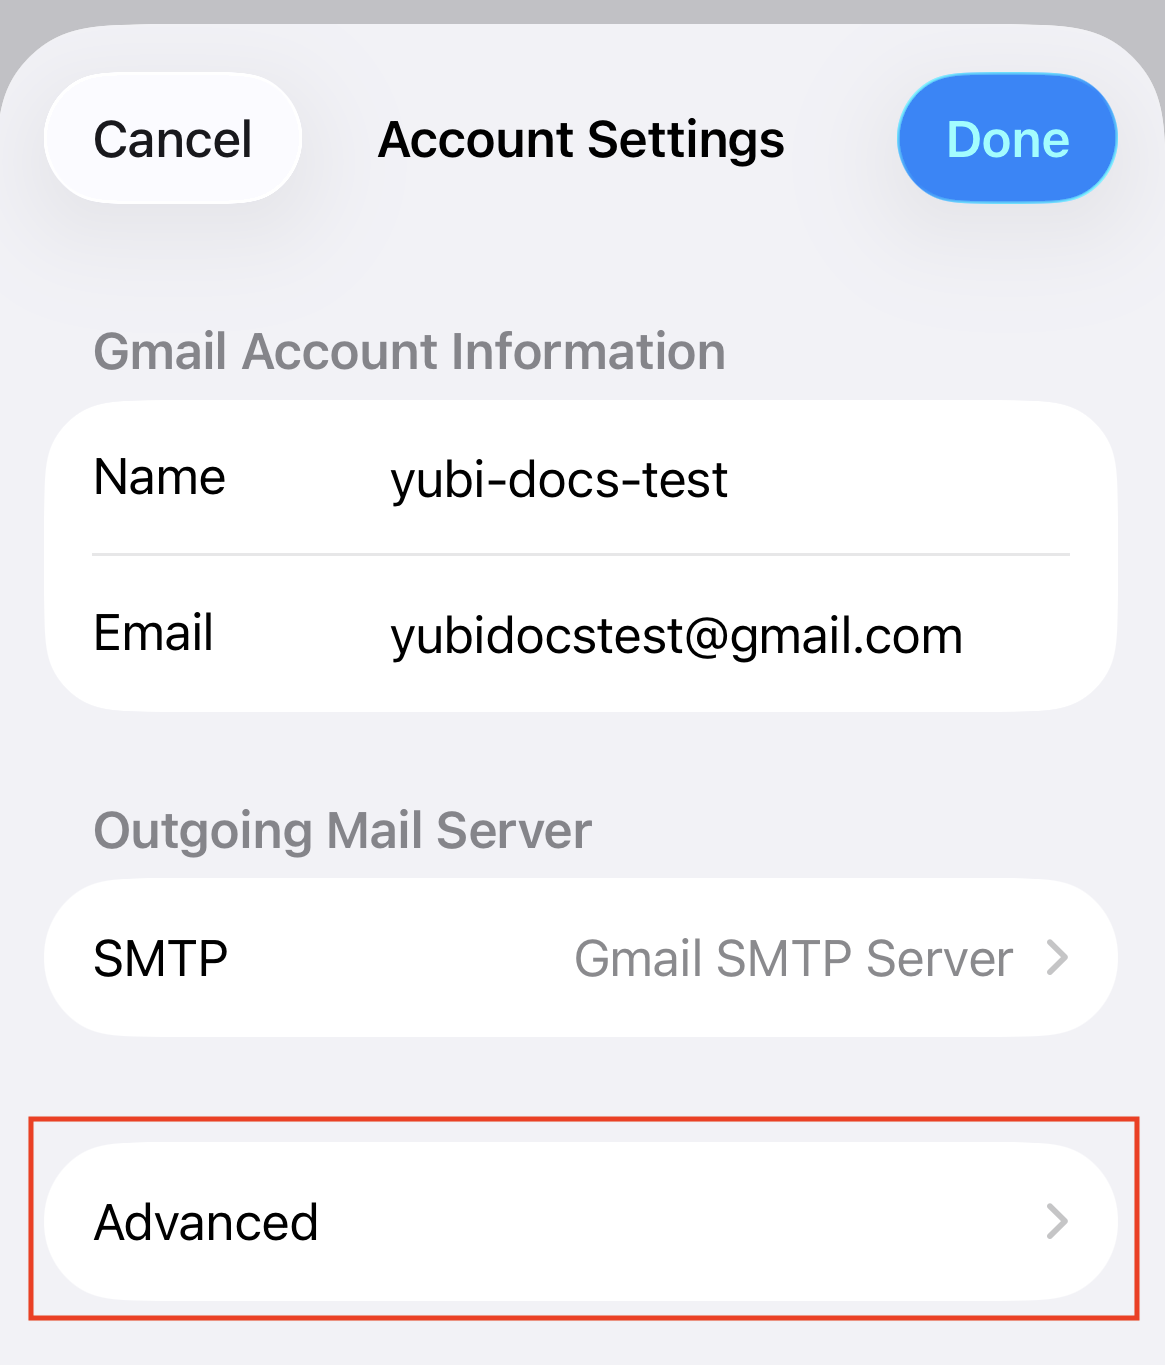
On your account screen, go to Account Settings and then select Advanced.
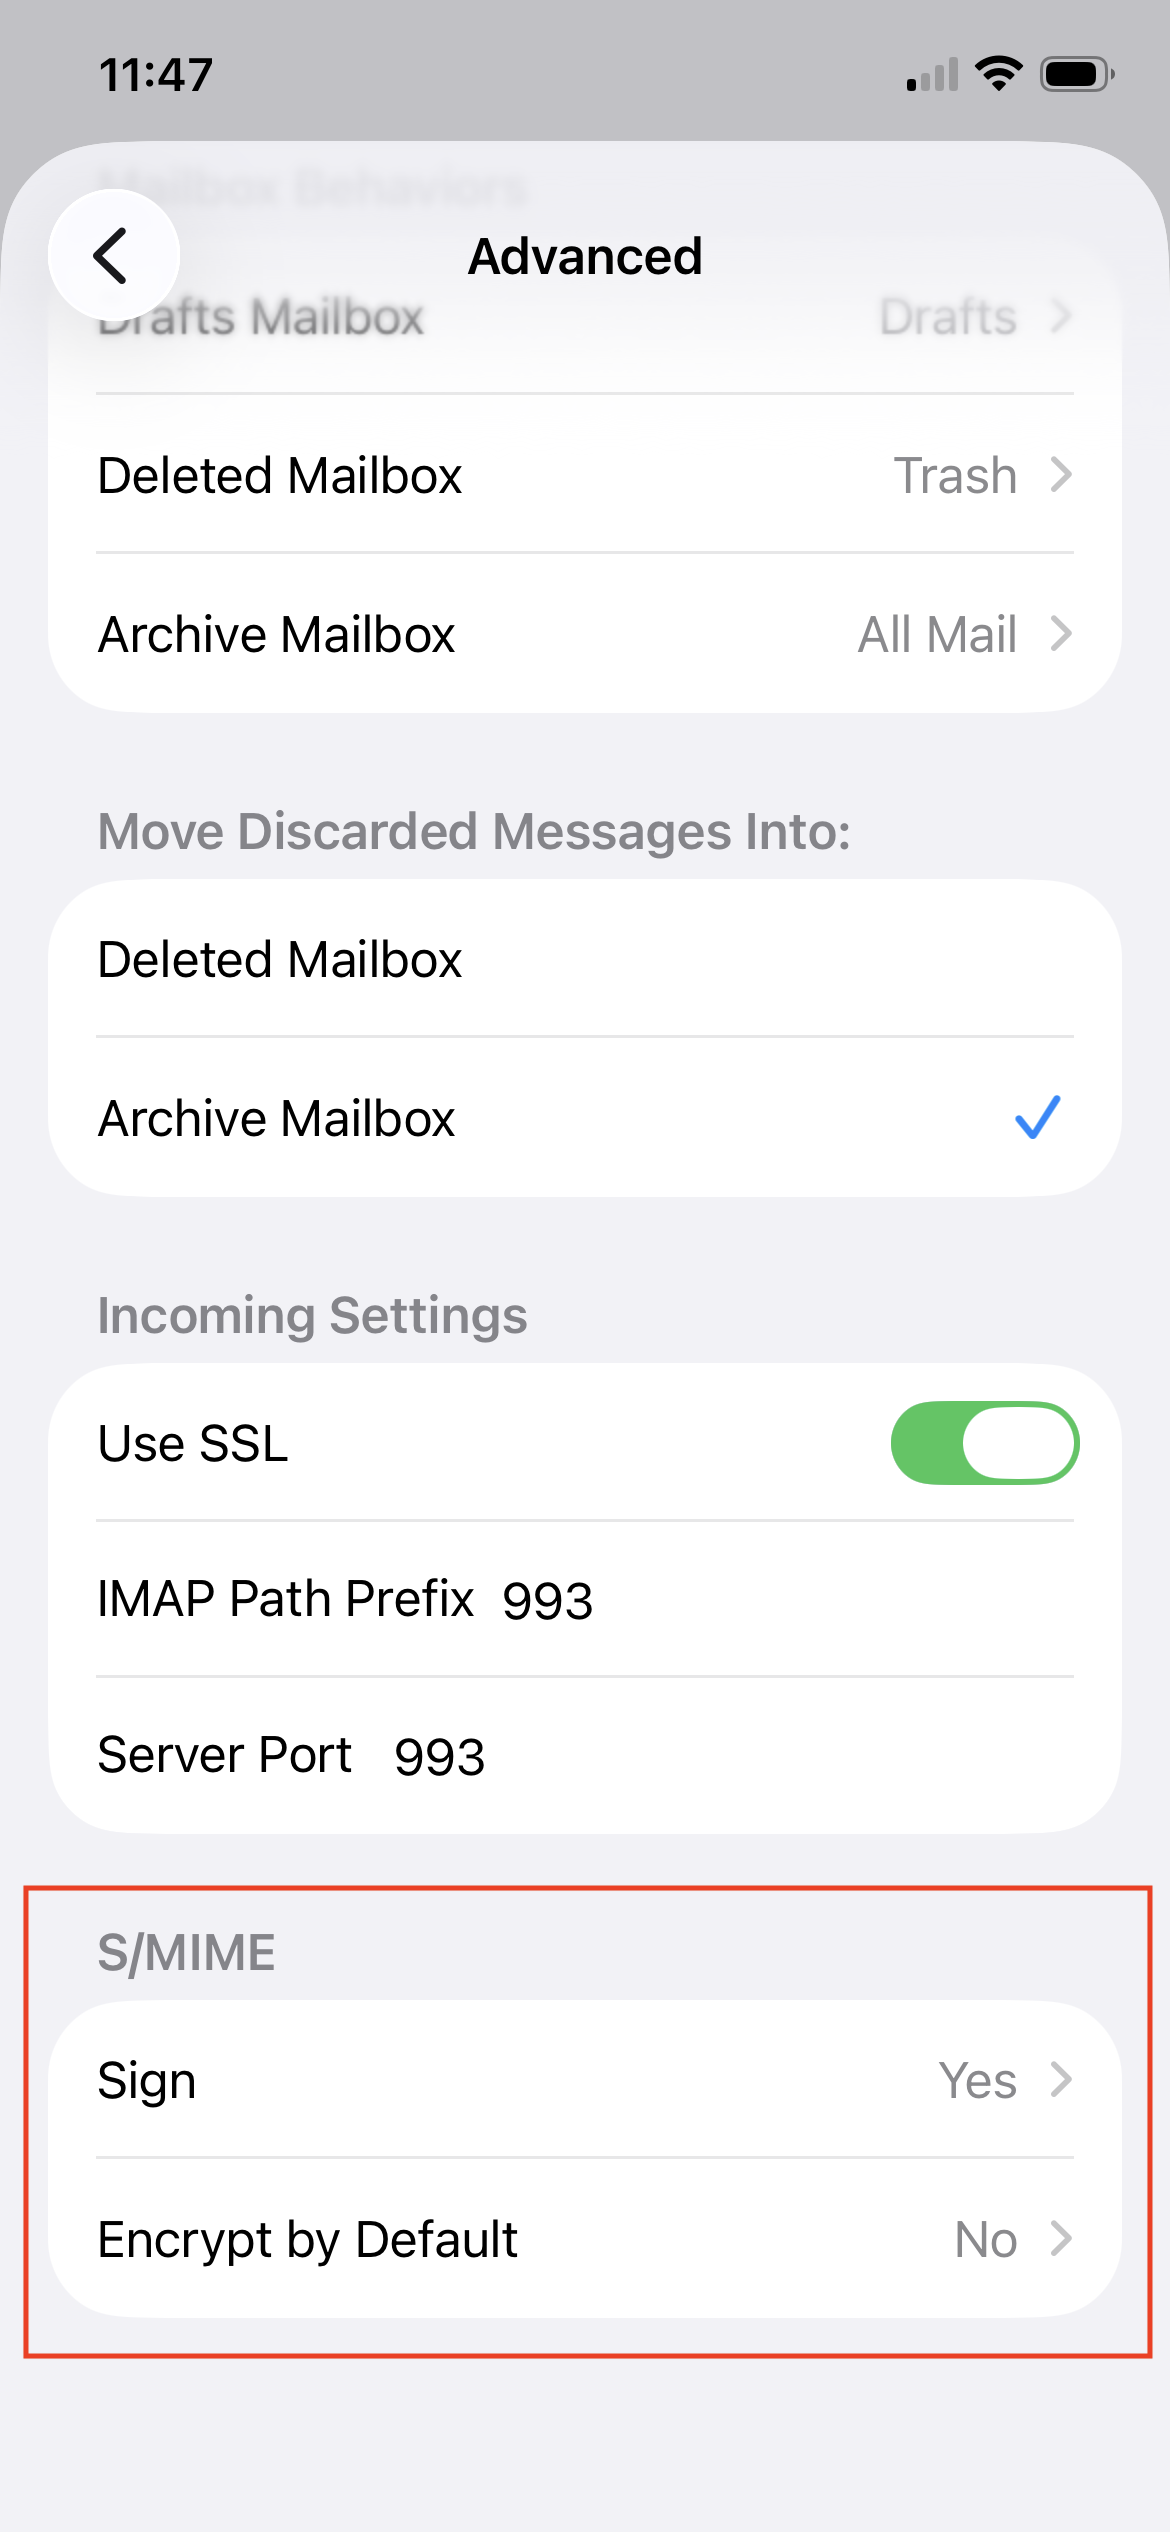
Scroll down to find the S/MIME section and click on Sign.
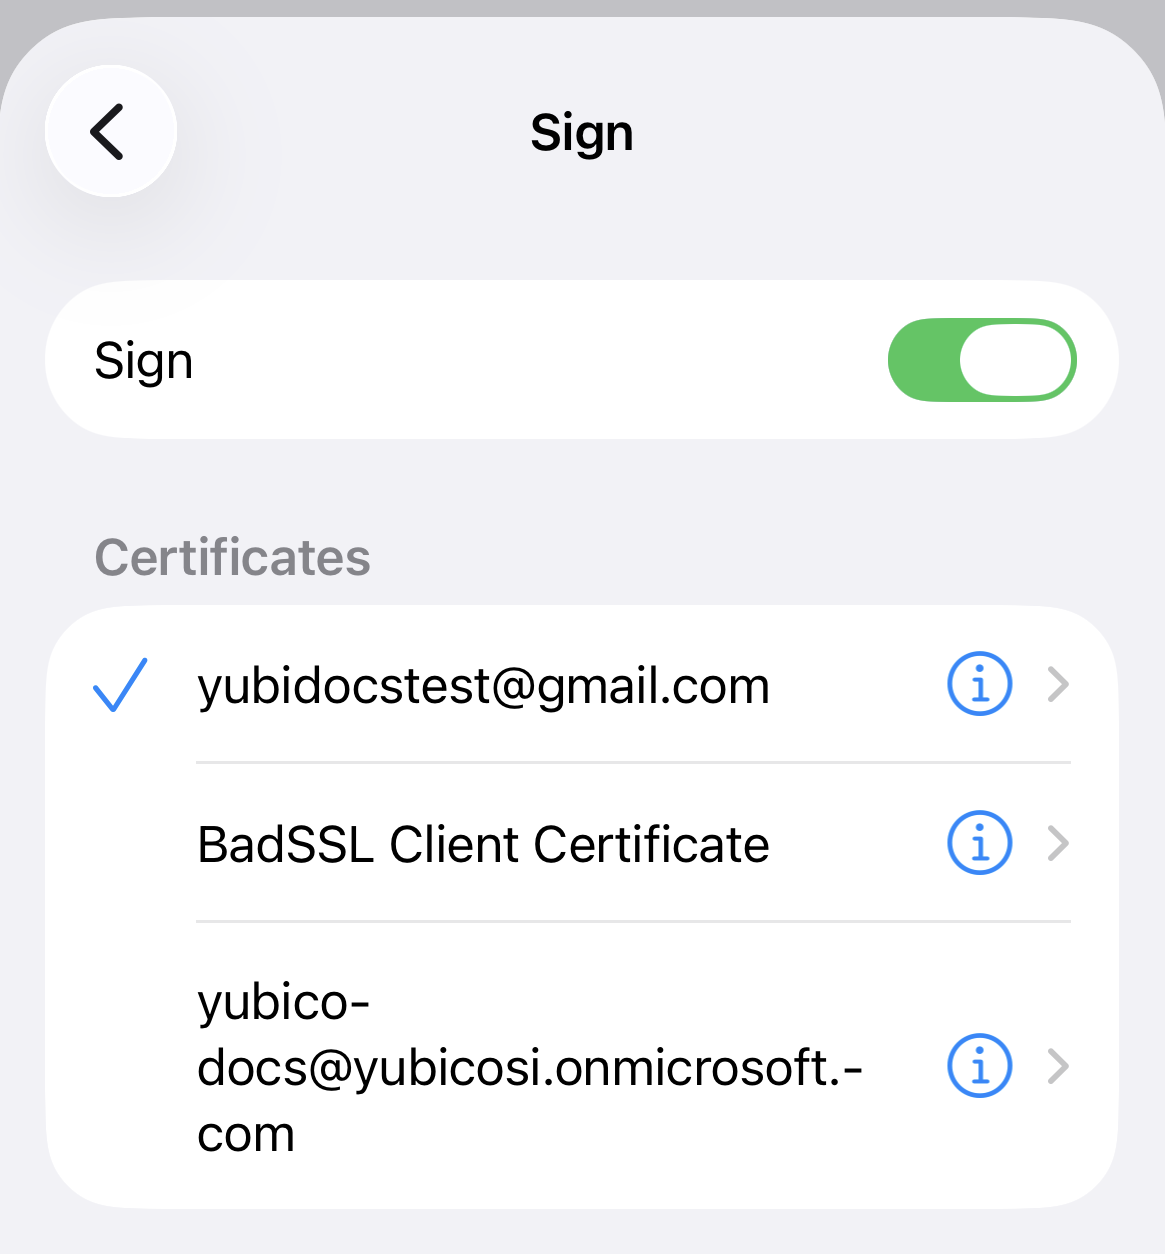
Move the Sign toggle to the “on” position and select the certificate you’d like to use to create digital signatures. Any certificate that was provisioned to your iOS Keychain will be available for selection.
The certificate chosen must match your email address. If they do not match, your digital signatures will be invalid.
Note
The S/MIME settings also include Encrypt by default, which will automatically encrypt emails (when a recipient’s public key is available). This setting also allows you to select a certificate to use for decrypting emails that you receive from others. However, note that decryption with YubiKeys and Yubico Authenticator is not yet fully supported on Apple Mail for iOS and iPadOS. See Supported mail clients for more information.
Click the return arrow in the upper left corner twice to return to Account Settings. Click Done to apply your changes.
Configure Microsoft Outlook for decryption
Follow the steps listed below to configure Microsoft Outlook for decryption on iOS and iPadOS.
Note
The Microsoft Outlook app and its settings are not developed by Yubico, and the UI is subject to change. If you run into issues when configuring the app, contact Microsoft for assistance or refer to their documentation.
Open the Outlook app, click on the Microsoft icon in the upper left corner and select the settings icon.
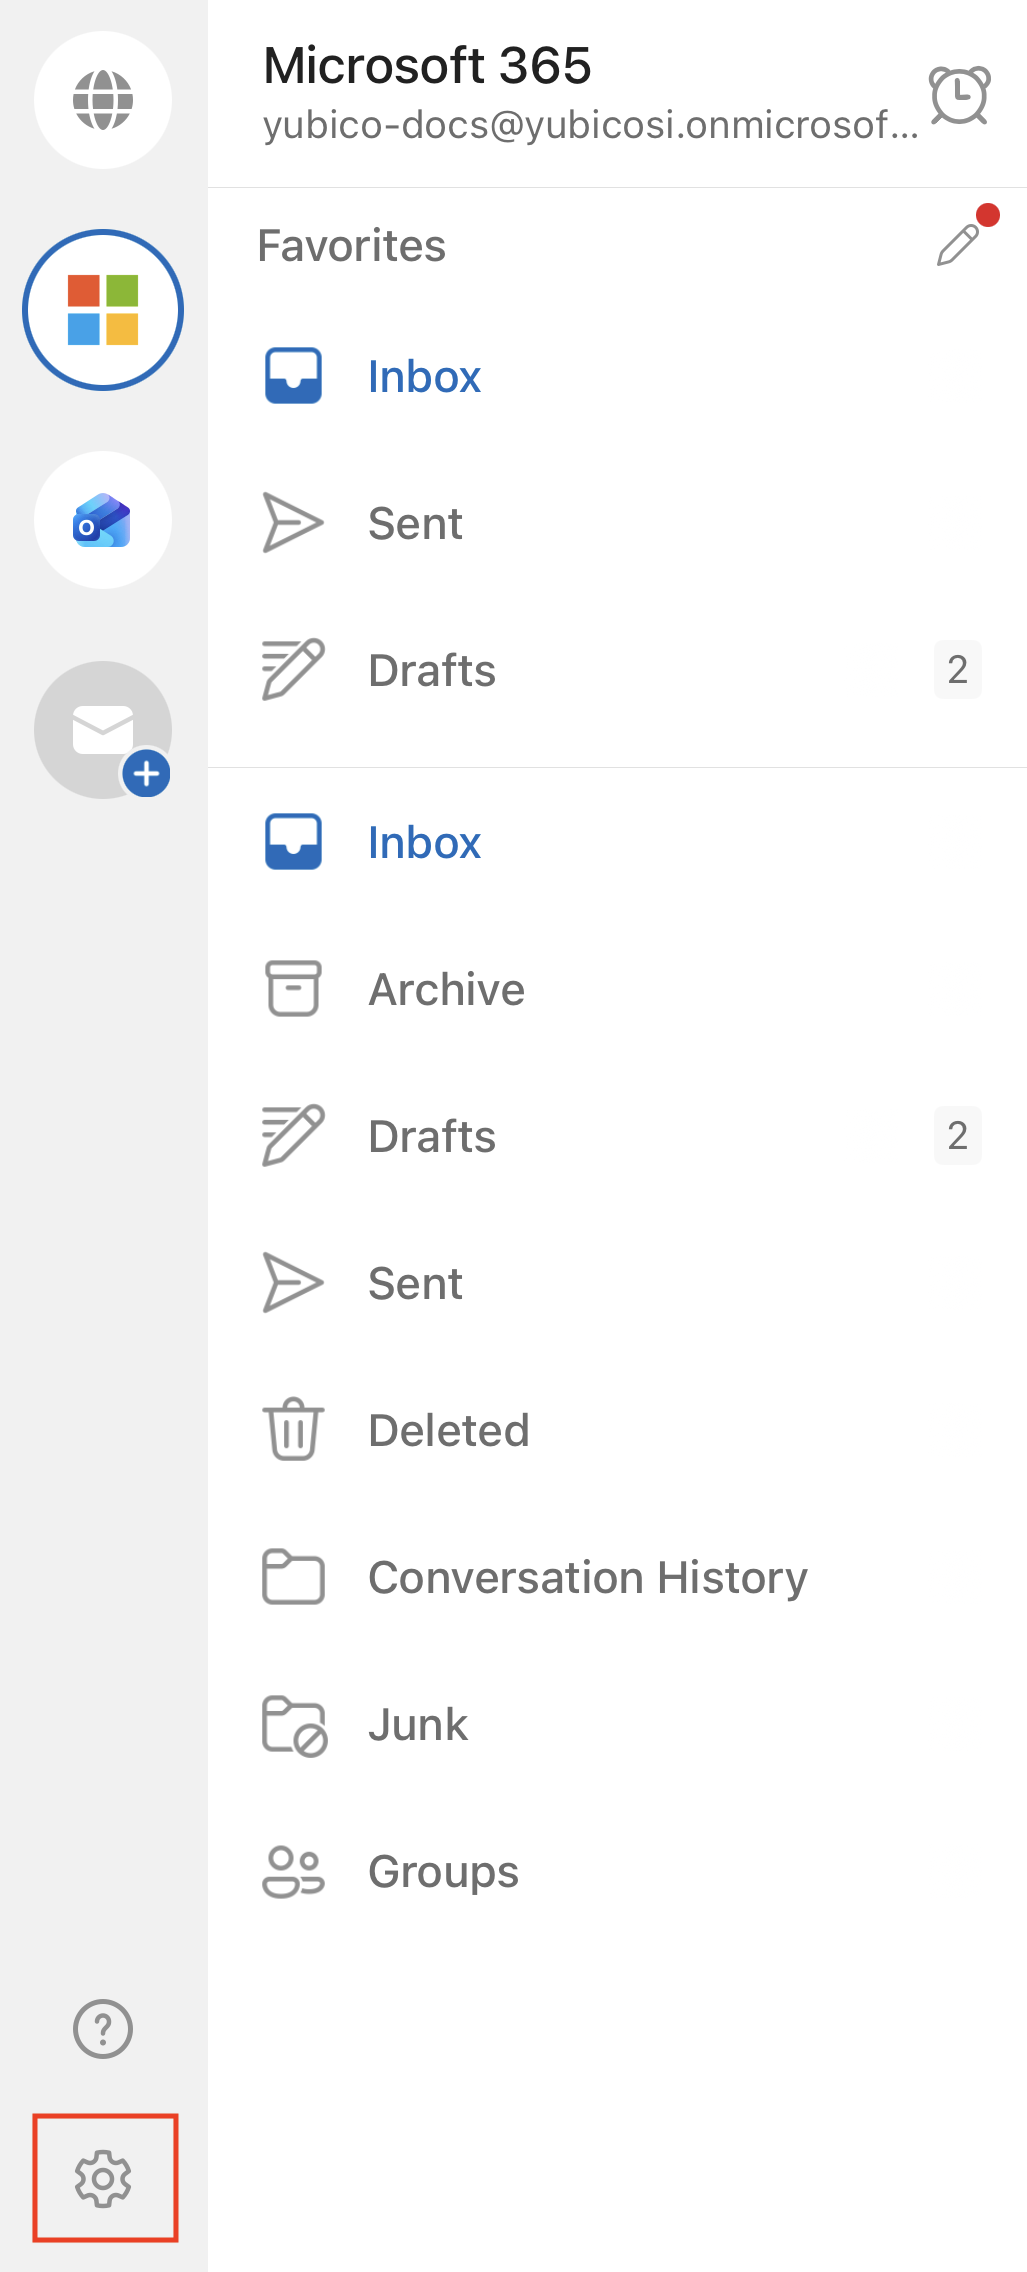
Under the General section, select Accounts followed by the account you wish to configure.
On your account page, scroll down to Security and select S/MIME.
Toggle S/MIME to the “on” position.
Under the Always Send As section, toggle Encrypted to the “on” position.
Warning
Do not toggle Signed to the “on” position. Digital signatures with YubiKeys and Yubico Authenticator are not supported for Outlook on iOS and iPadOS. Turning this setting on will cause the app to crash. See Supported mail clients for more information.
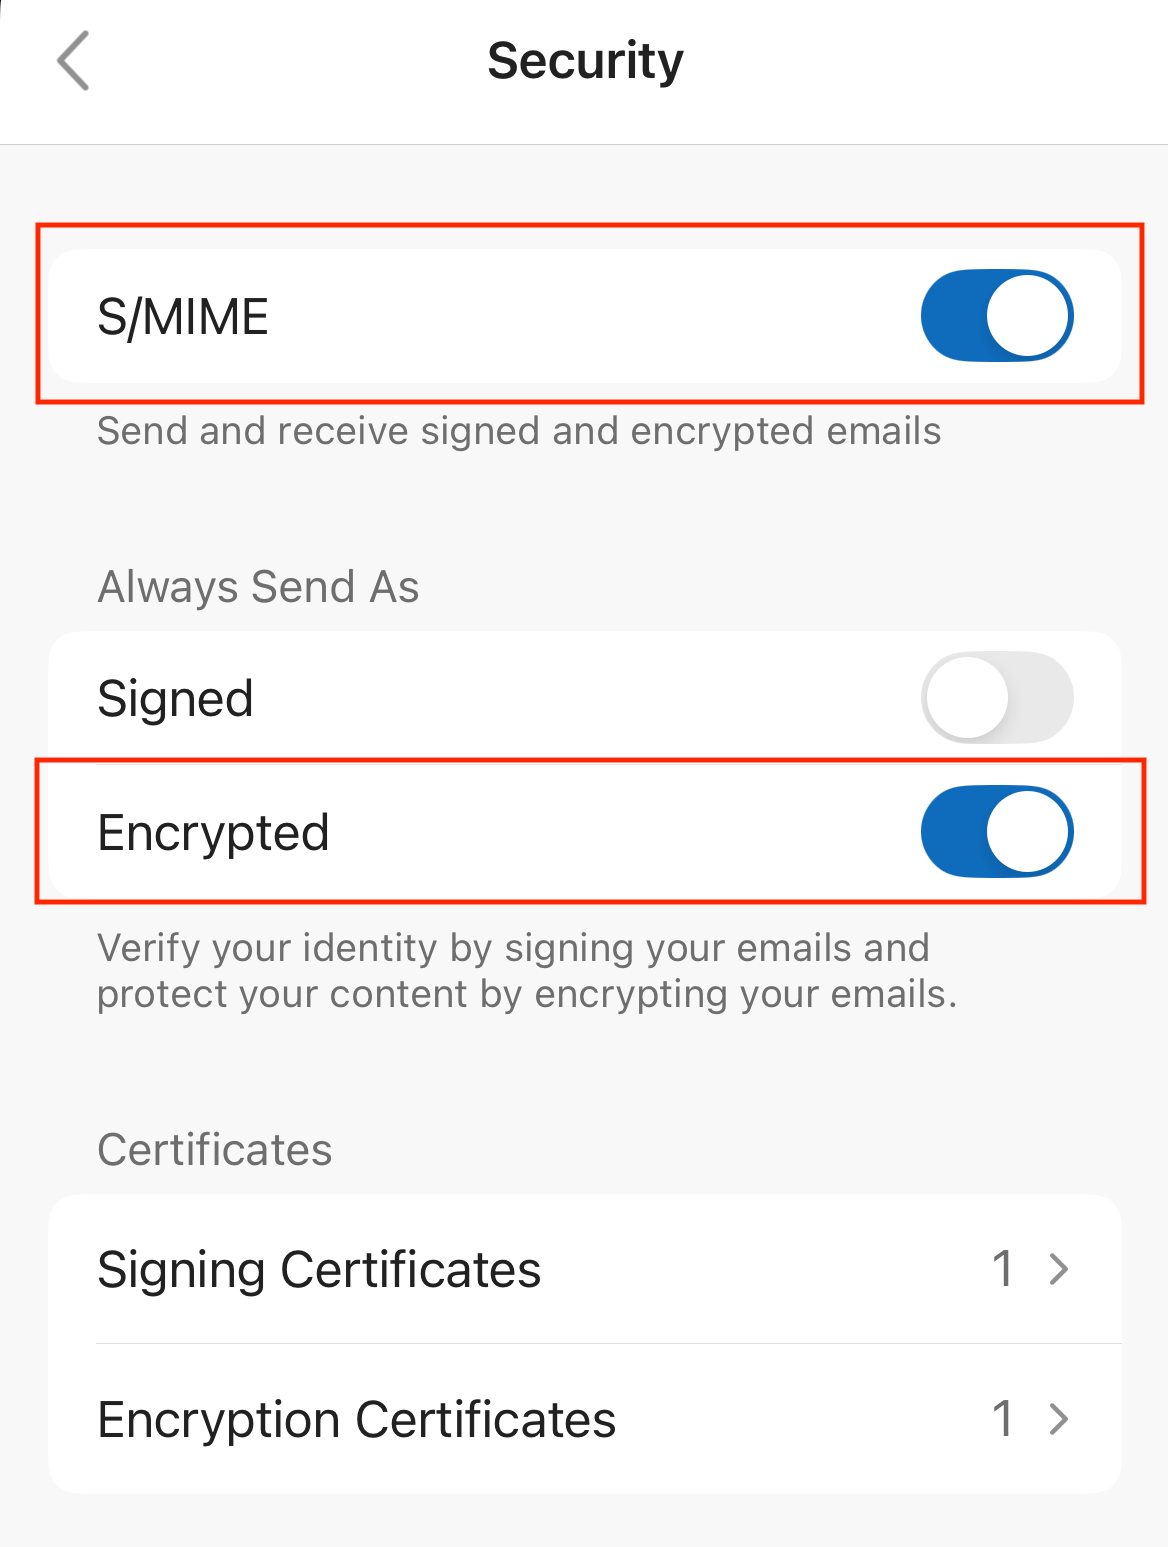
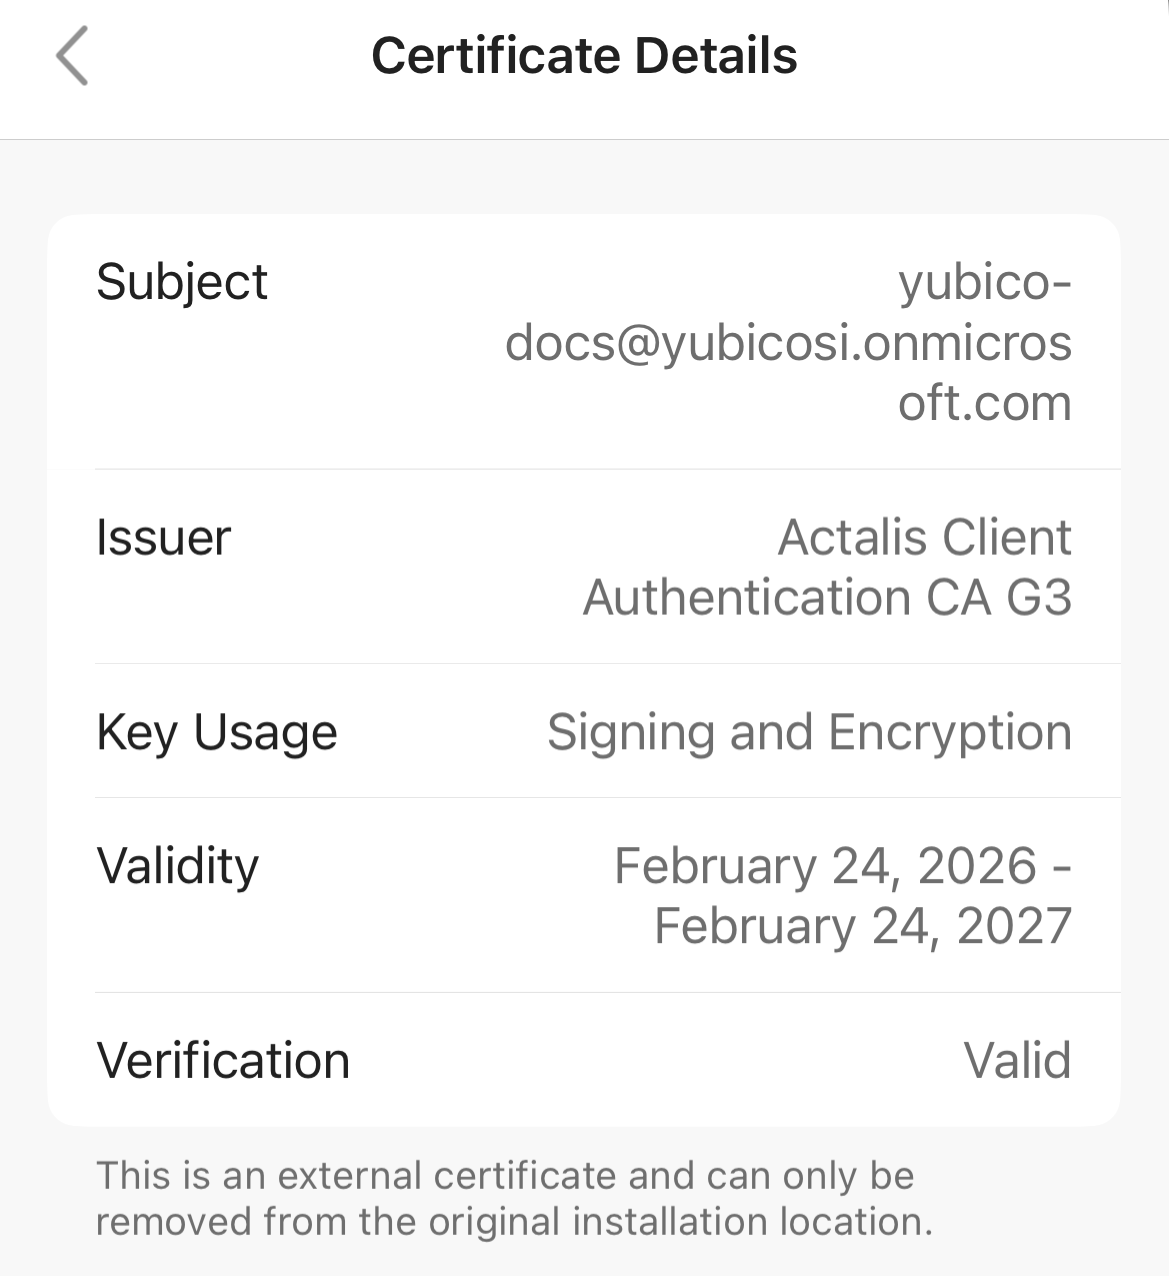
Click on Encryption Certificates and verify that the correct certificate is selected. The certificate chosen must match your email address. If it does not match, decryption operations will fail.
Enable a sender to encrypt messages using your S/MIME certificate
In order for a sender to encrypt a message to you using your public key, they need to configure their own mail client to send encrypted emails and they need a copy of your S/MIME certificate with the public key. Generally, your public certificate can be acquired via either of the following:
- an LDAP-based directory managed by your organization, such as a Global Address List (GAL)
- a digitally signed email from you
If your organization uses an LDAP-based directory, contact your IT admin for information on uploading your public S/MIME certificate. Generally, once your certificate is in the directory, members of your org will be able to automatically retrieve your certificate and public key via their mail client and send encrypted emails to you.
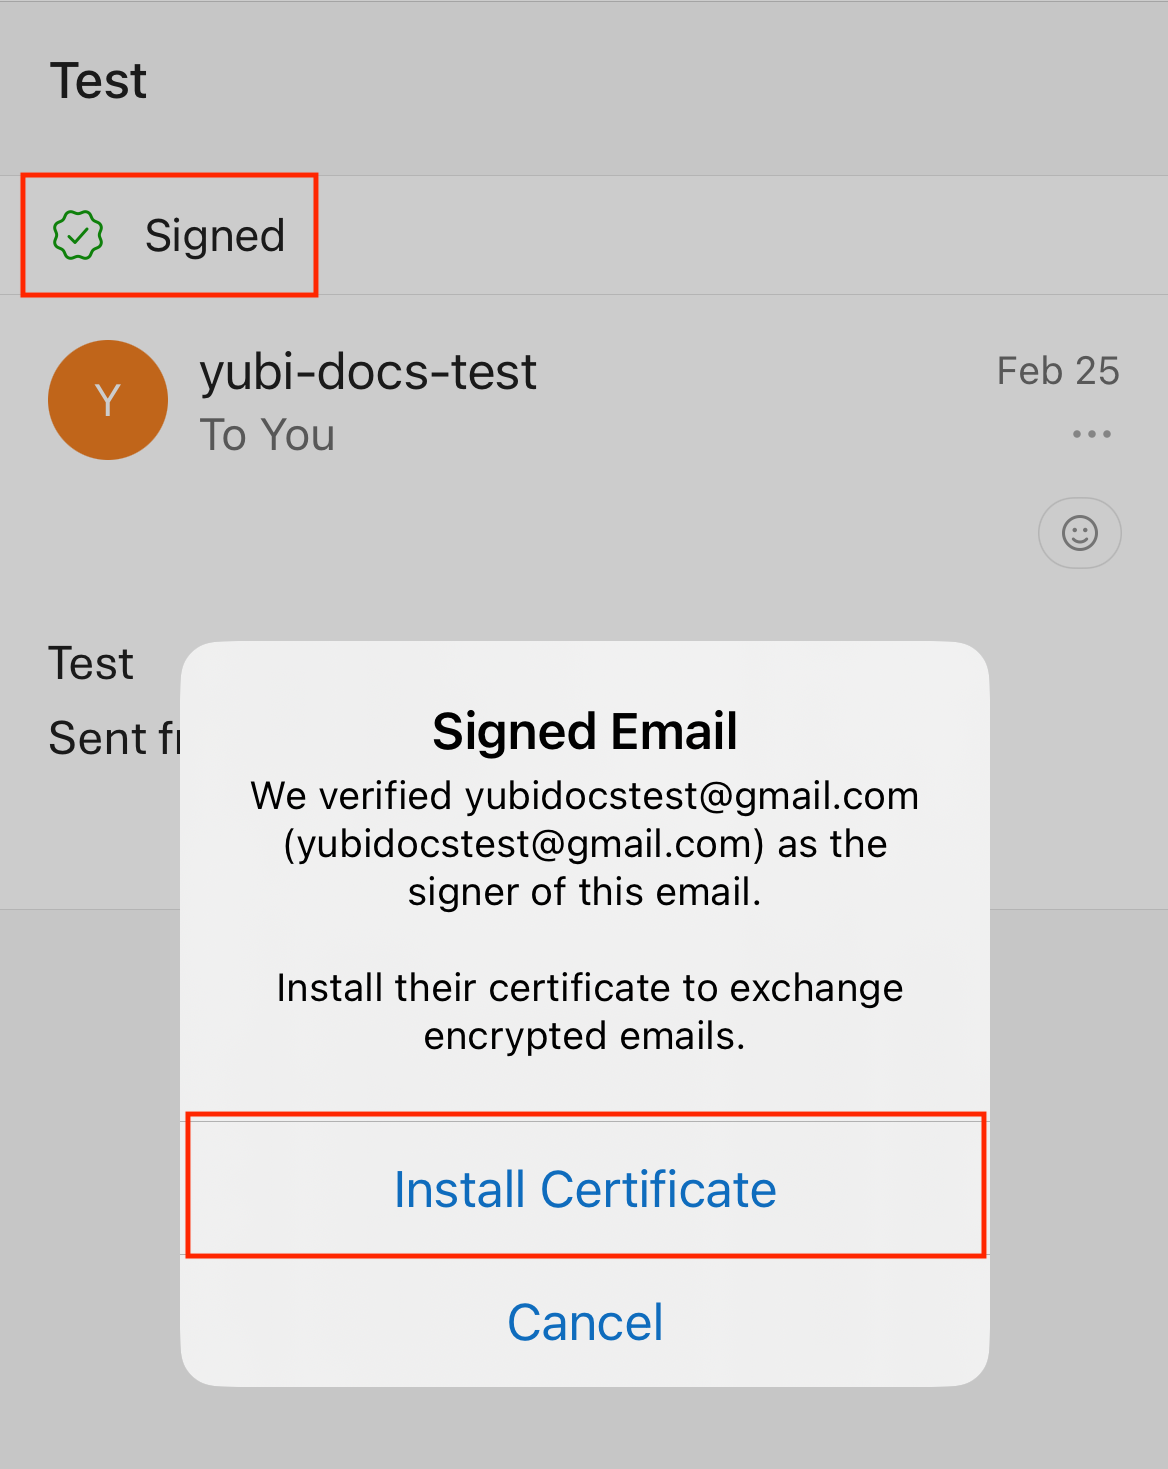
If your organization does not use an LDAP-based directory or you are not part of an organization, you can transfer a copy of your public certificate to a desired contact by sending them a digitally signed email. Signed emails contain the certificate with the public key, which can be imported by your recipient and then used to encrypt future emails. See Digital Signatures for information on how to sign emails with your YubiKey and Yubico Authenticator.
Note
Importing a contact’s certificate is typically accomplished by clicking on the signature’s check mark in a signed email, which will trigger the certificate installation: