Digital Signatures
To digitally sign an email via S/MIME with your YubiKey and Yubico Authenticator for iOS/iPadOS, ensure that you have fulfilled the listed prerequisites and then complete the following steps.
Prerequisites
You have:
- acquired a valid S/MIME certificate and private key associated with your email address
- imported your certificate and key pair onto your YubiKey
- provisioned the public certificate to your iOS Keychain
- installed a compatible mail client
- enabled digital signatures in your mail client and configured the app to sign messages using your S/MIME certificate and private key
Note
If you select the wrong certificate during configuration, signing operations may succeed, but the signature will be marked as invalid in the email message.
Sign a message
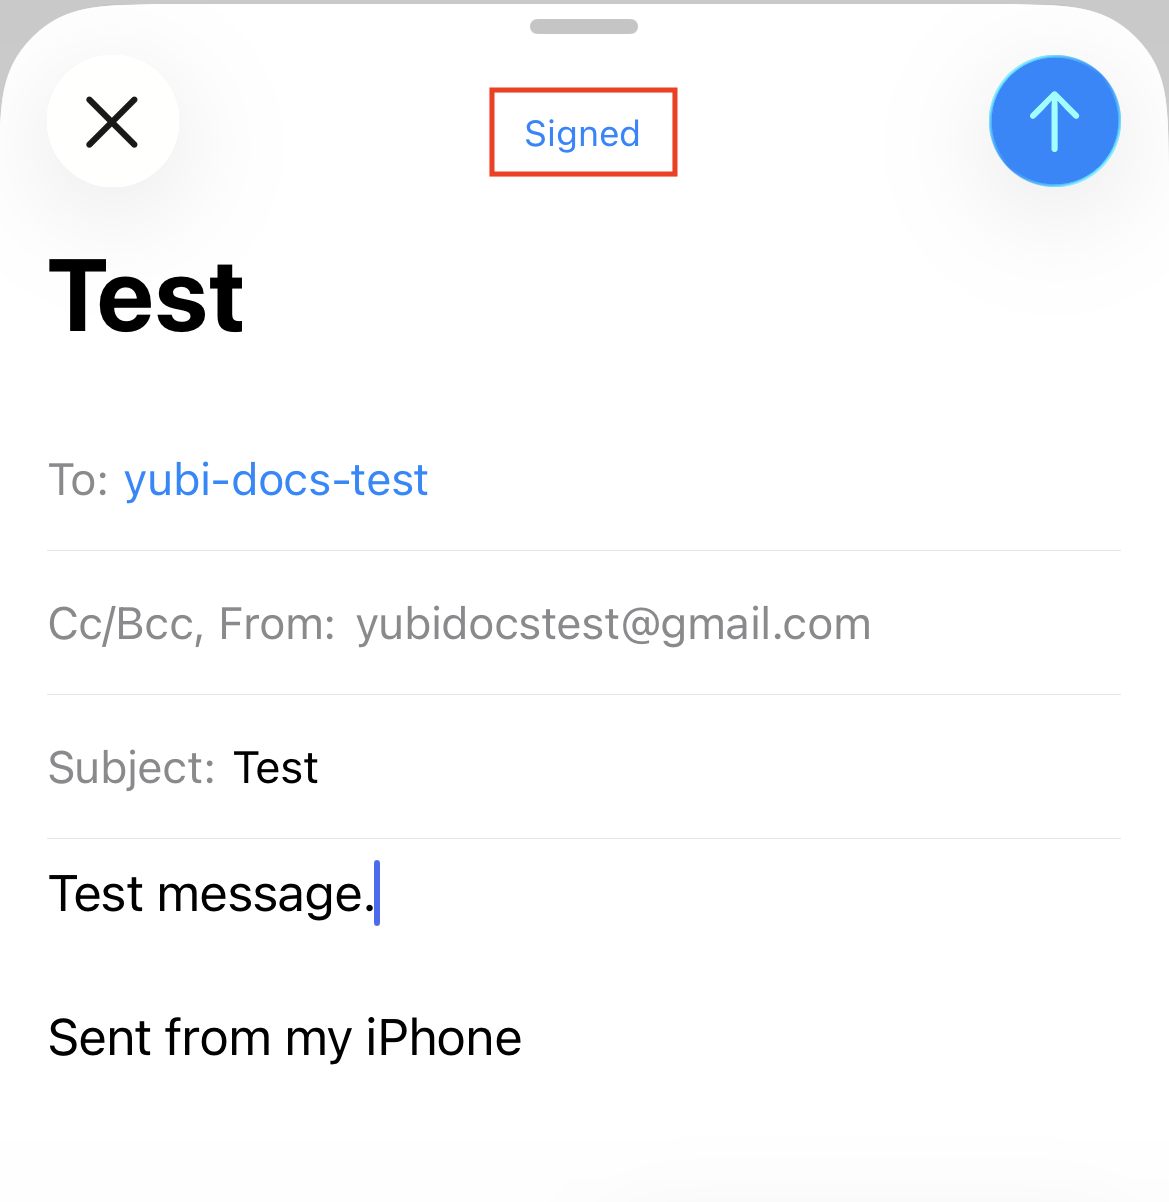
In your new email message, ensure that the digital signature functionality is enabled.
In Apple Mail, you will see the word “Signed” in blue at the top of the message if enabled.
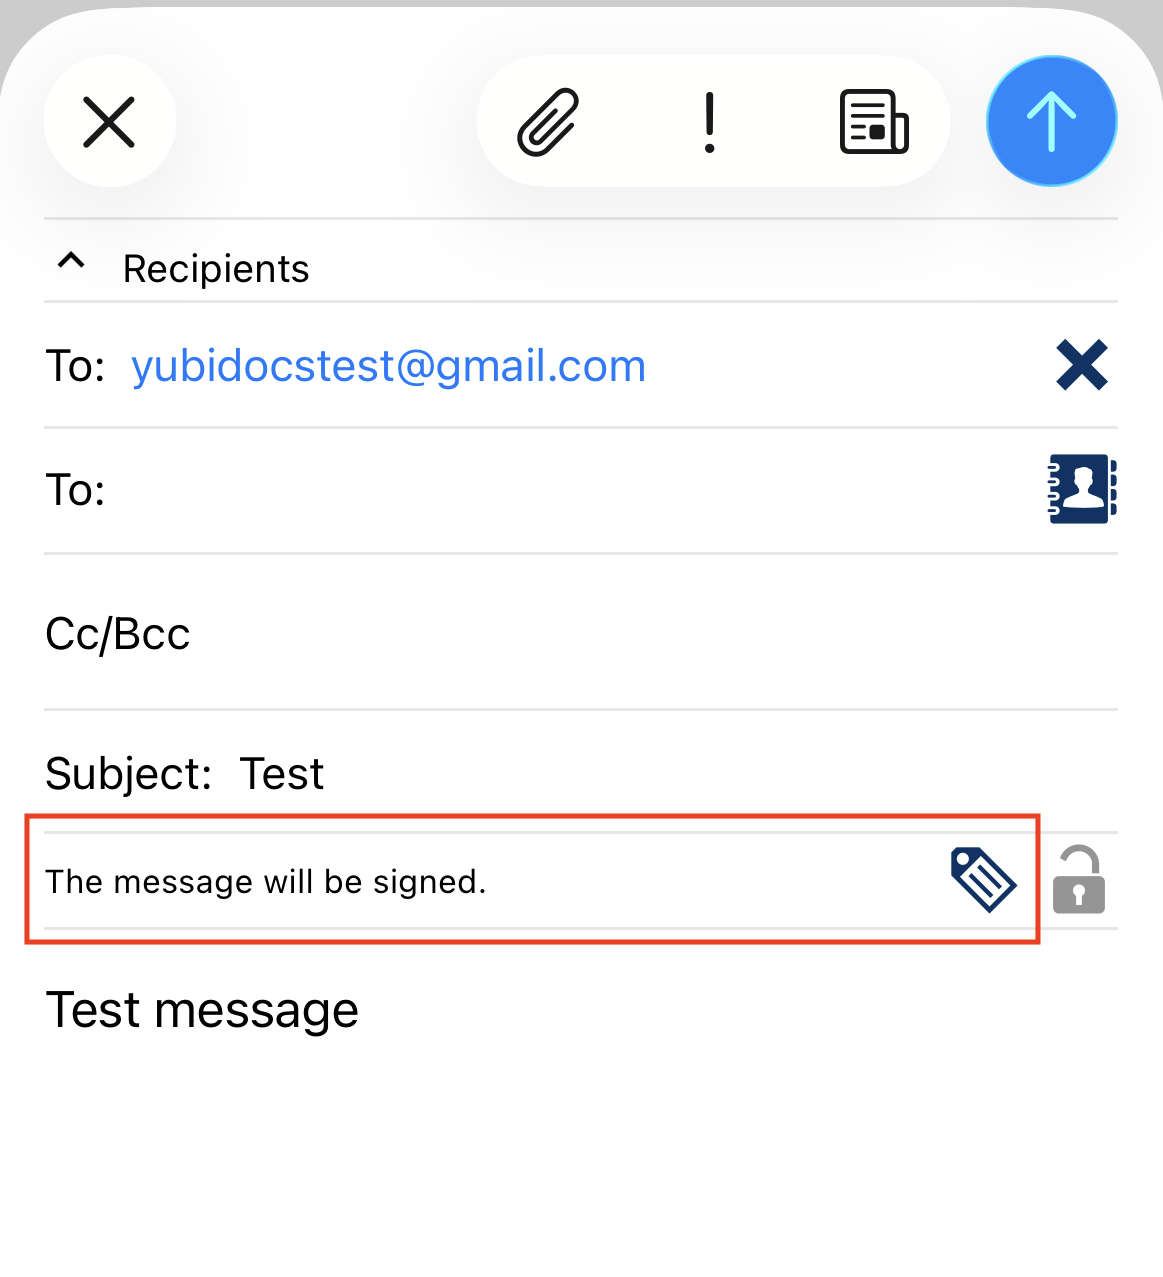
In ISEC7 Mail, make sure the tag icon (located below the Subject: line) is selected. Once selected, you will see the phrase “The message will be signed.”
If you cannot enable signing within your message, refer back to Configure Your Mail Client for Digital Signatures and/or Decryption and verify that the configuration process was completed correctly.
When you are ready to send your message, click the arrow icon.
A pop-up from Yubico Authenticator will appear at the top of the screen. Click on the pop-up to open the Yubico Authenticator app to begin the signing process with your YubiKey.

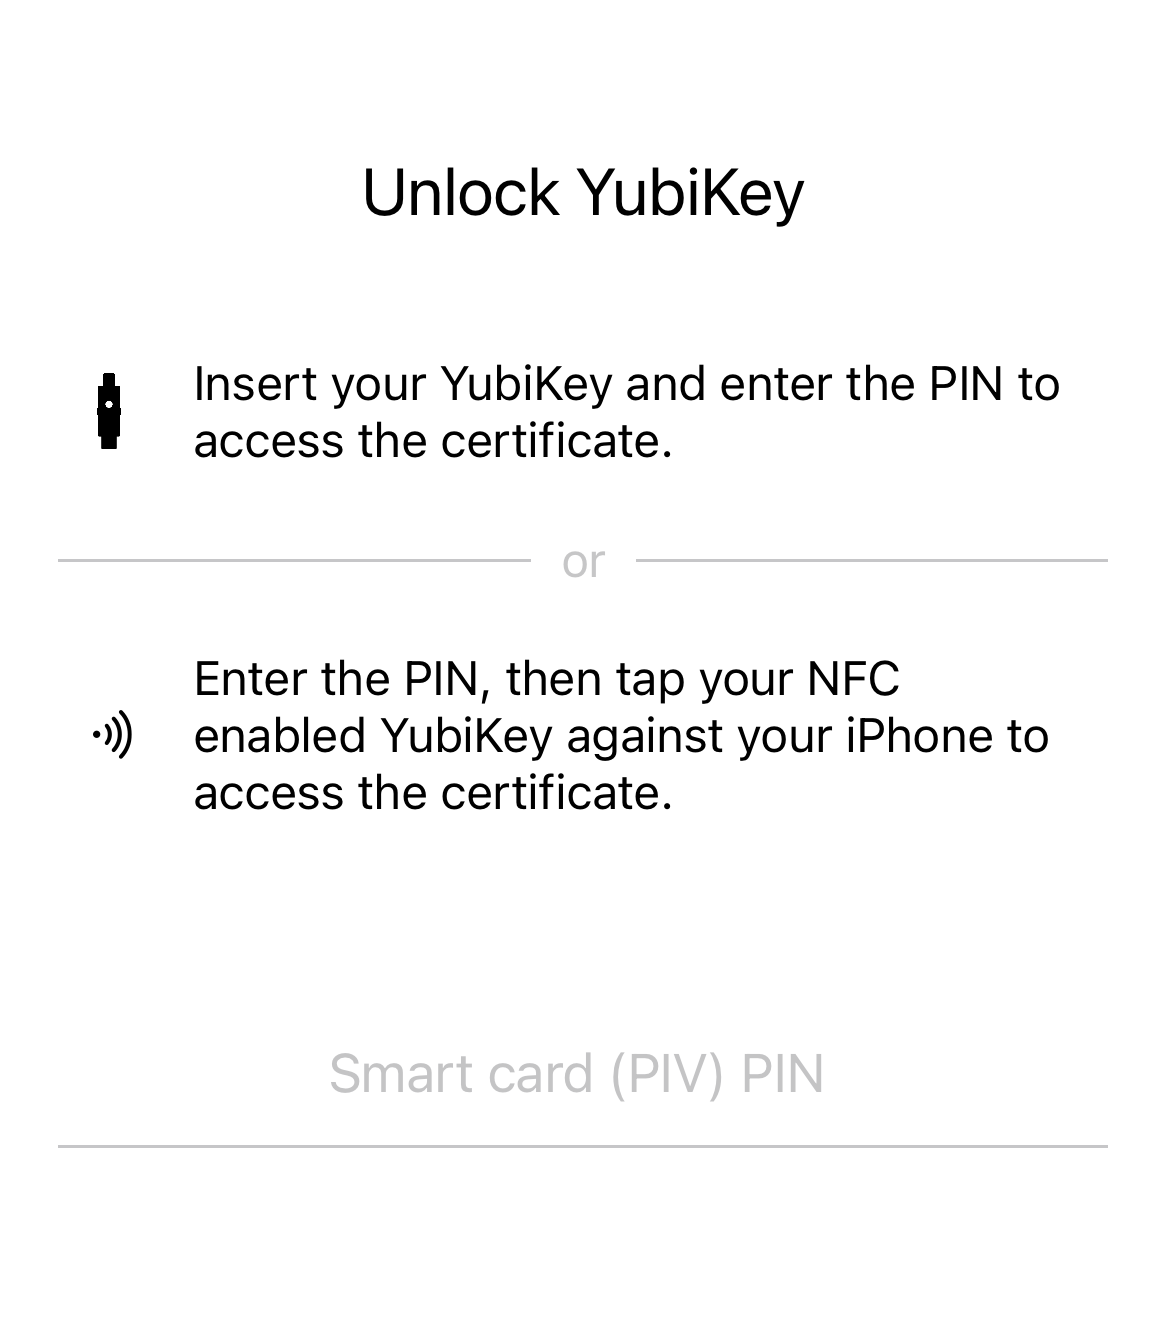
Insert your YubiKey into your iOS/iPadOS device or scan your NFC-enabled YubiKey when prompted.
Note
NFC wireless connections are natively supported on iOS but not on iPadOS (current iPads do not have built-in NFC readers). For a complete breakdown of Yubico Authenticator functionality by platform and connection type for each YubiKey model, see the Yubico Authenticator Functionality table.
Enter your PIV application PIN. For NFC connections, scan your key again when prompted.
The default PIV application PIN is 123456. If you do not know your PIN and your YubiKey is managed by your organization, reach out to your IT admin for assistance.
Caution
You only have three attempts to enter the correct PIN before your PIN becomes blocked. Once blocked, your PIN must be unblocked with the PUK before you can perform any PIV operations that require PIN authentication. PIN unblocking can be done via the desktop version of Yubico Authenticator or the ykman CLI tool.
Note
If connected over USB-C on iOS or iPadOS, you must disable Yubico OTP generation in order to access your on-screen keyboard. For instructions and additional information, see Disable Yubico OTPs.
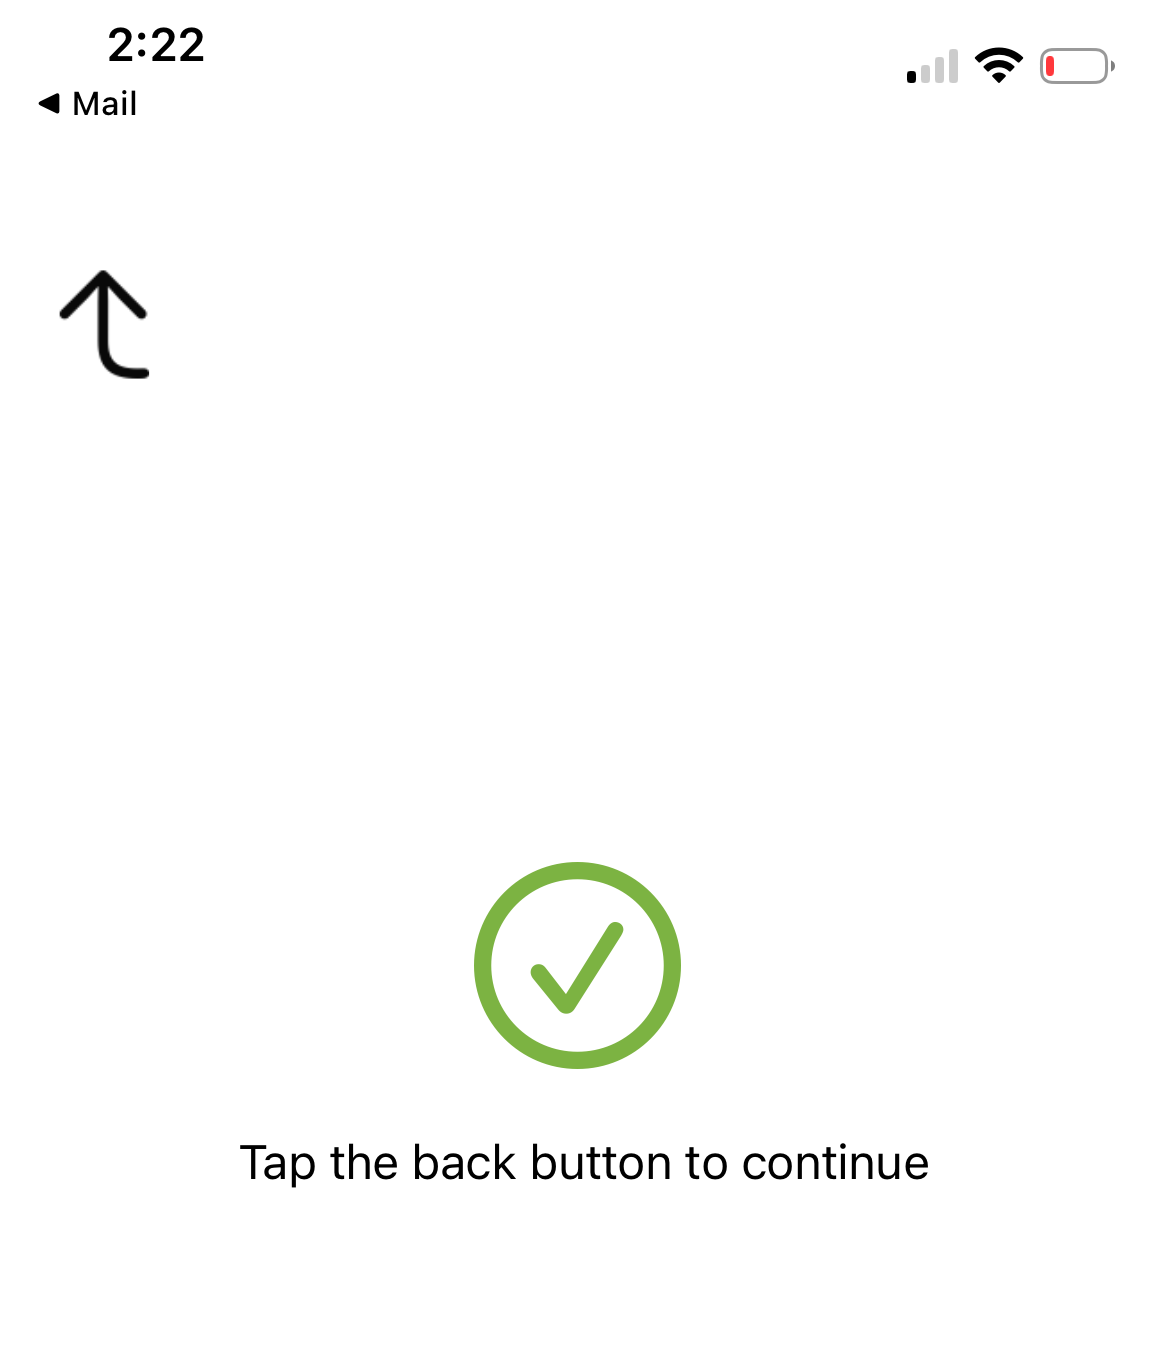
If you entered the correct PIN and the PIN authentication operation was successful, you will see a green check mark. Click on the name of your mail client in the upper left corner to return to your mail app. Your message will be sent and signed.
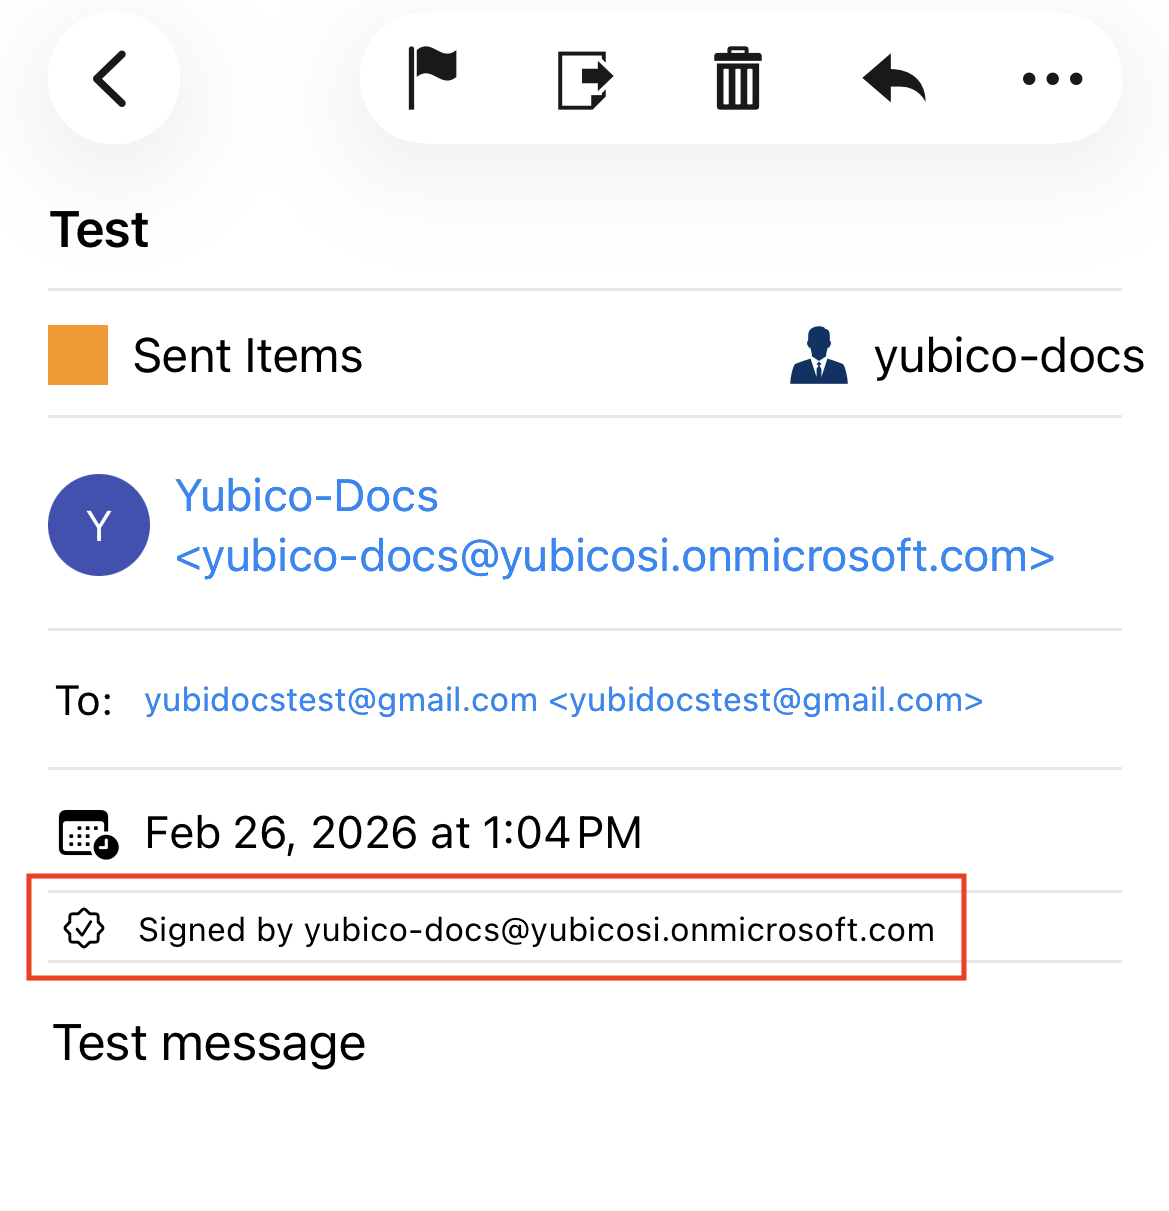
To verify that your message was signed correctly, navigate to your Sent messages folder in your mail client and open the message you just sent. If it was signed correctly, you will see a check mark next to the sender’s email address (Apple Mail) or underneath the message timestamp (ISEC7 Mail).